Workshop Tour
![]()
![]()
![]()
![]()
![]()
![]()
Country
Woodcrafts
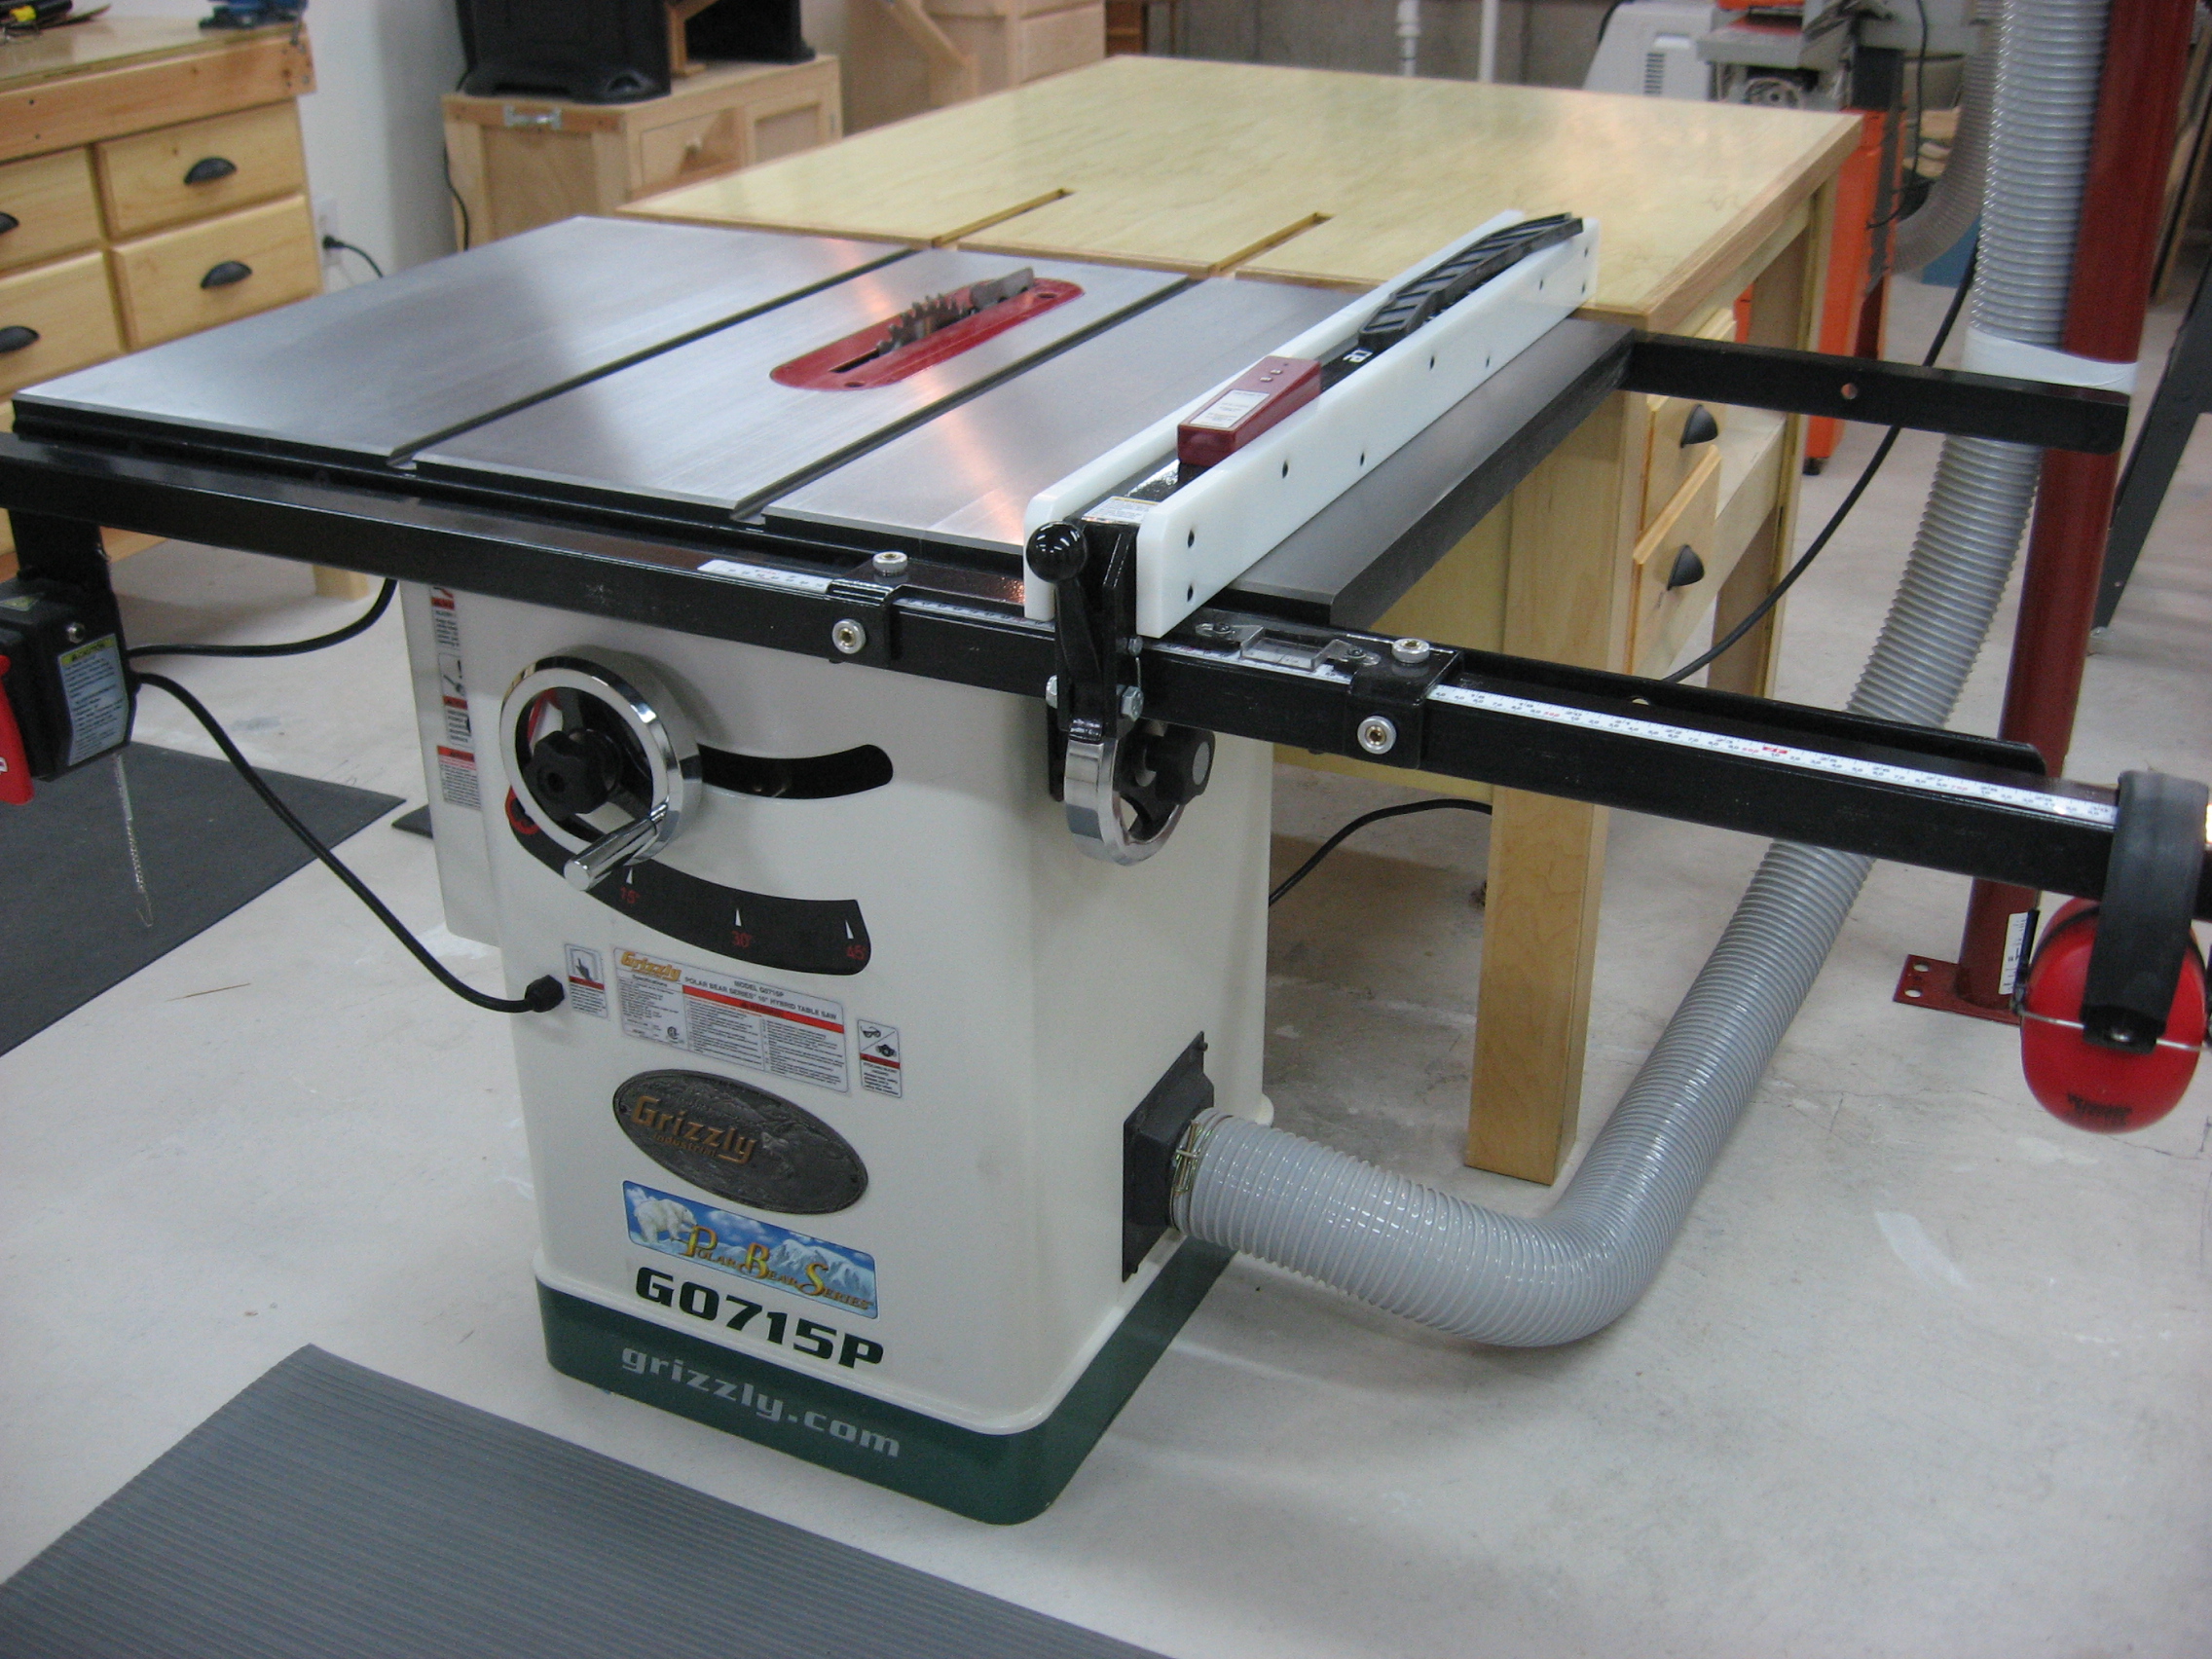 |
Grizzly Table Saw - G0715P I bought this saw in Nov. of 2013 as part of my new shop expansion. The saw ran great right out of the box. I connected it to a 220v power line and a 4" dust collection hose. The saw has been a great addition to the shop. Out feed Table
|
 |
Sears 10" Radial Arm Saw I bought this saw in the early 70's. It was my first major purchase and has been a great saw! I have it hooked up to a 4" and 2 1/2" dust collect line which takes care of 90% of the dust and chips. |
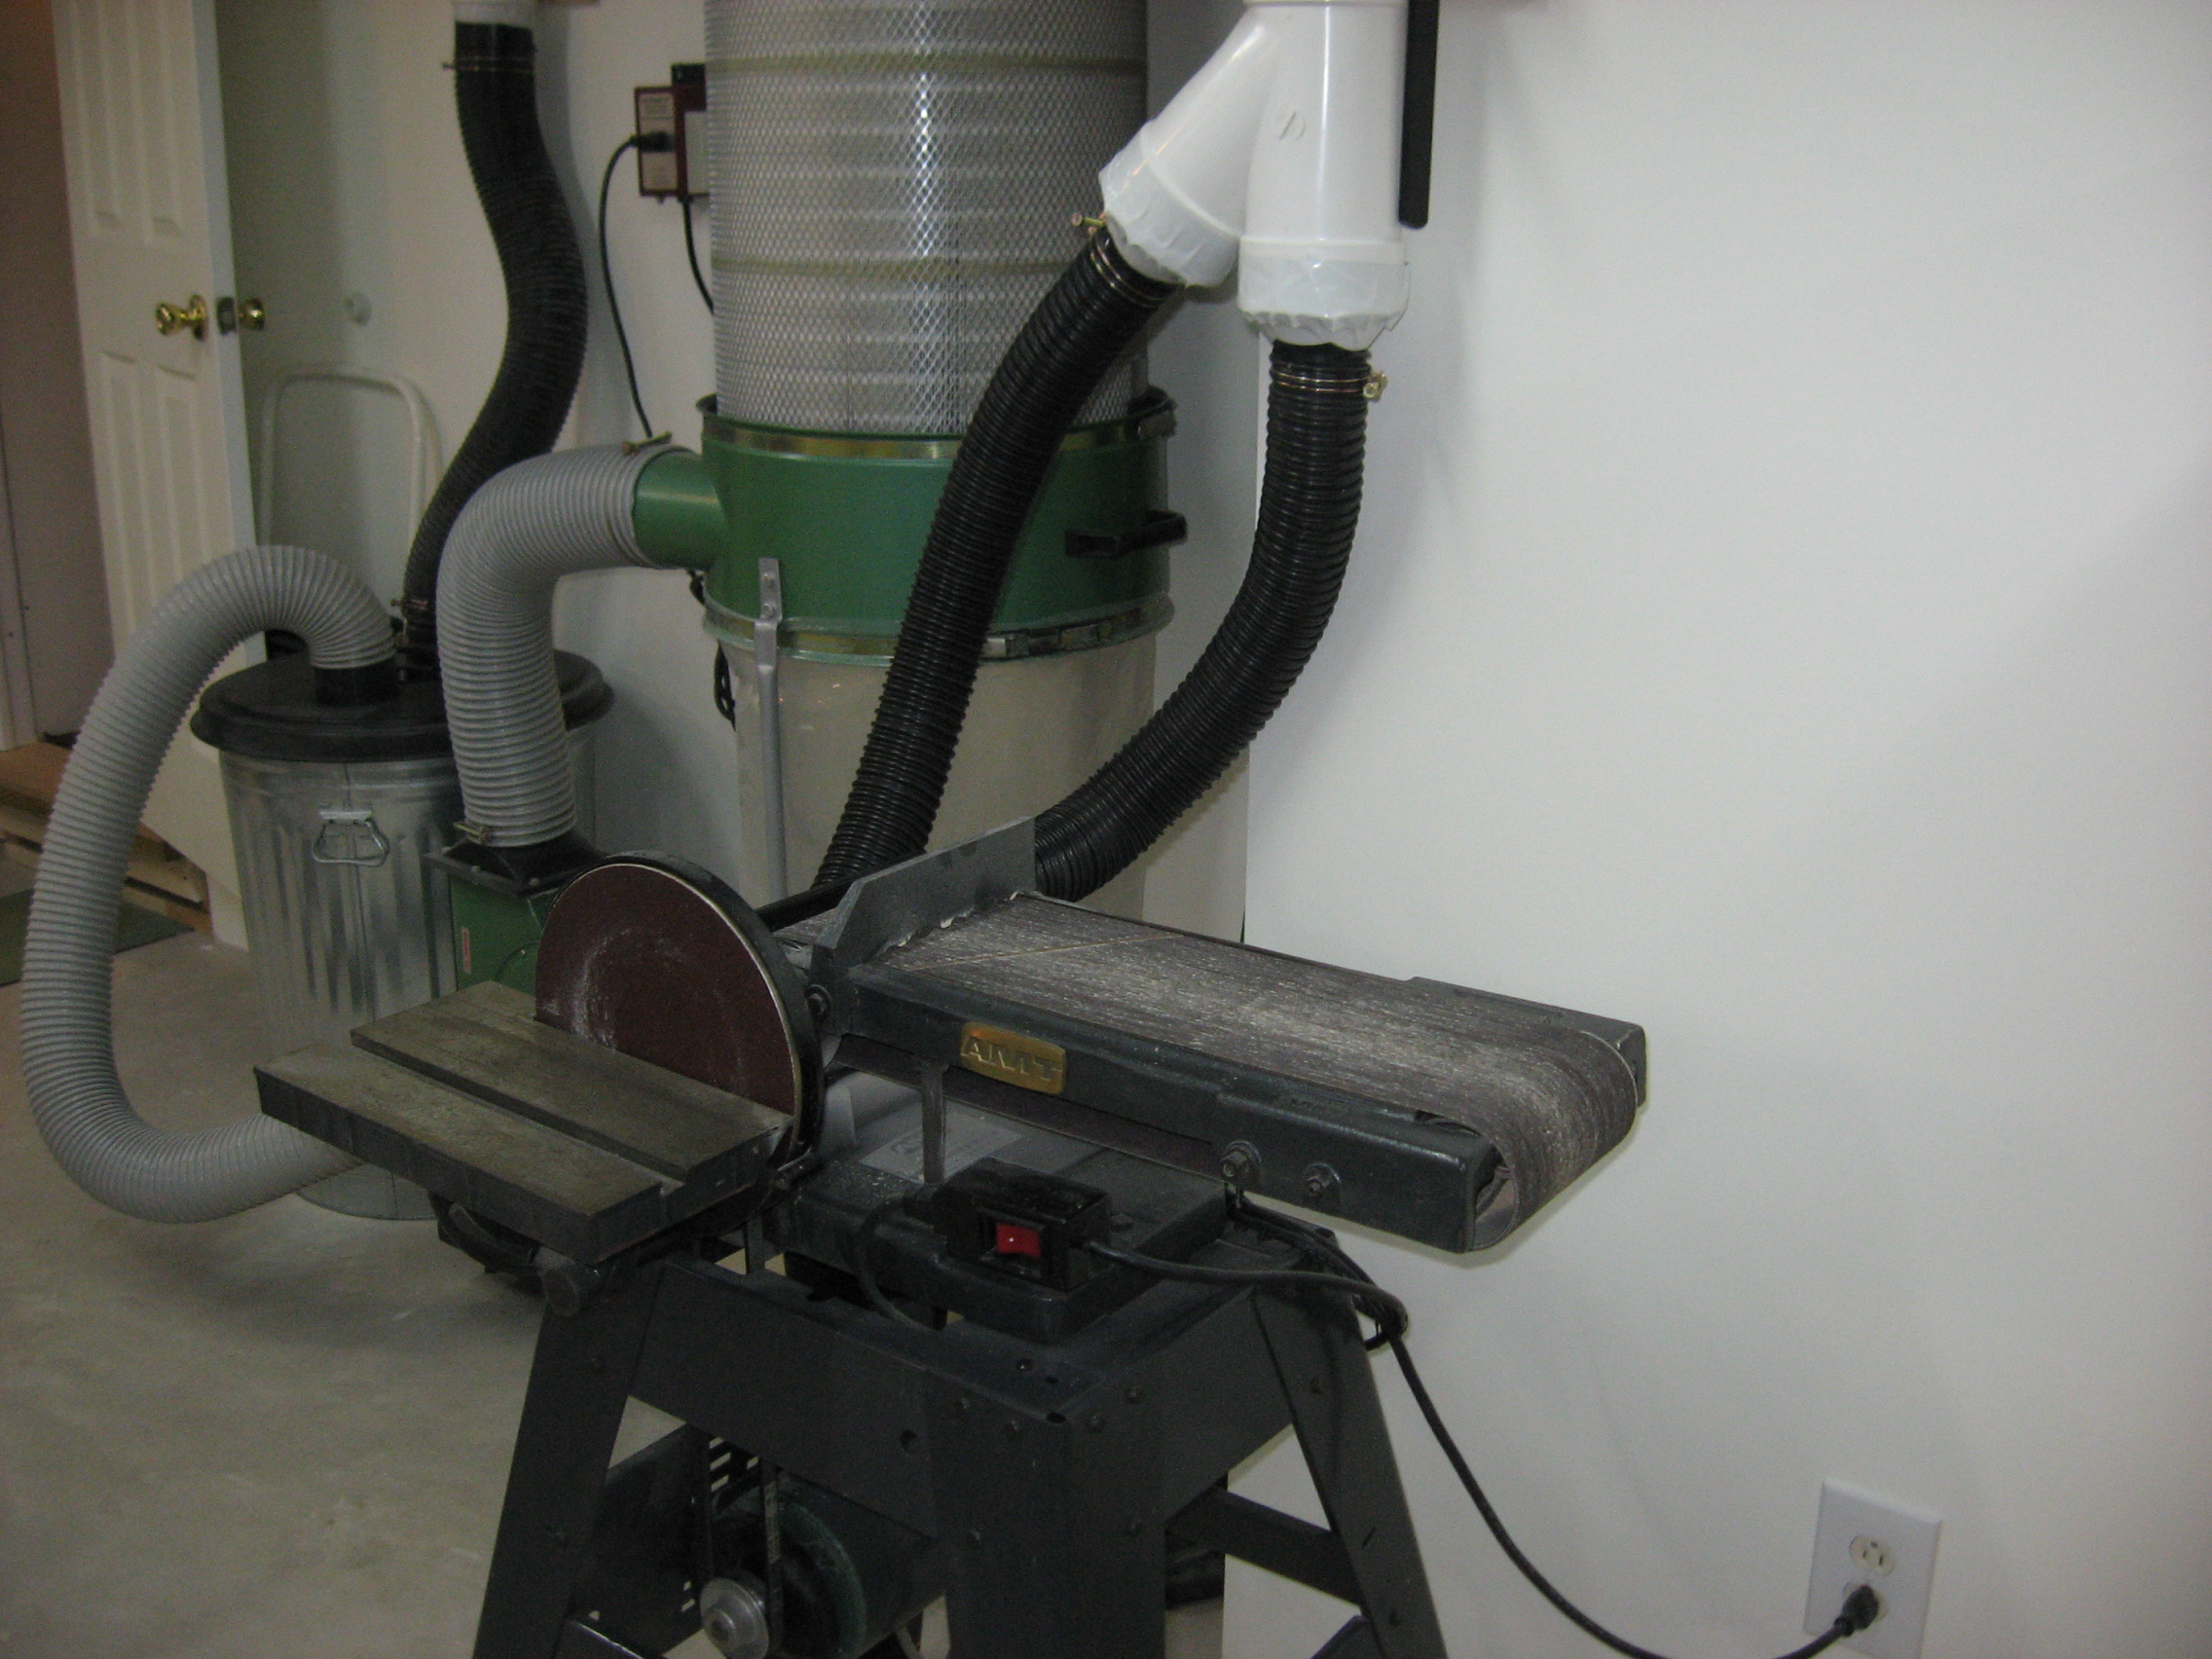 |
AMT Sander This a an AMT sander that I purchased in mid-1980. Dust collection is a "must" for this sander. Otherwise it will fill the shop with a cloud of dust. I have two 2 1/2" hoses connected and it is close to the dust collector. |
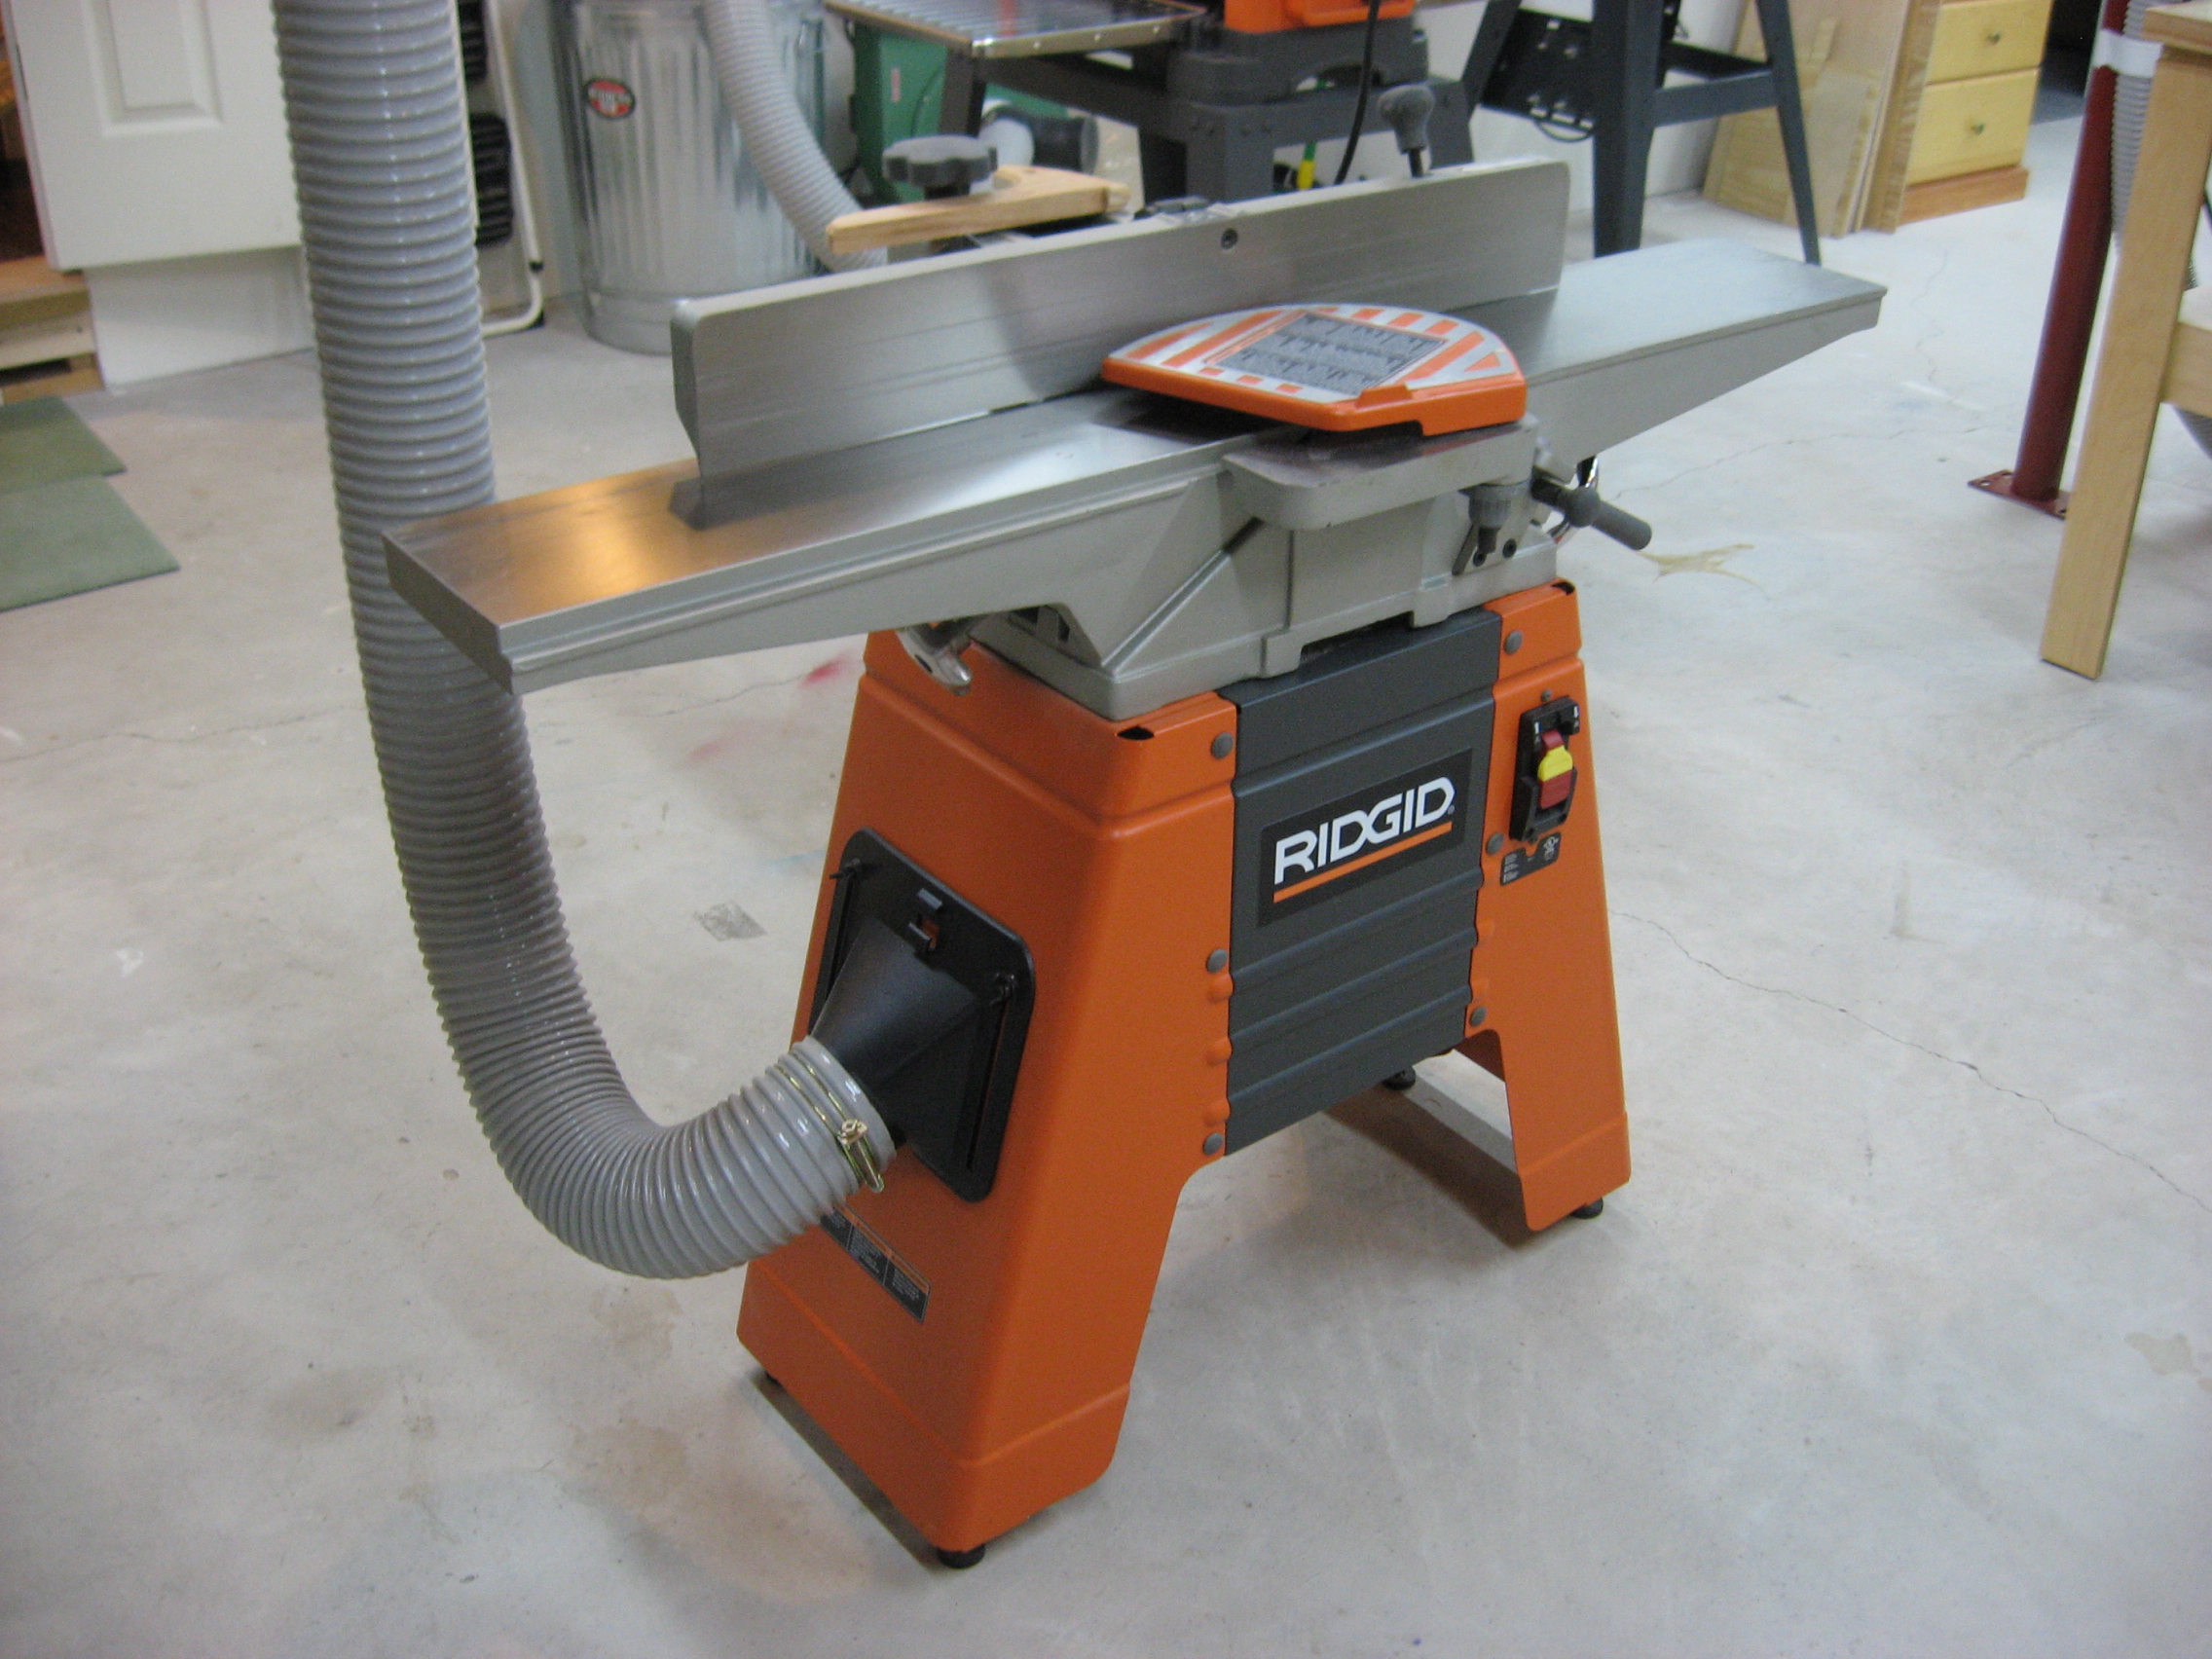 |
Ridgid 610 Jointer This is a great jointer and cuts like a dream. It came out of the box ready to cut, no adjustment needed. I have it hooked up to a 4" dust line which takes care of all of the dust and chips |
 |
Ridgid 1300 Planer I got this planer in mid 2005 and it has been a real dream to use. It also came out of the box ready to cut. I have the planer hooked up to a 4" dust line which takes care of 98% of the dust and chips. My only mistake with this planer was to take a "quick pass" on a small board with out turning the DC on......Big Mistake. |
 |
Sears 12" Band Saw I purchased this saw in the early 1980s. It gets used all the time. Although not a big producer of dust, I have it hooked up to a 2 1/2" dust line. |
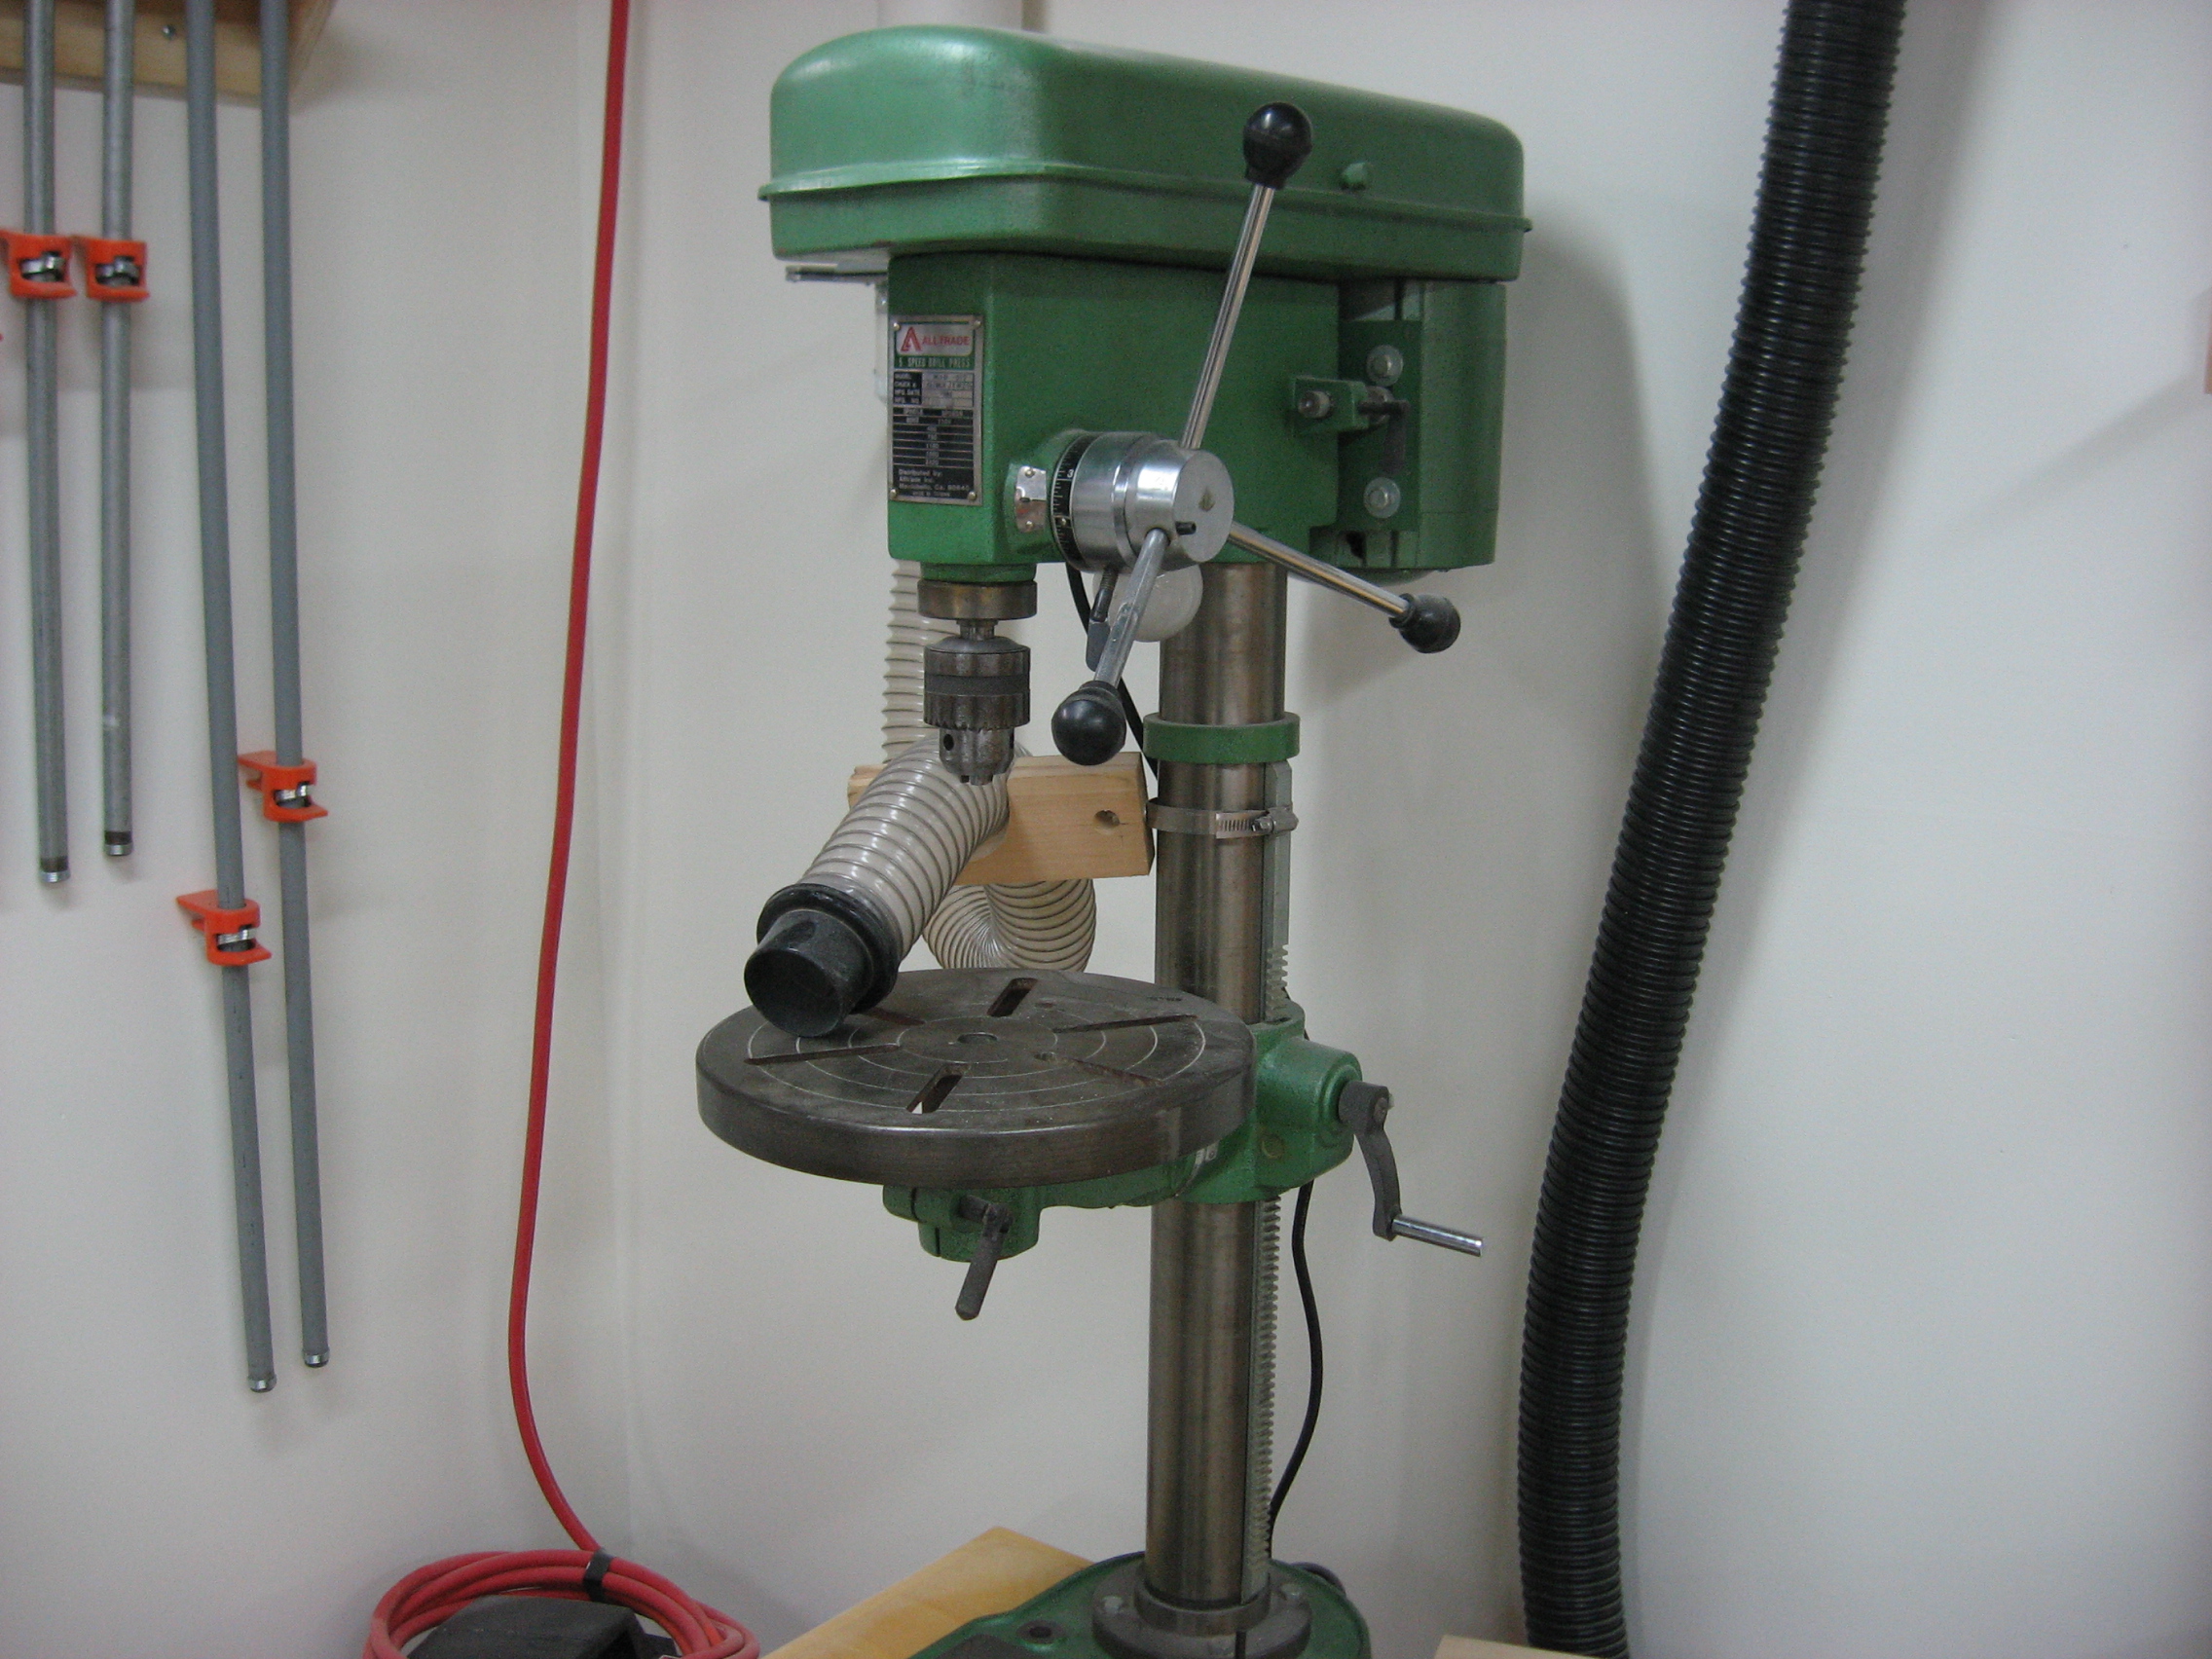 |
Drill Press I bought this drill press in the early 1980's. Although it's only a 5 speed, which has been plenty for me, it's seen a lot of use and has been a good investment. I made a cabinet for it to sit on just to hold all "drilling" related items. I use the 2 1/2" dust collection hose mostly when using larger drill bits or using the drum sander. |
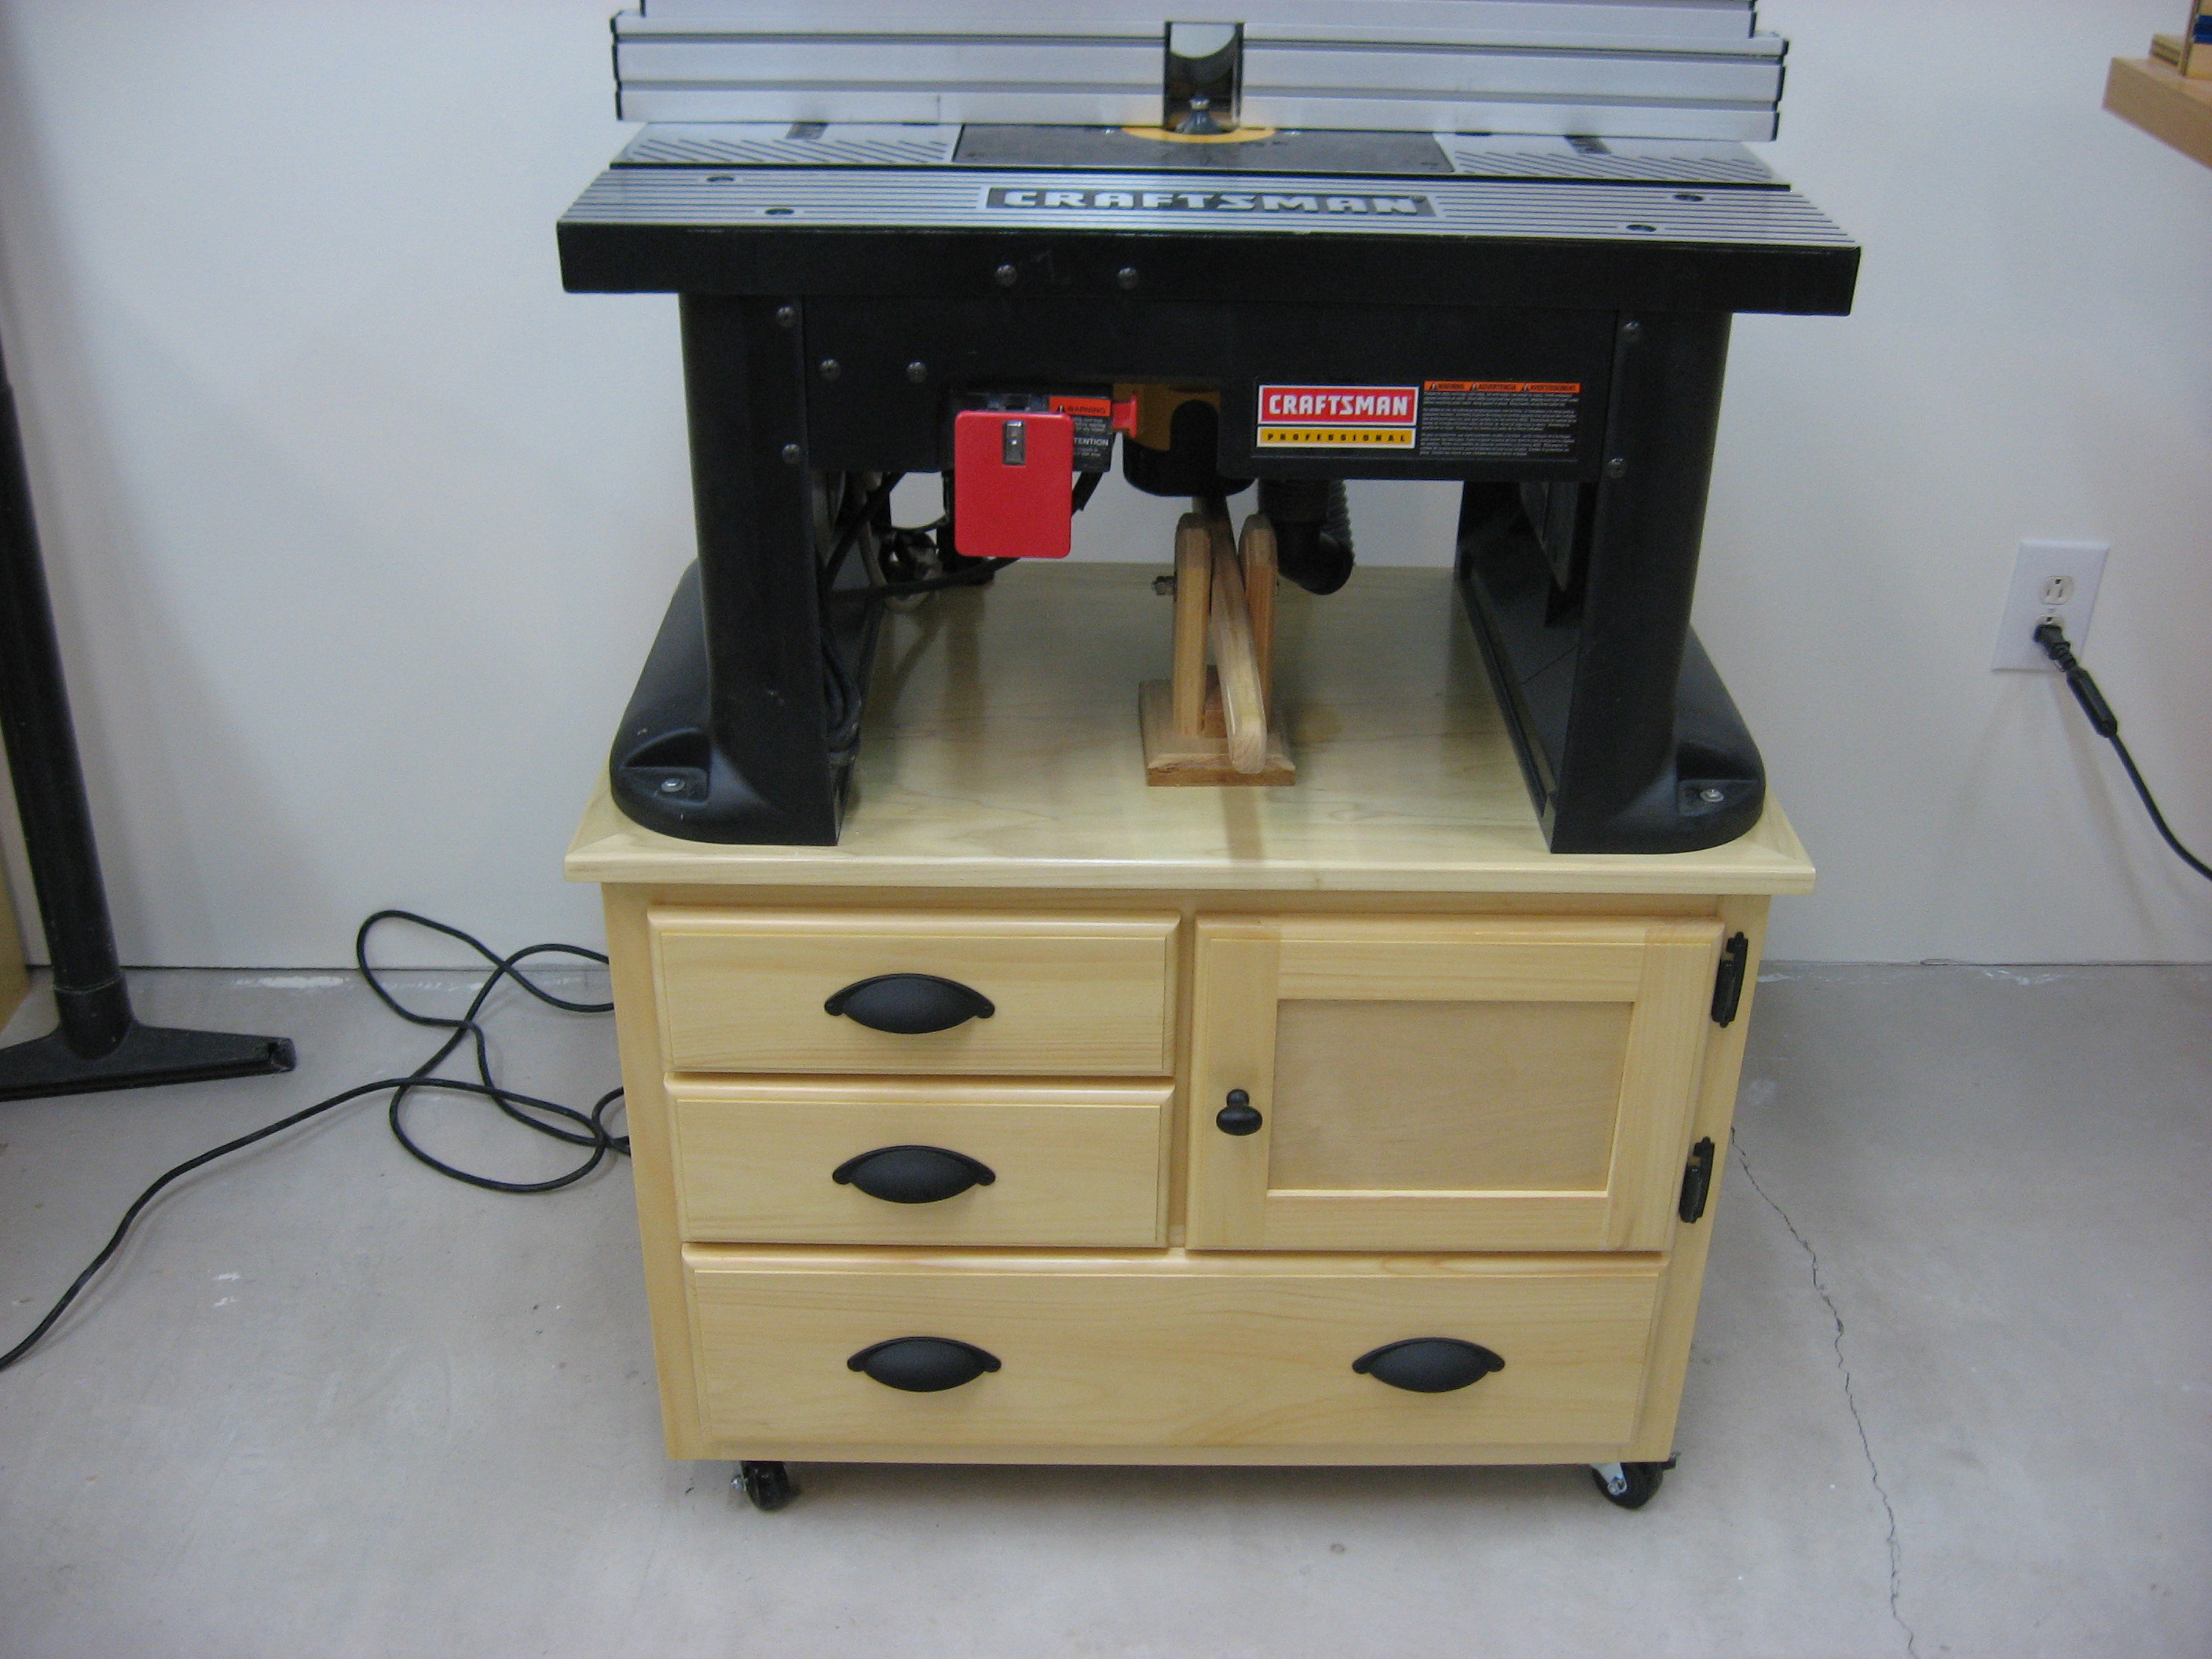 |
Router Table I have a Sears router table with a DeWalt 621 router mounted under the table. I built the cabinet for the router table which also holds router bits, etc. I have the cabinet on rollers so I can move it out of the way when not in use. I have a 2 1/2" dust line that I attached to the back of the fence for dust control. Router Cabinet Construction |
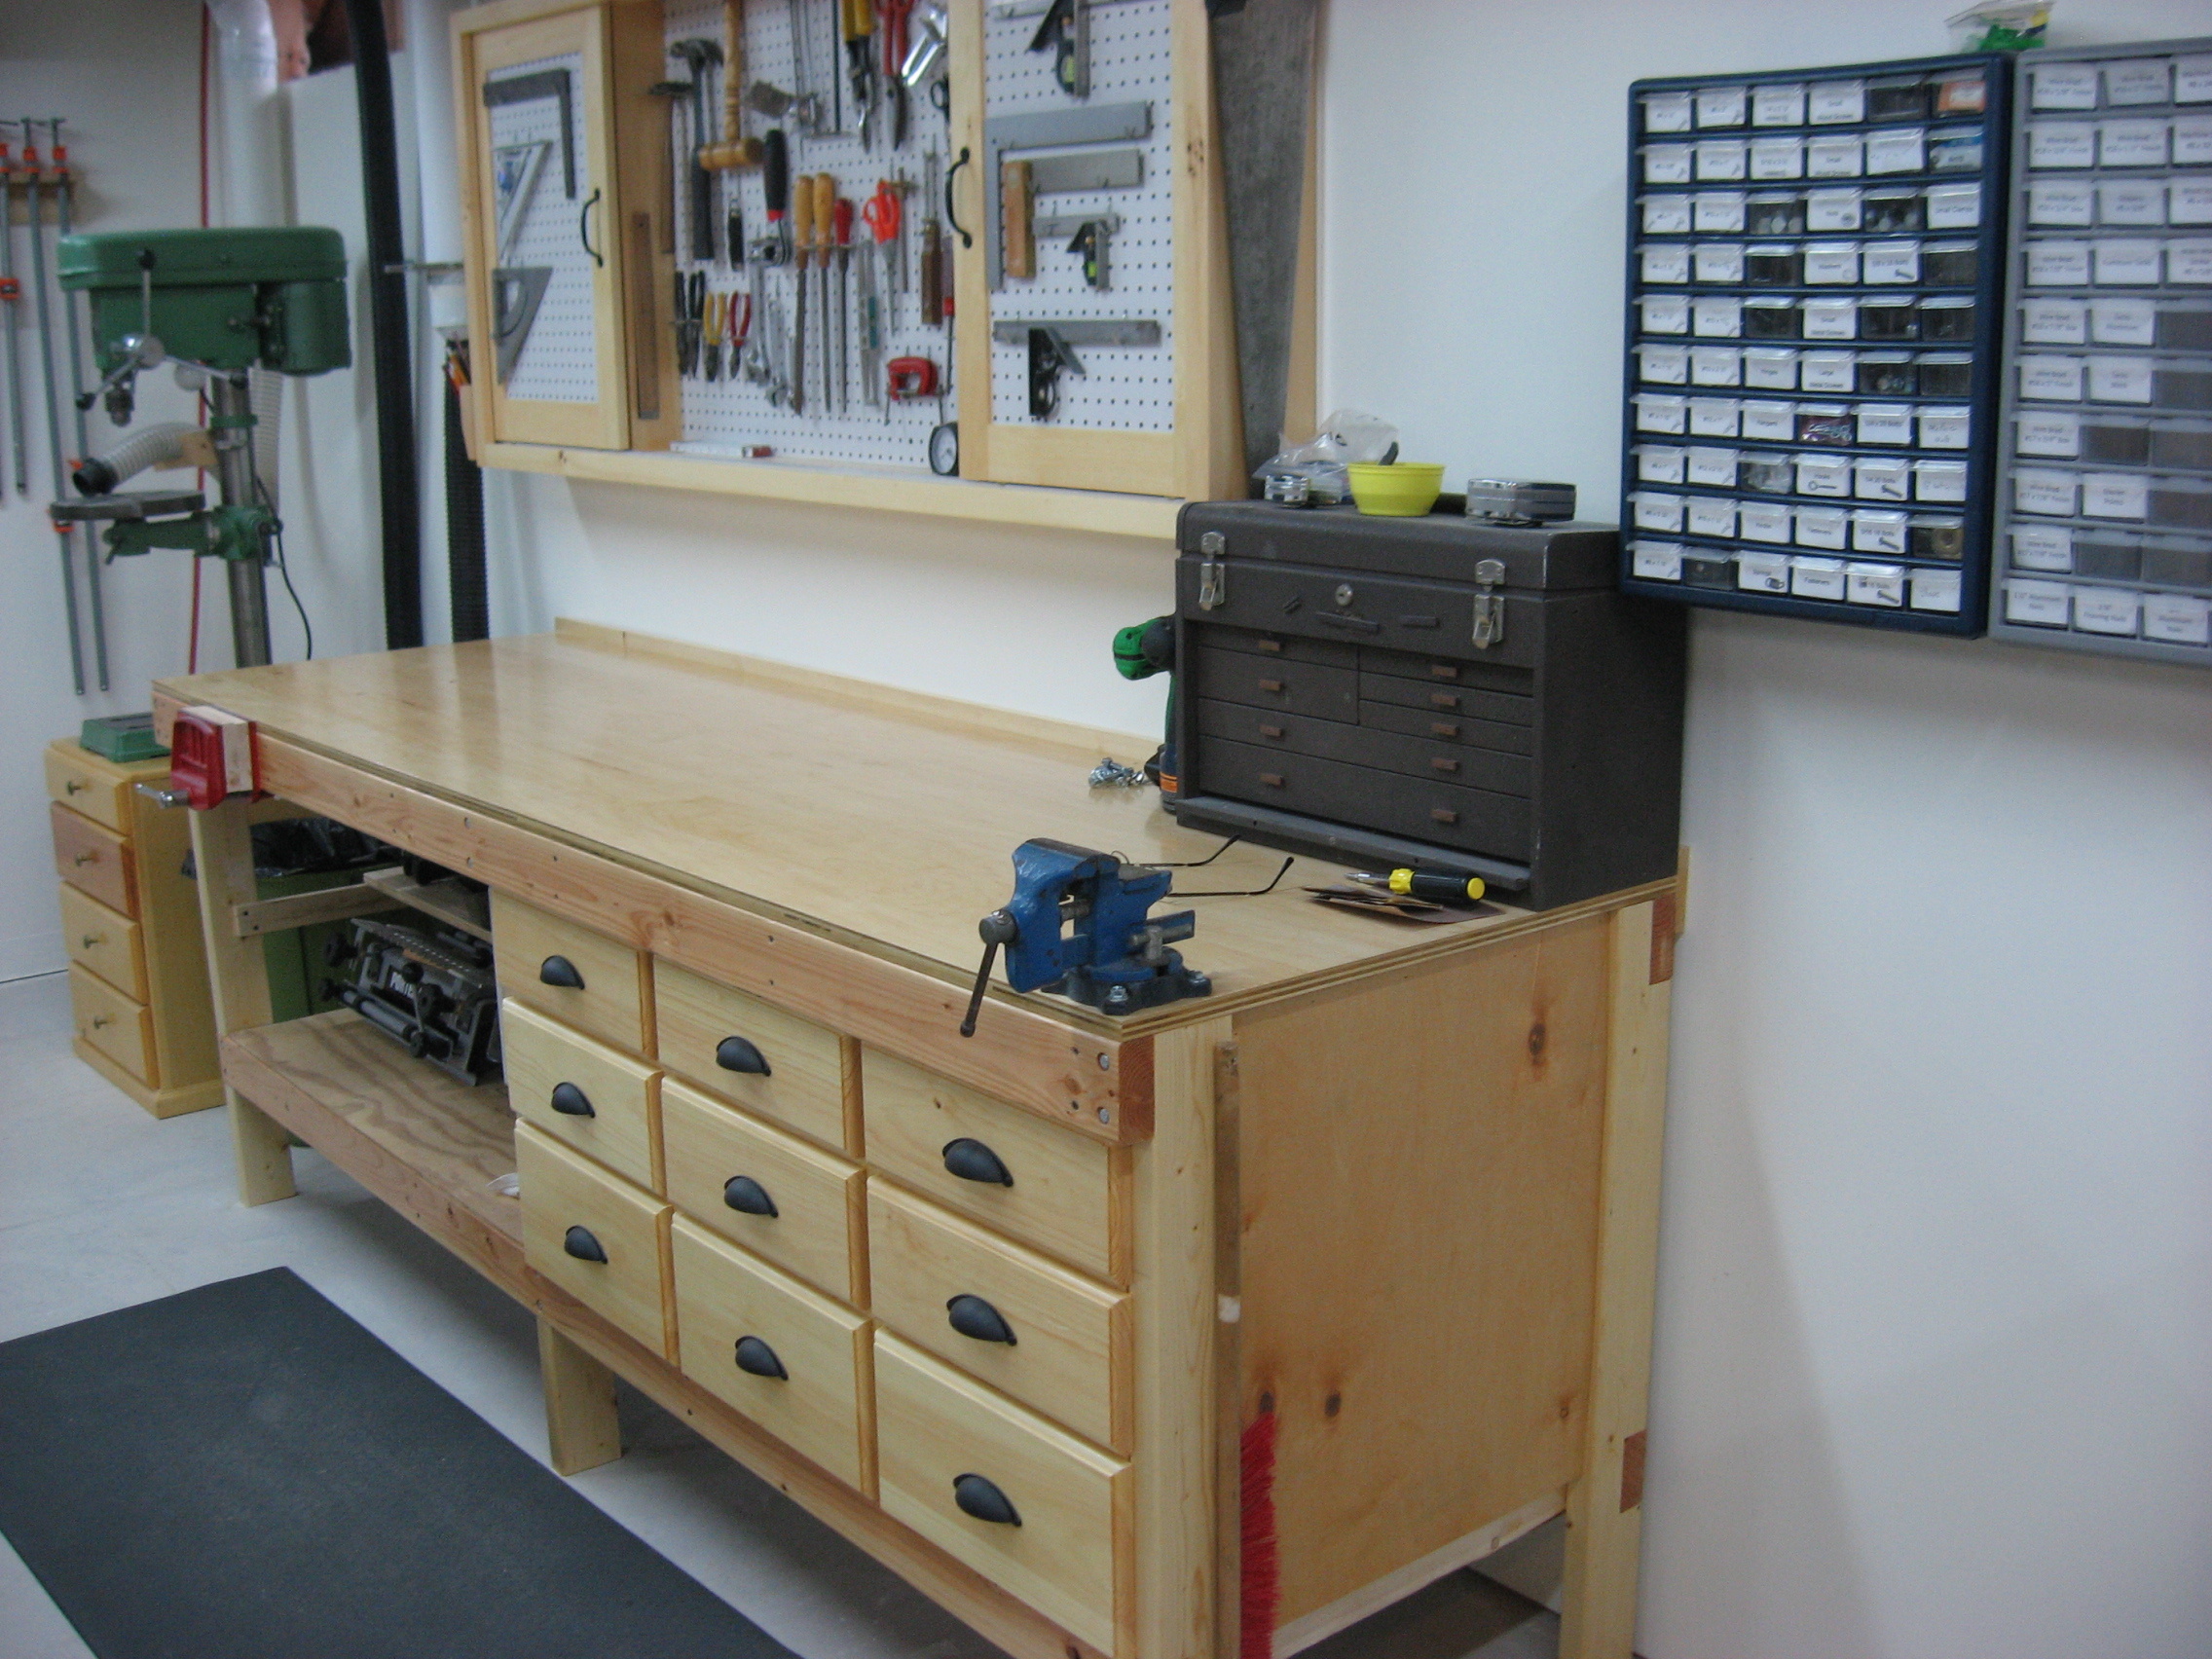 |
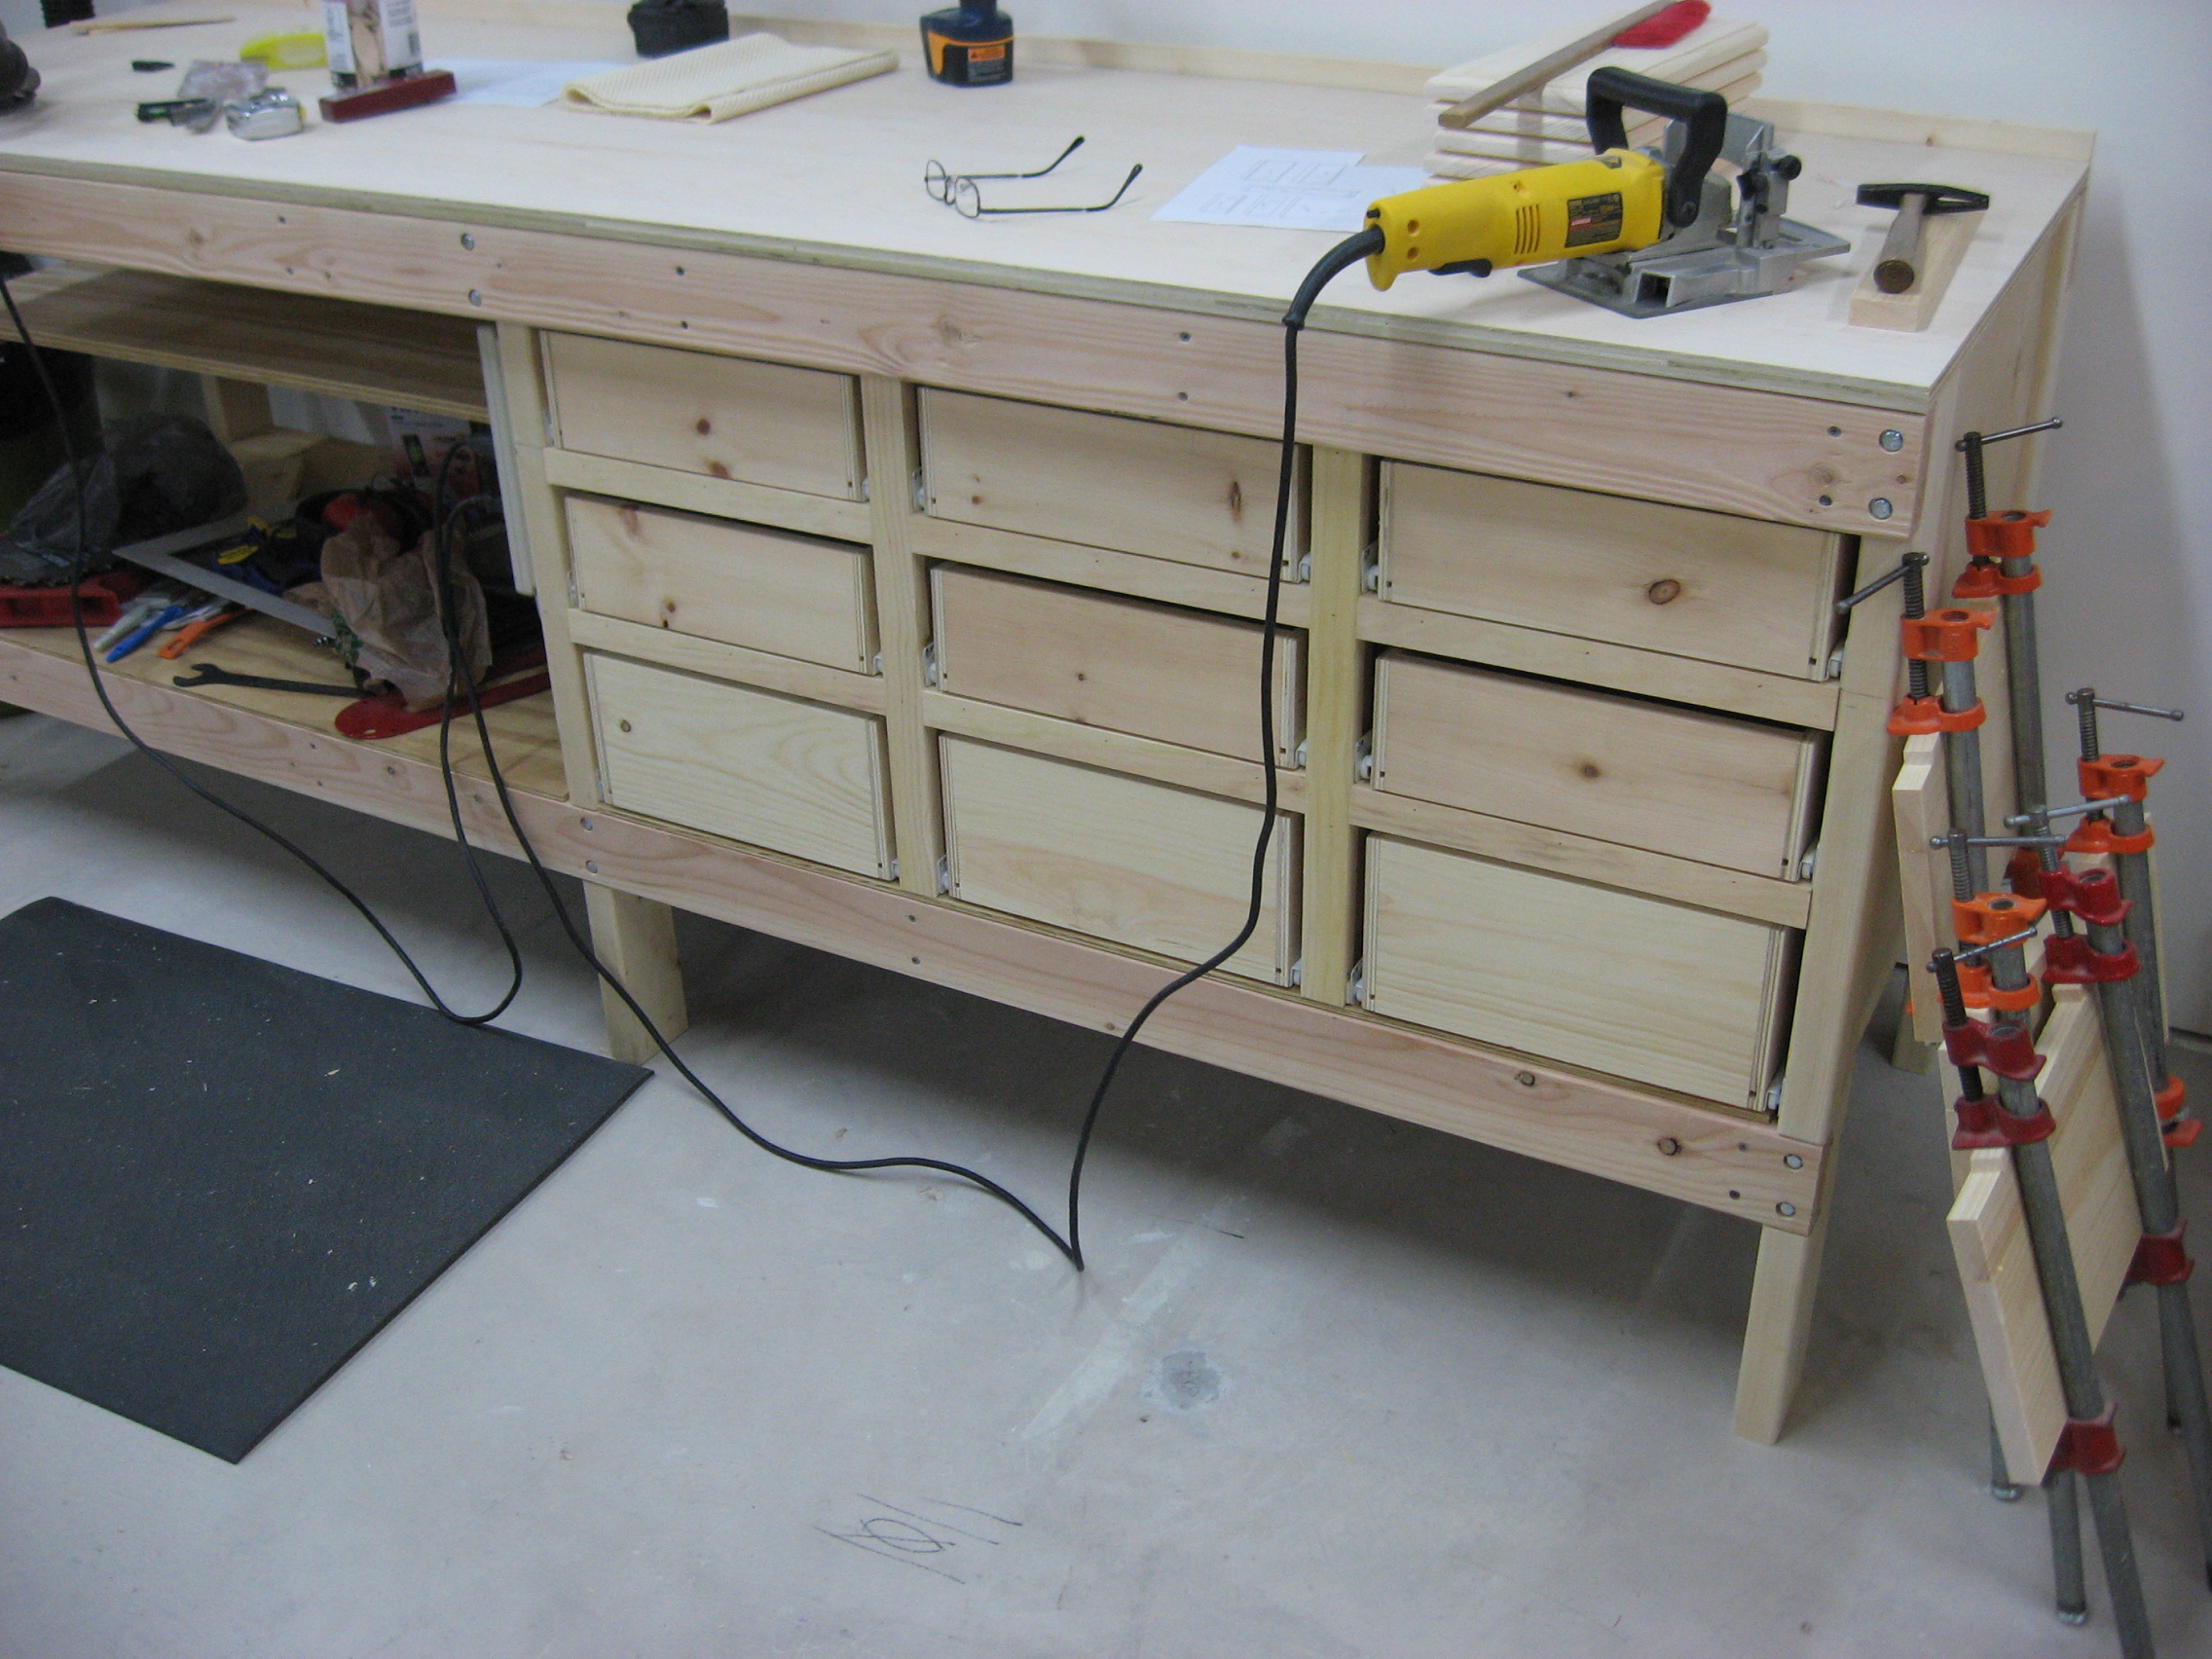
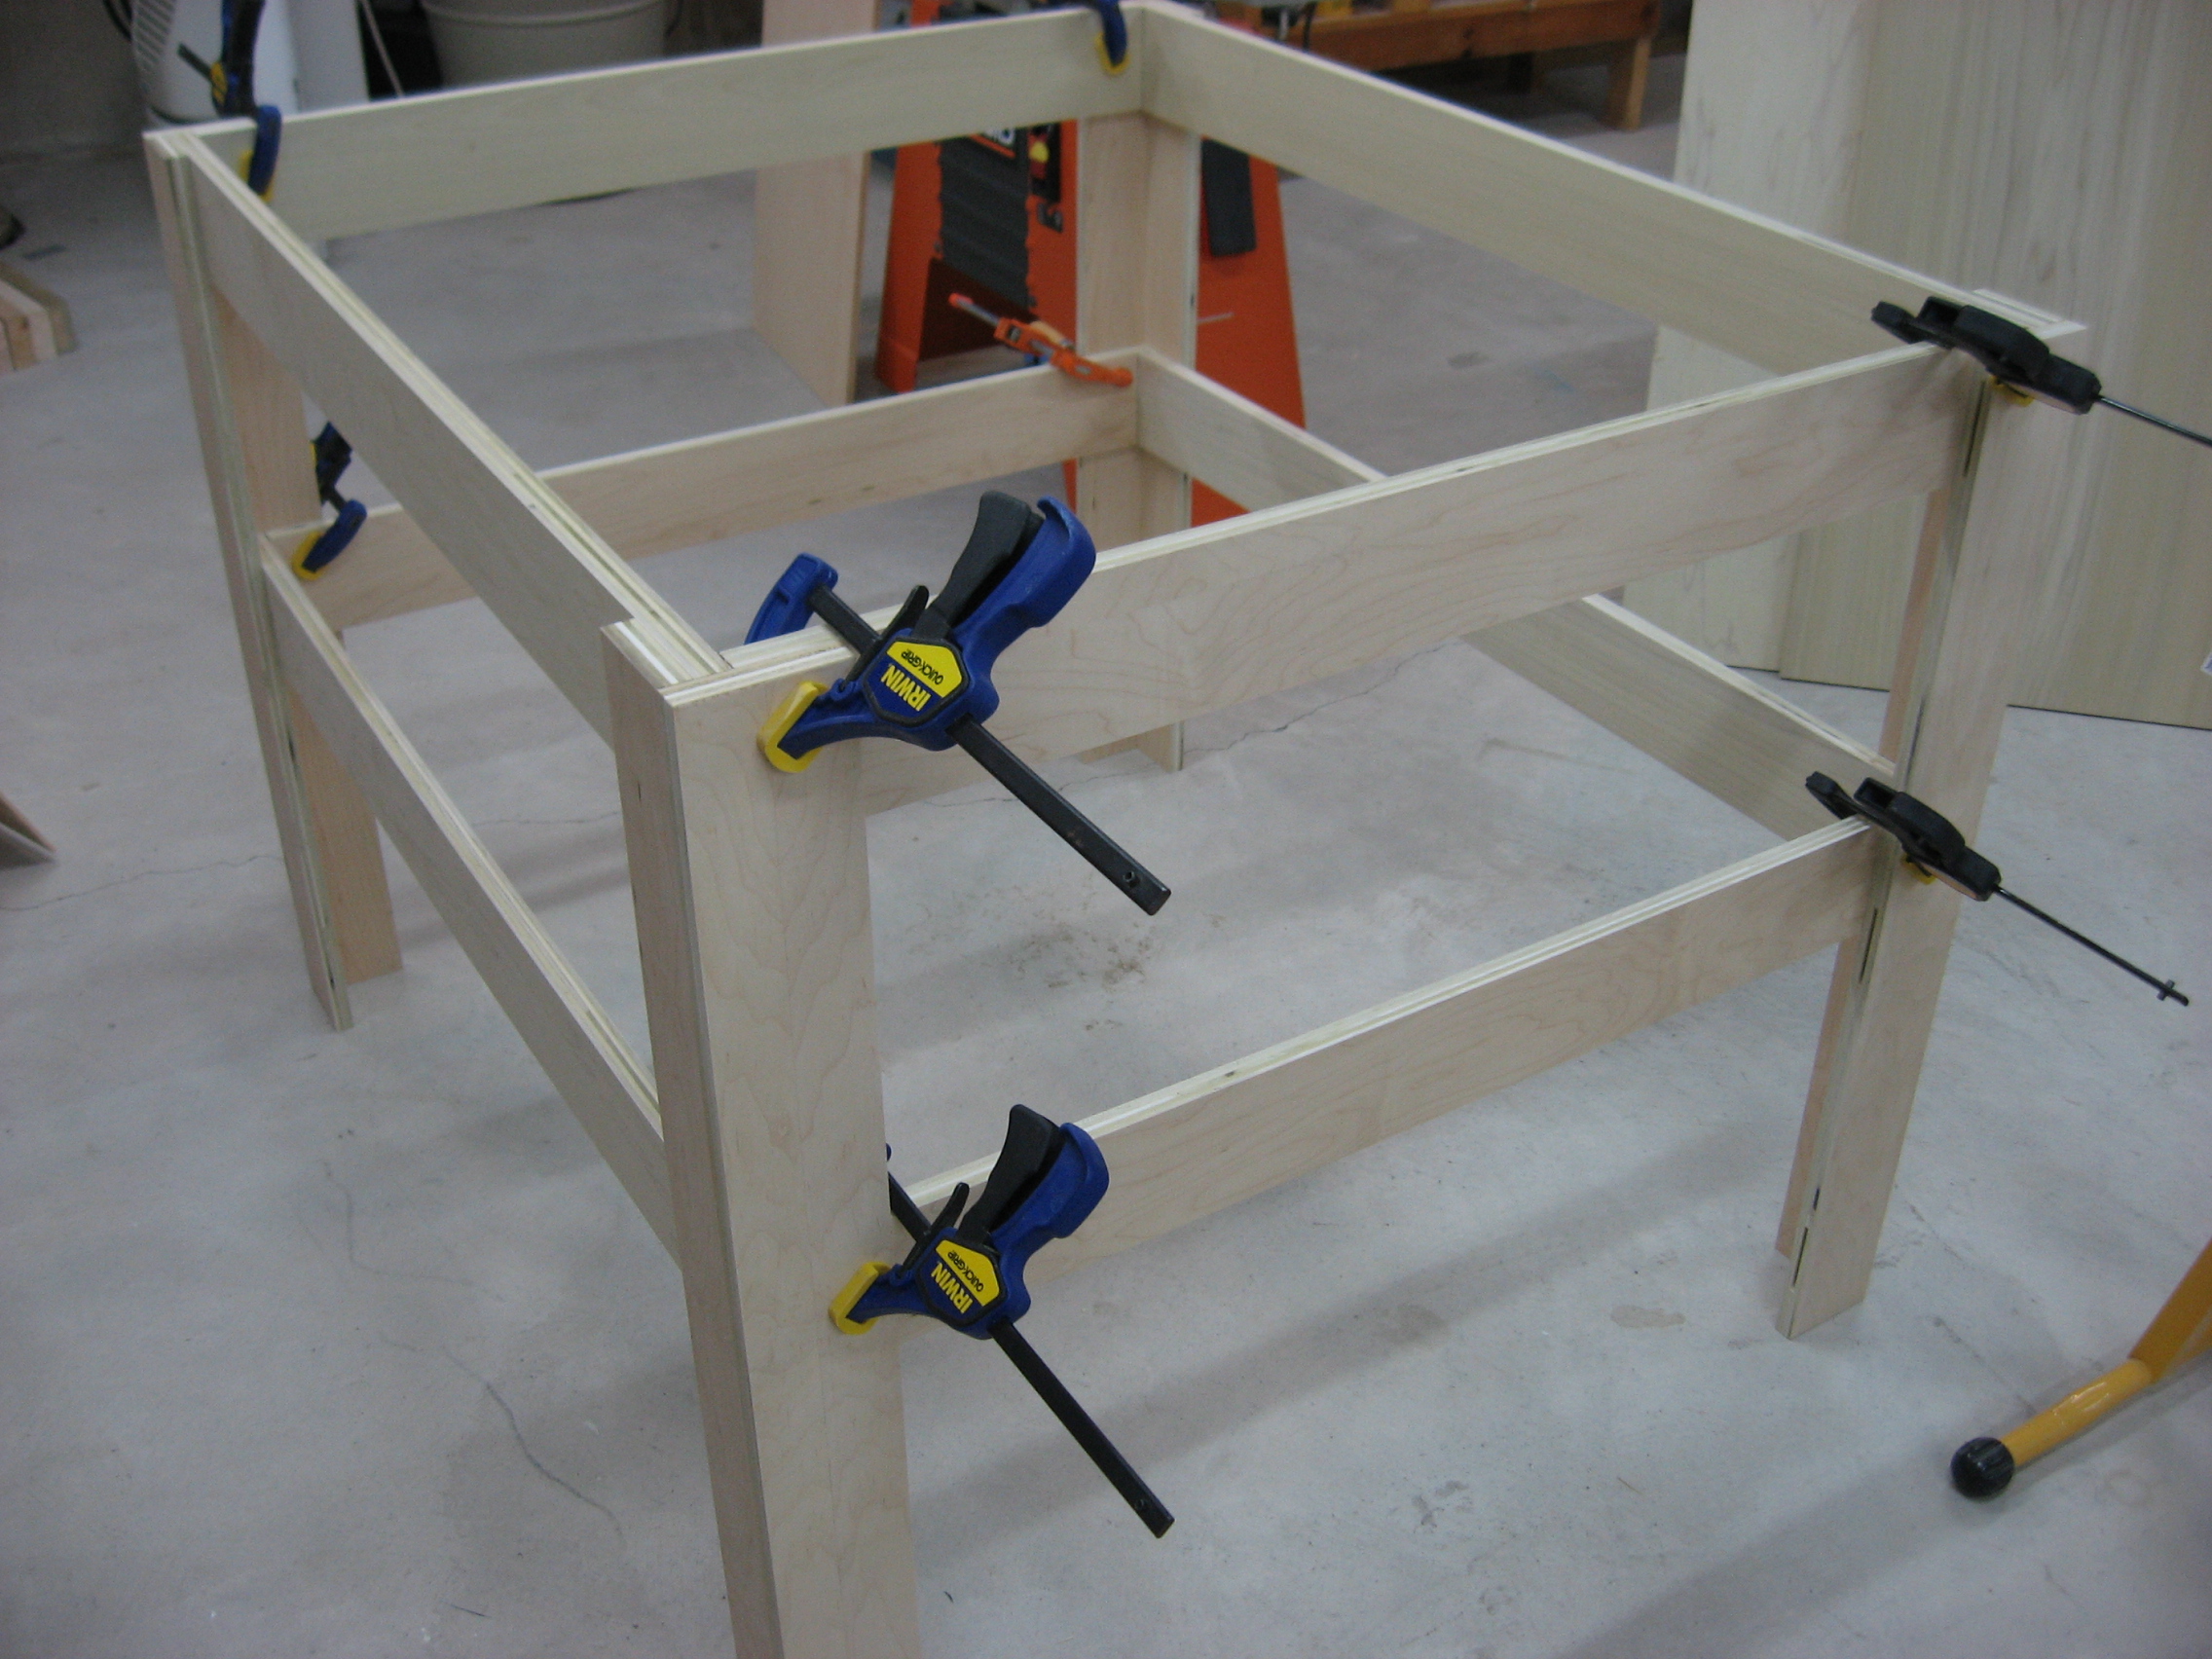
Workbench and Tool Cabinet I made this bench in Dec. of 2013. My original work bench that I had for 30 years was left at our old house when we moved. The bench is made with 2 x 4s and 3/4" plywood. Several bench dogs and a wood vice are on the left end and a metal working vice is mounted on the right. Workbench Construction
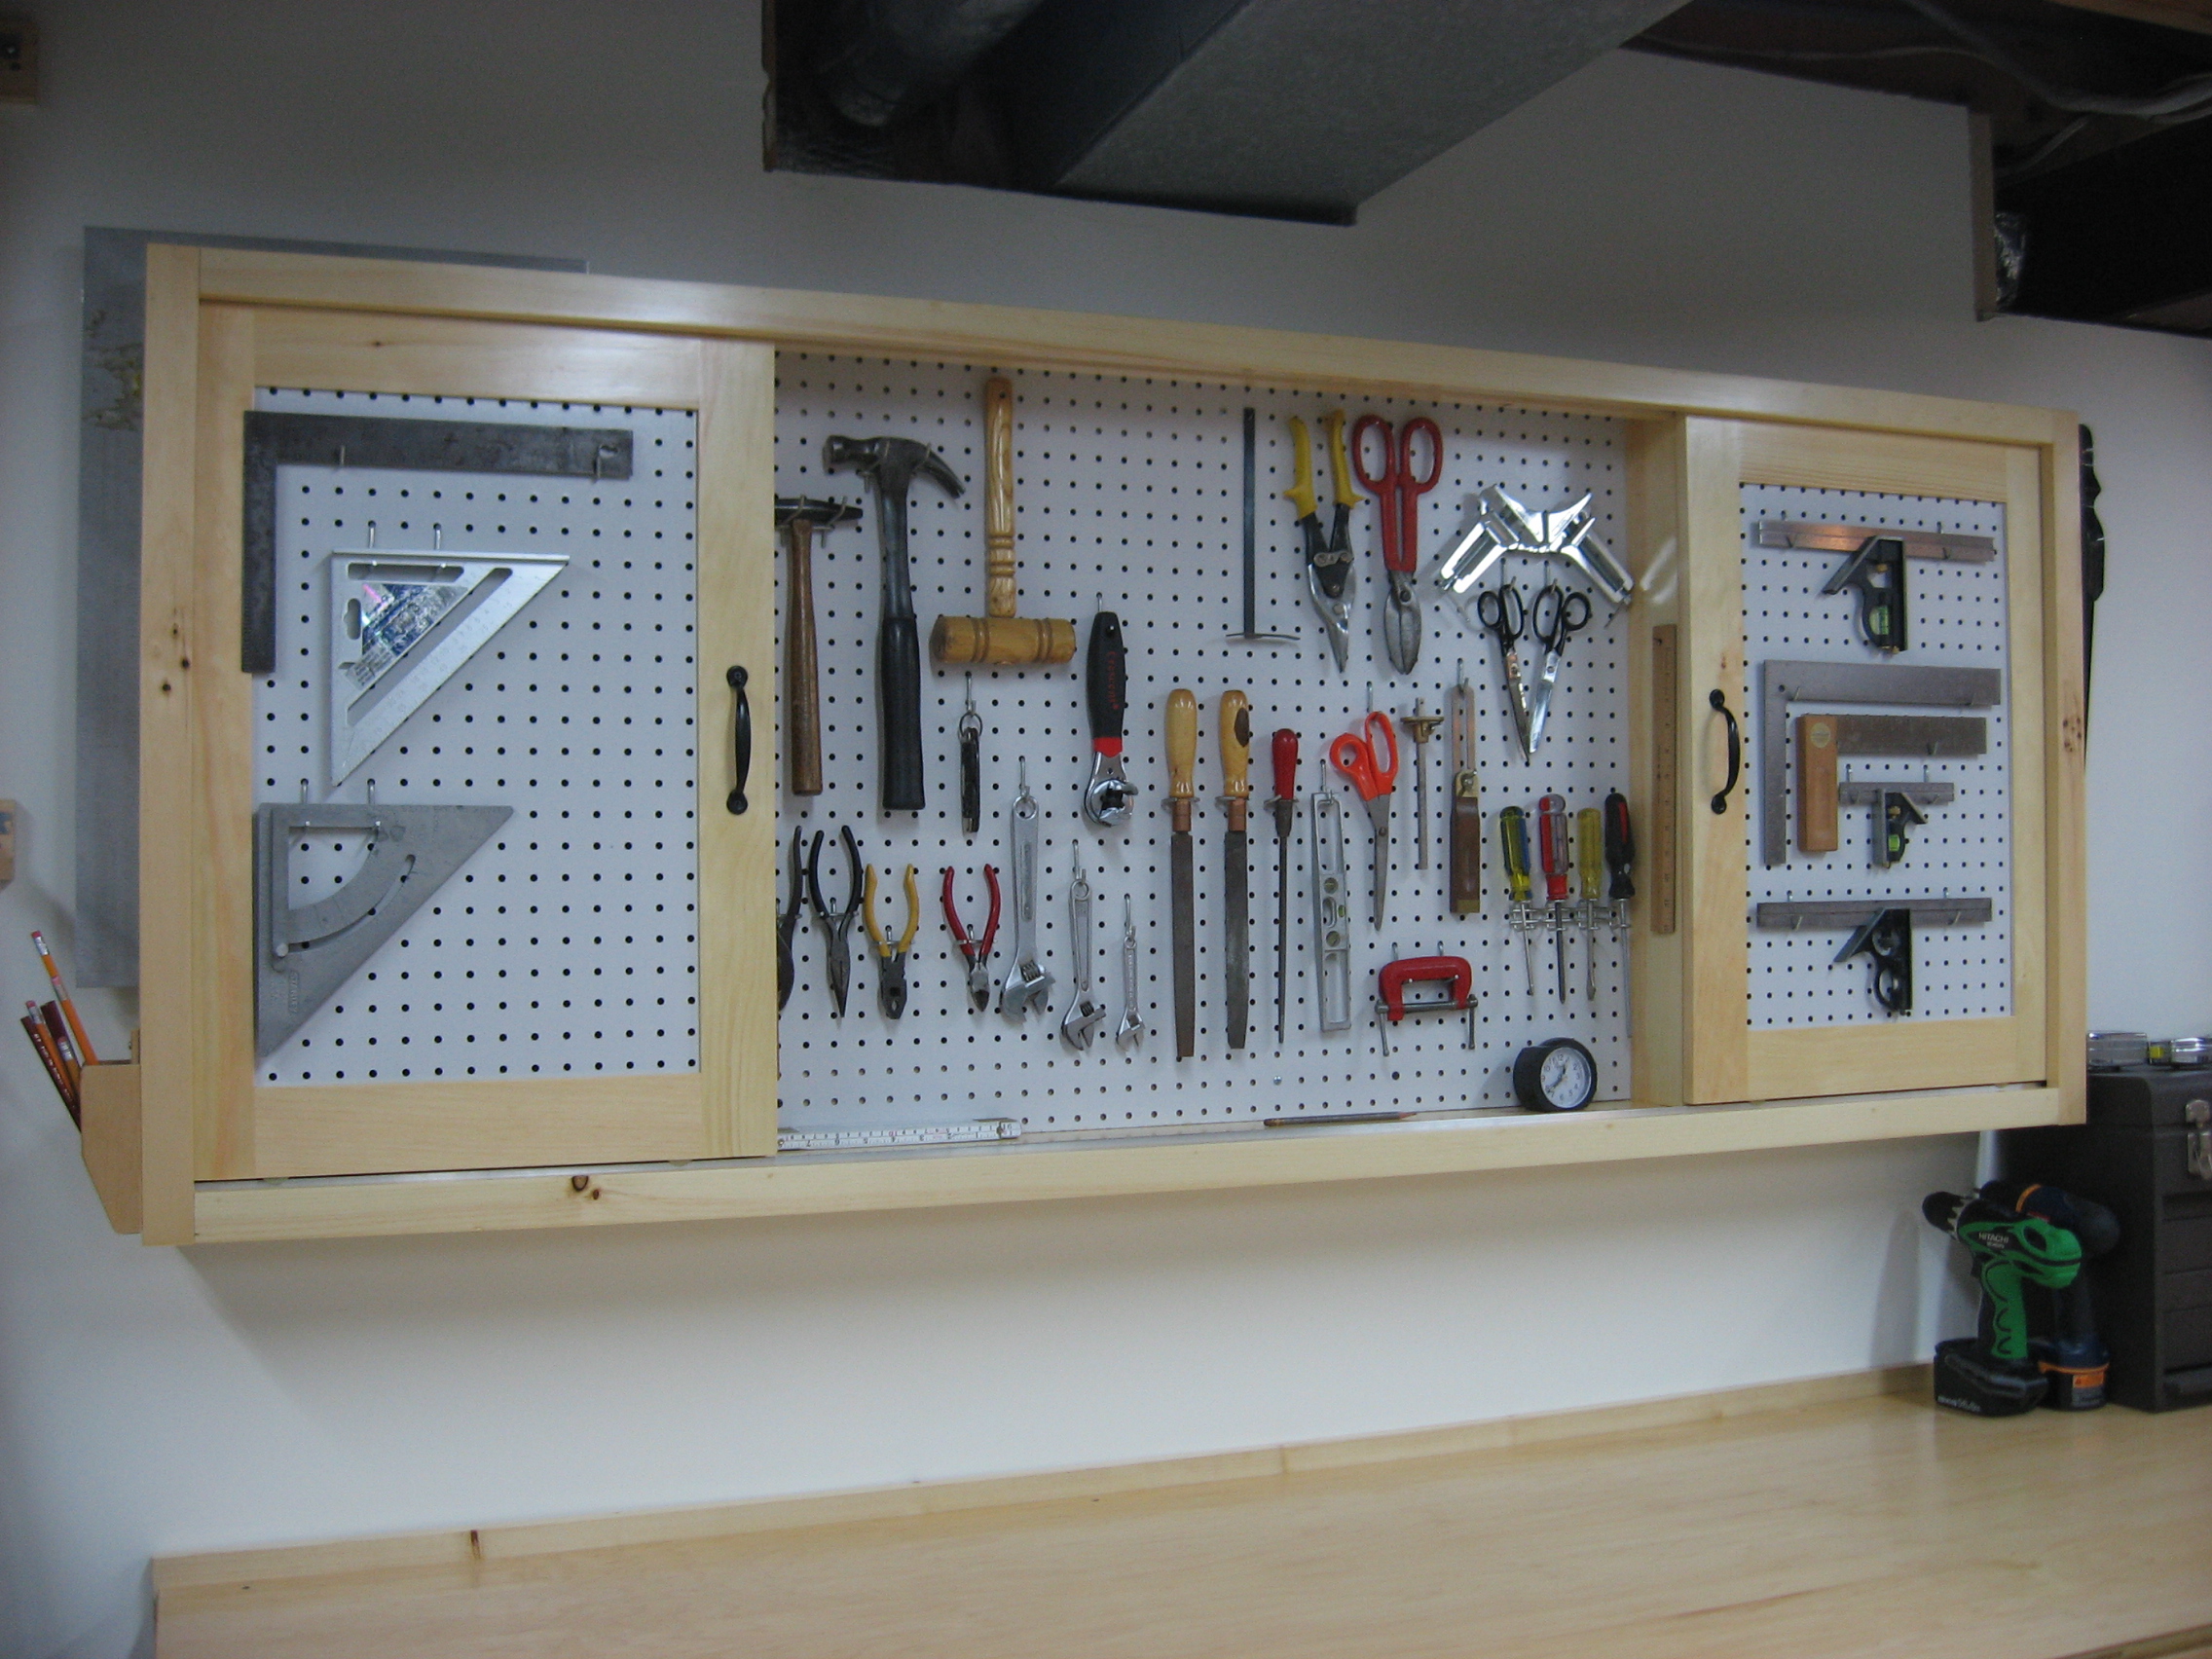
Pegboard Tool Cabinet Construction
|
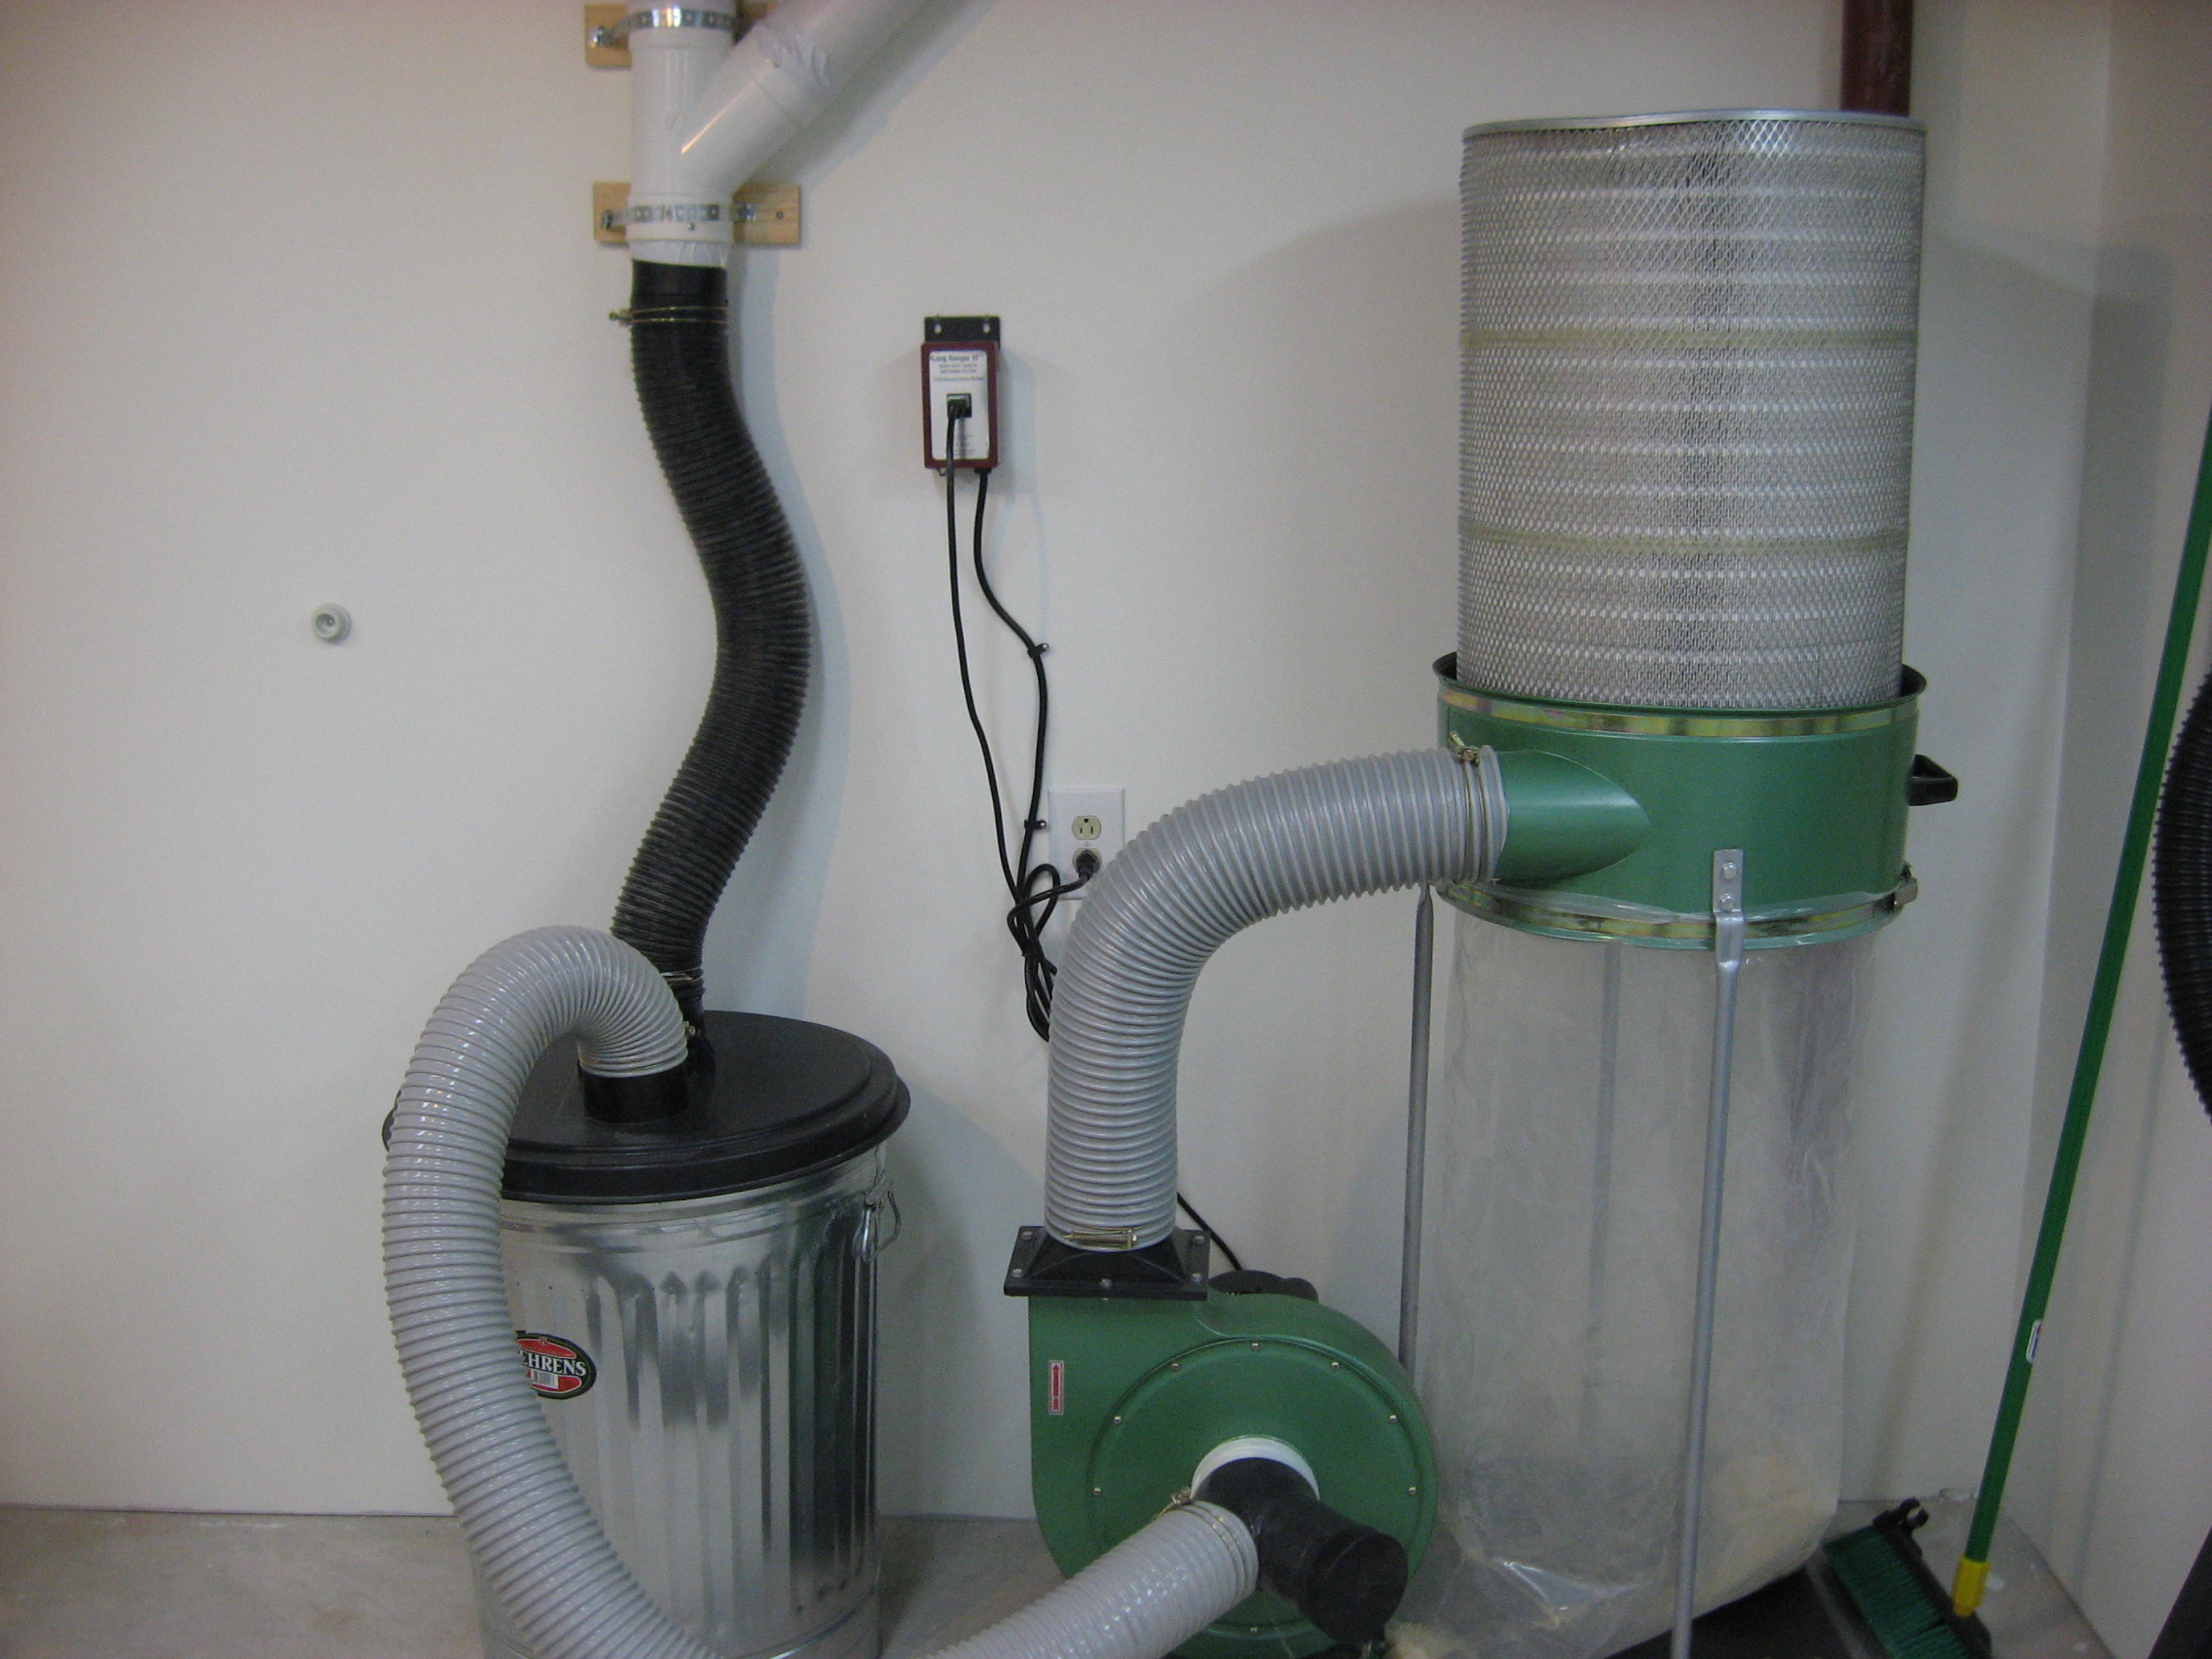 |
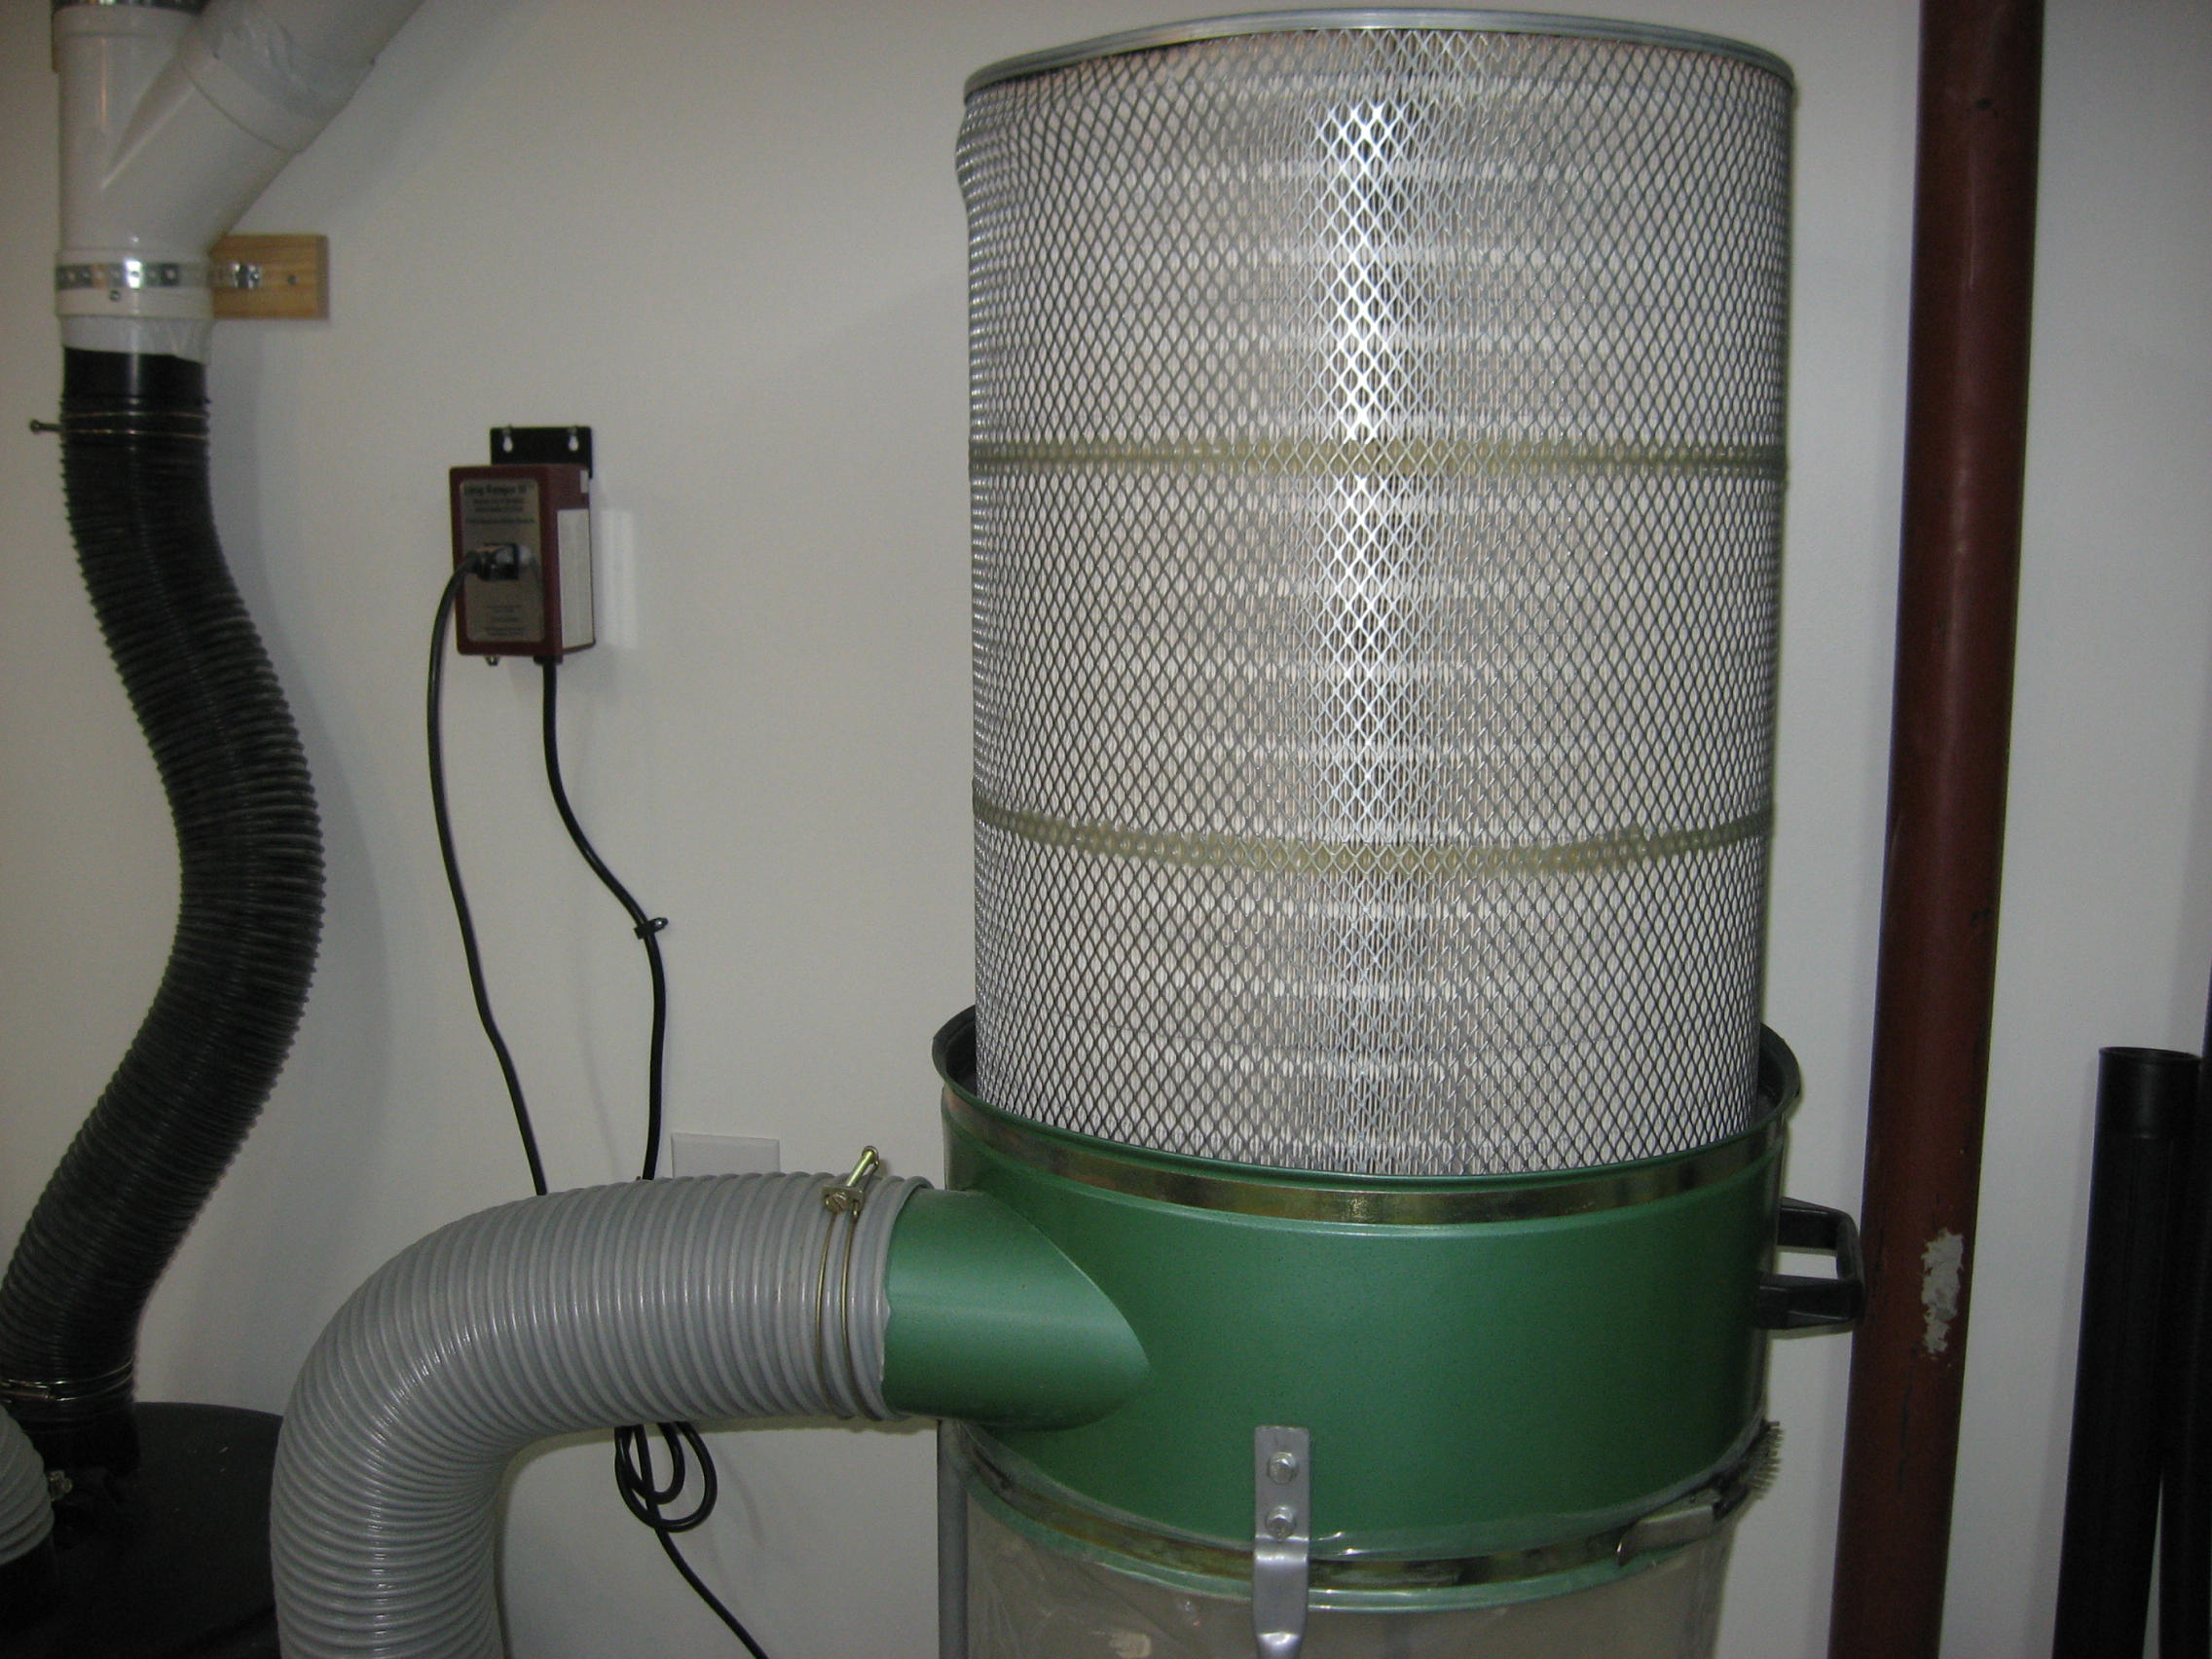
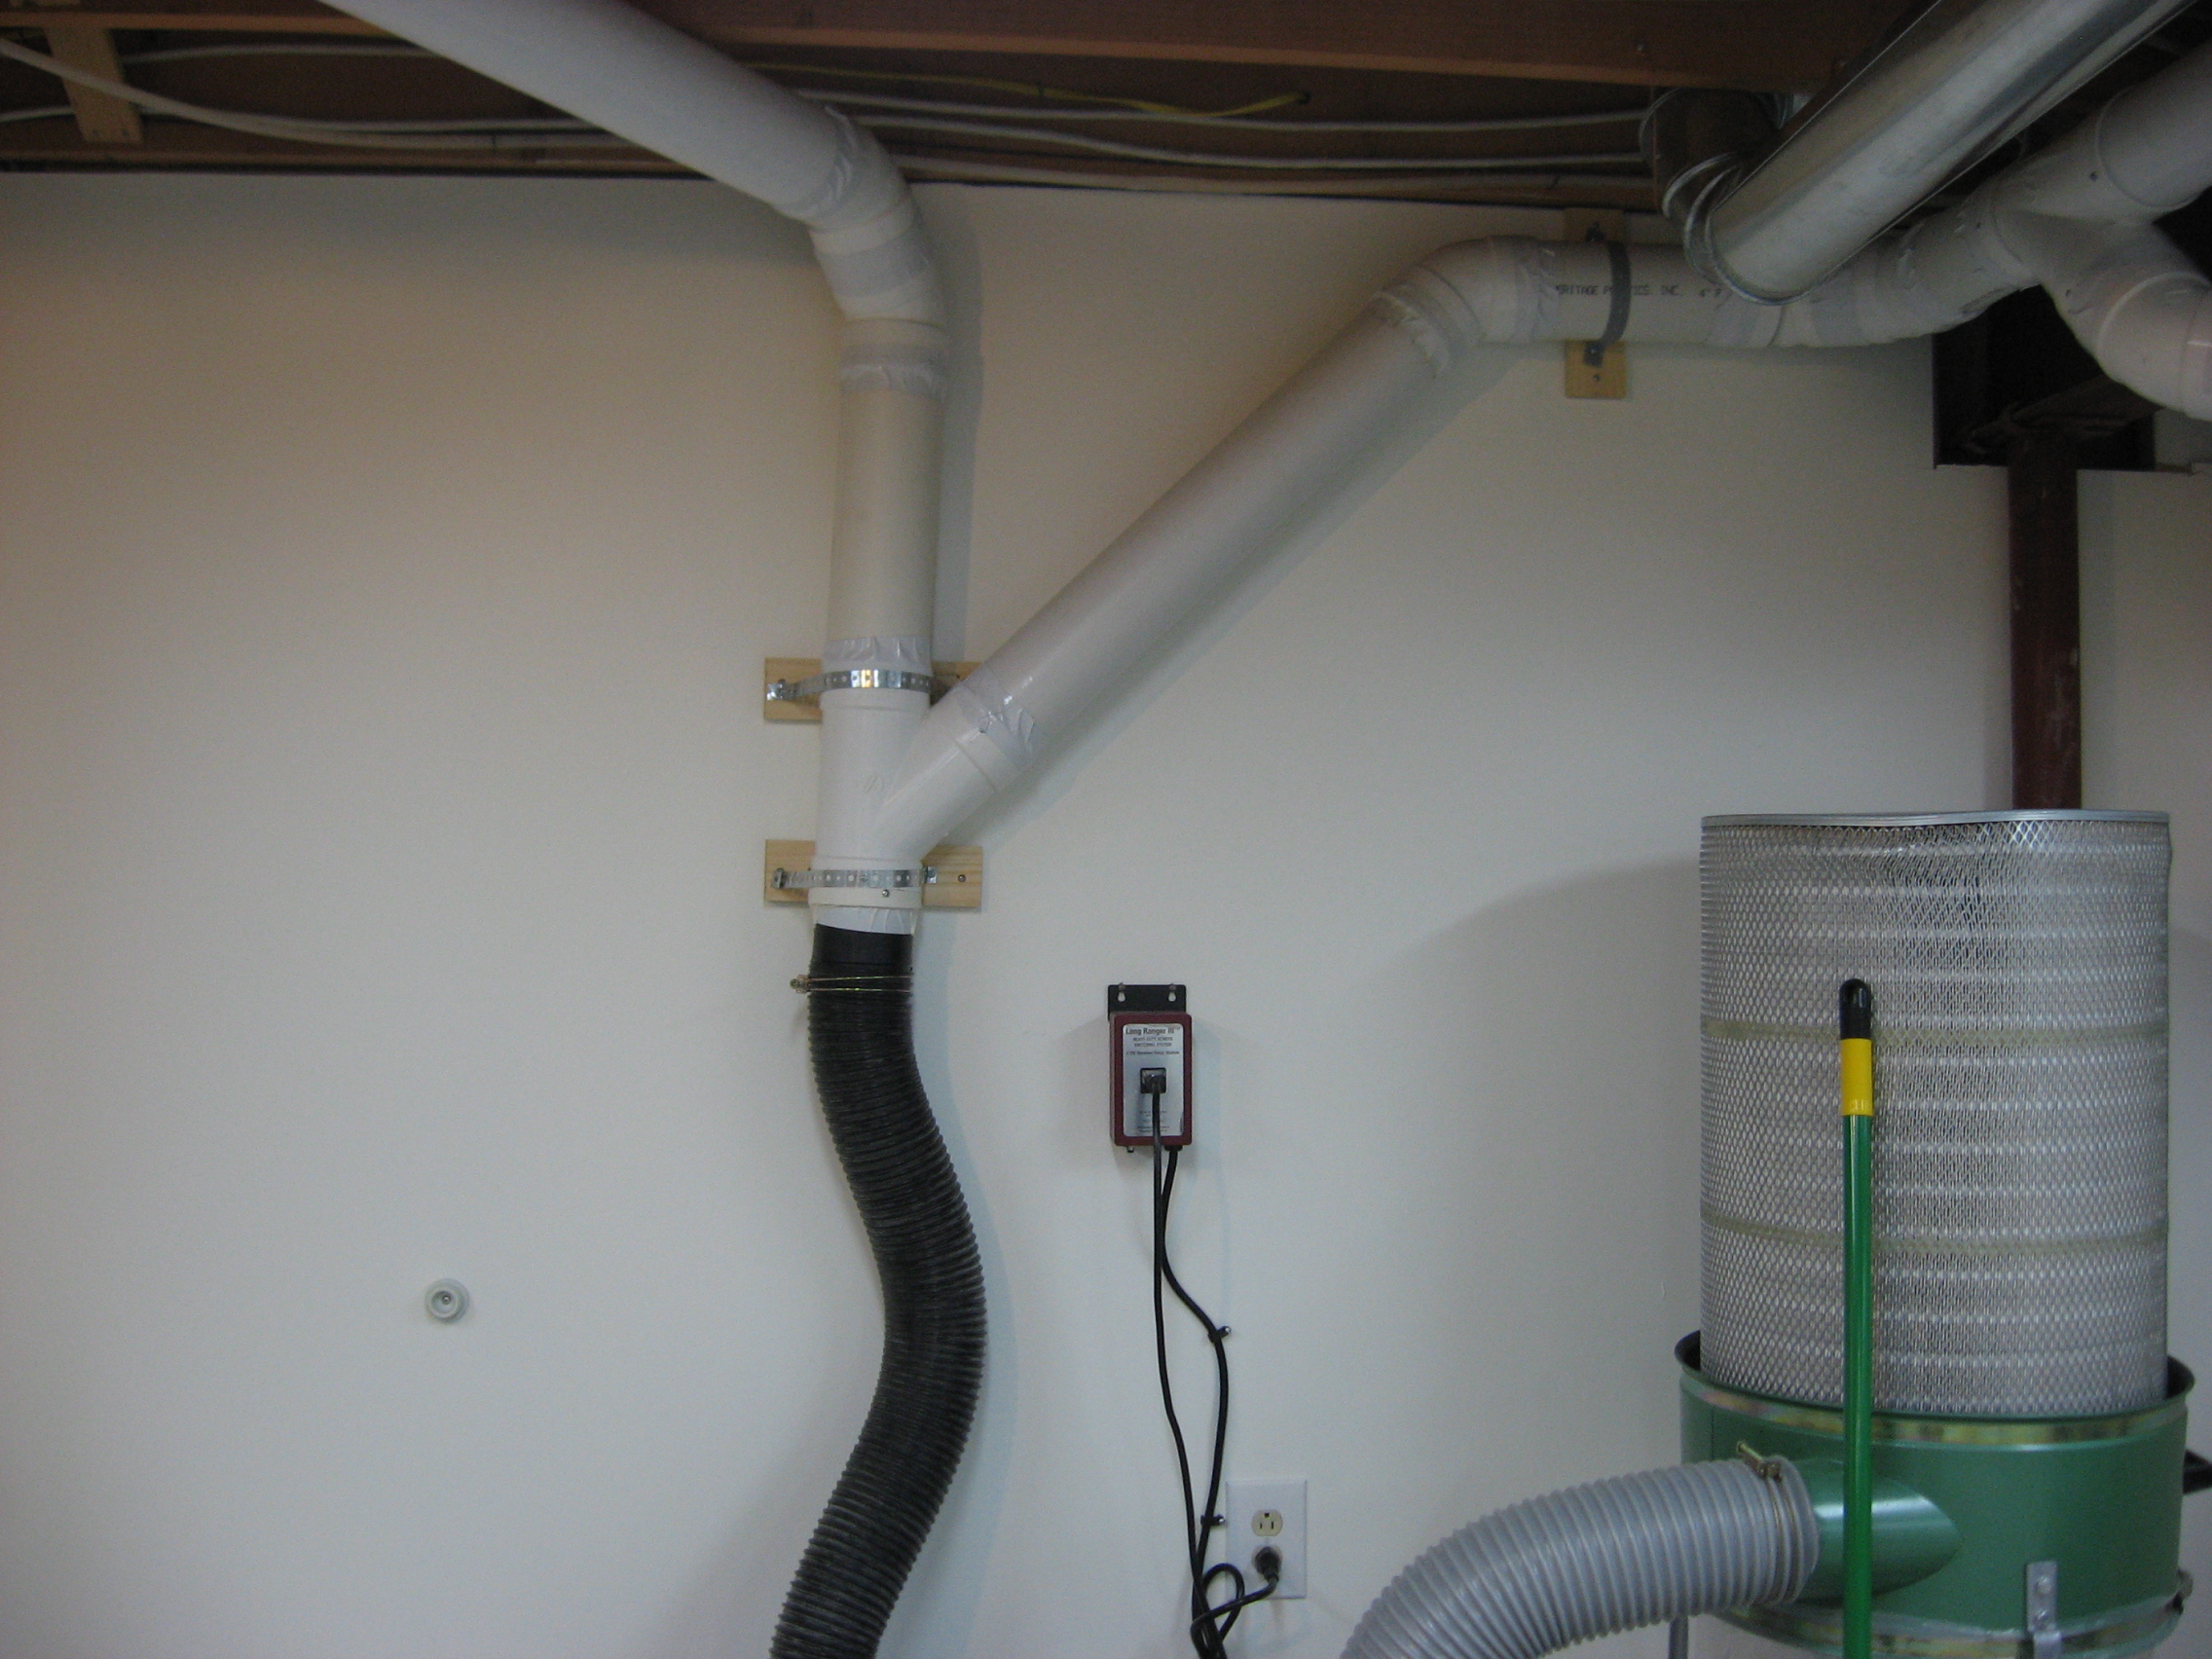
Harbor Freight Dust Collector This is one of the best "tool" investments that I have made. I went years with out a dust collection system and now wonder why I waited so long to get one. The difference in air quality in the shop after installing the DC is like night and day. The workshop is, for the most part, dust free. Here's a link to the Harbor Freight site where I purchased the Dust Collector. Wynn Canister Filter and Separator:
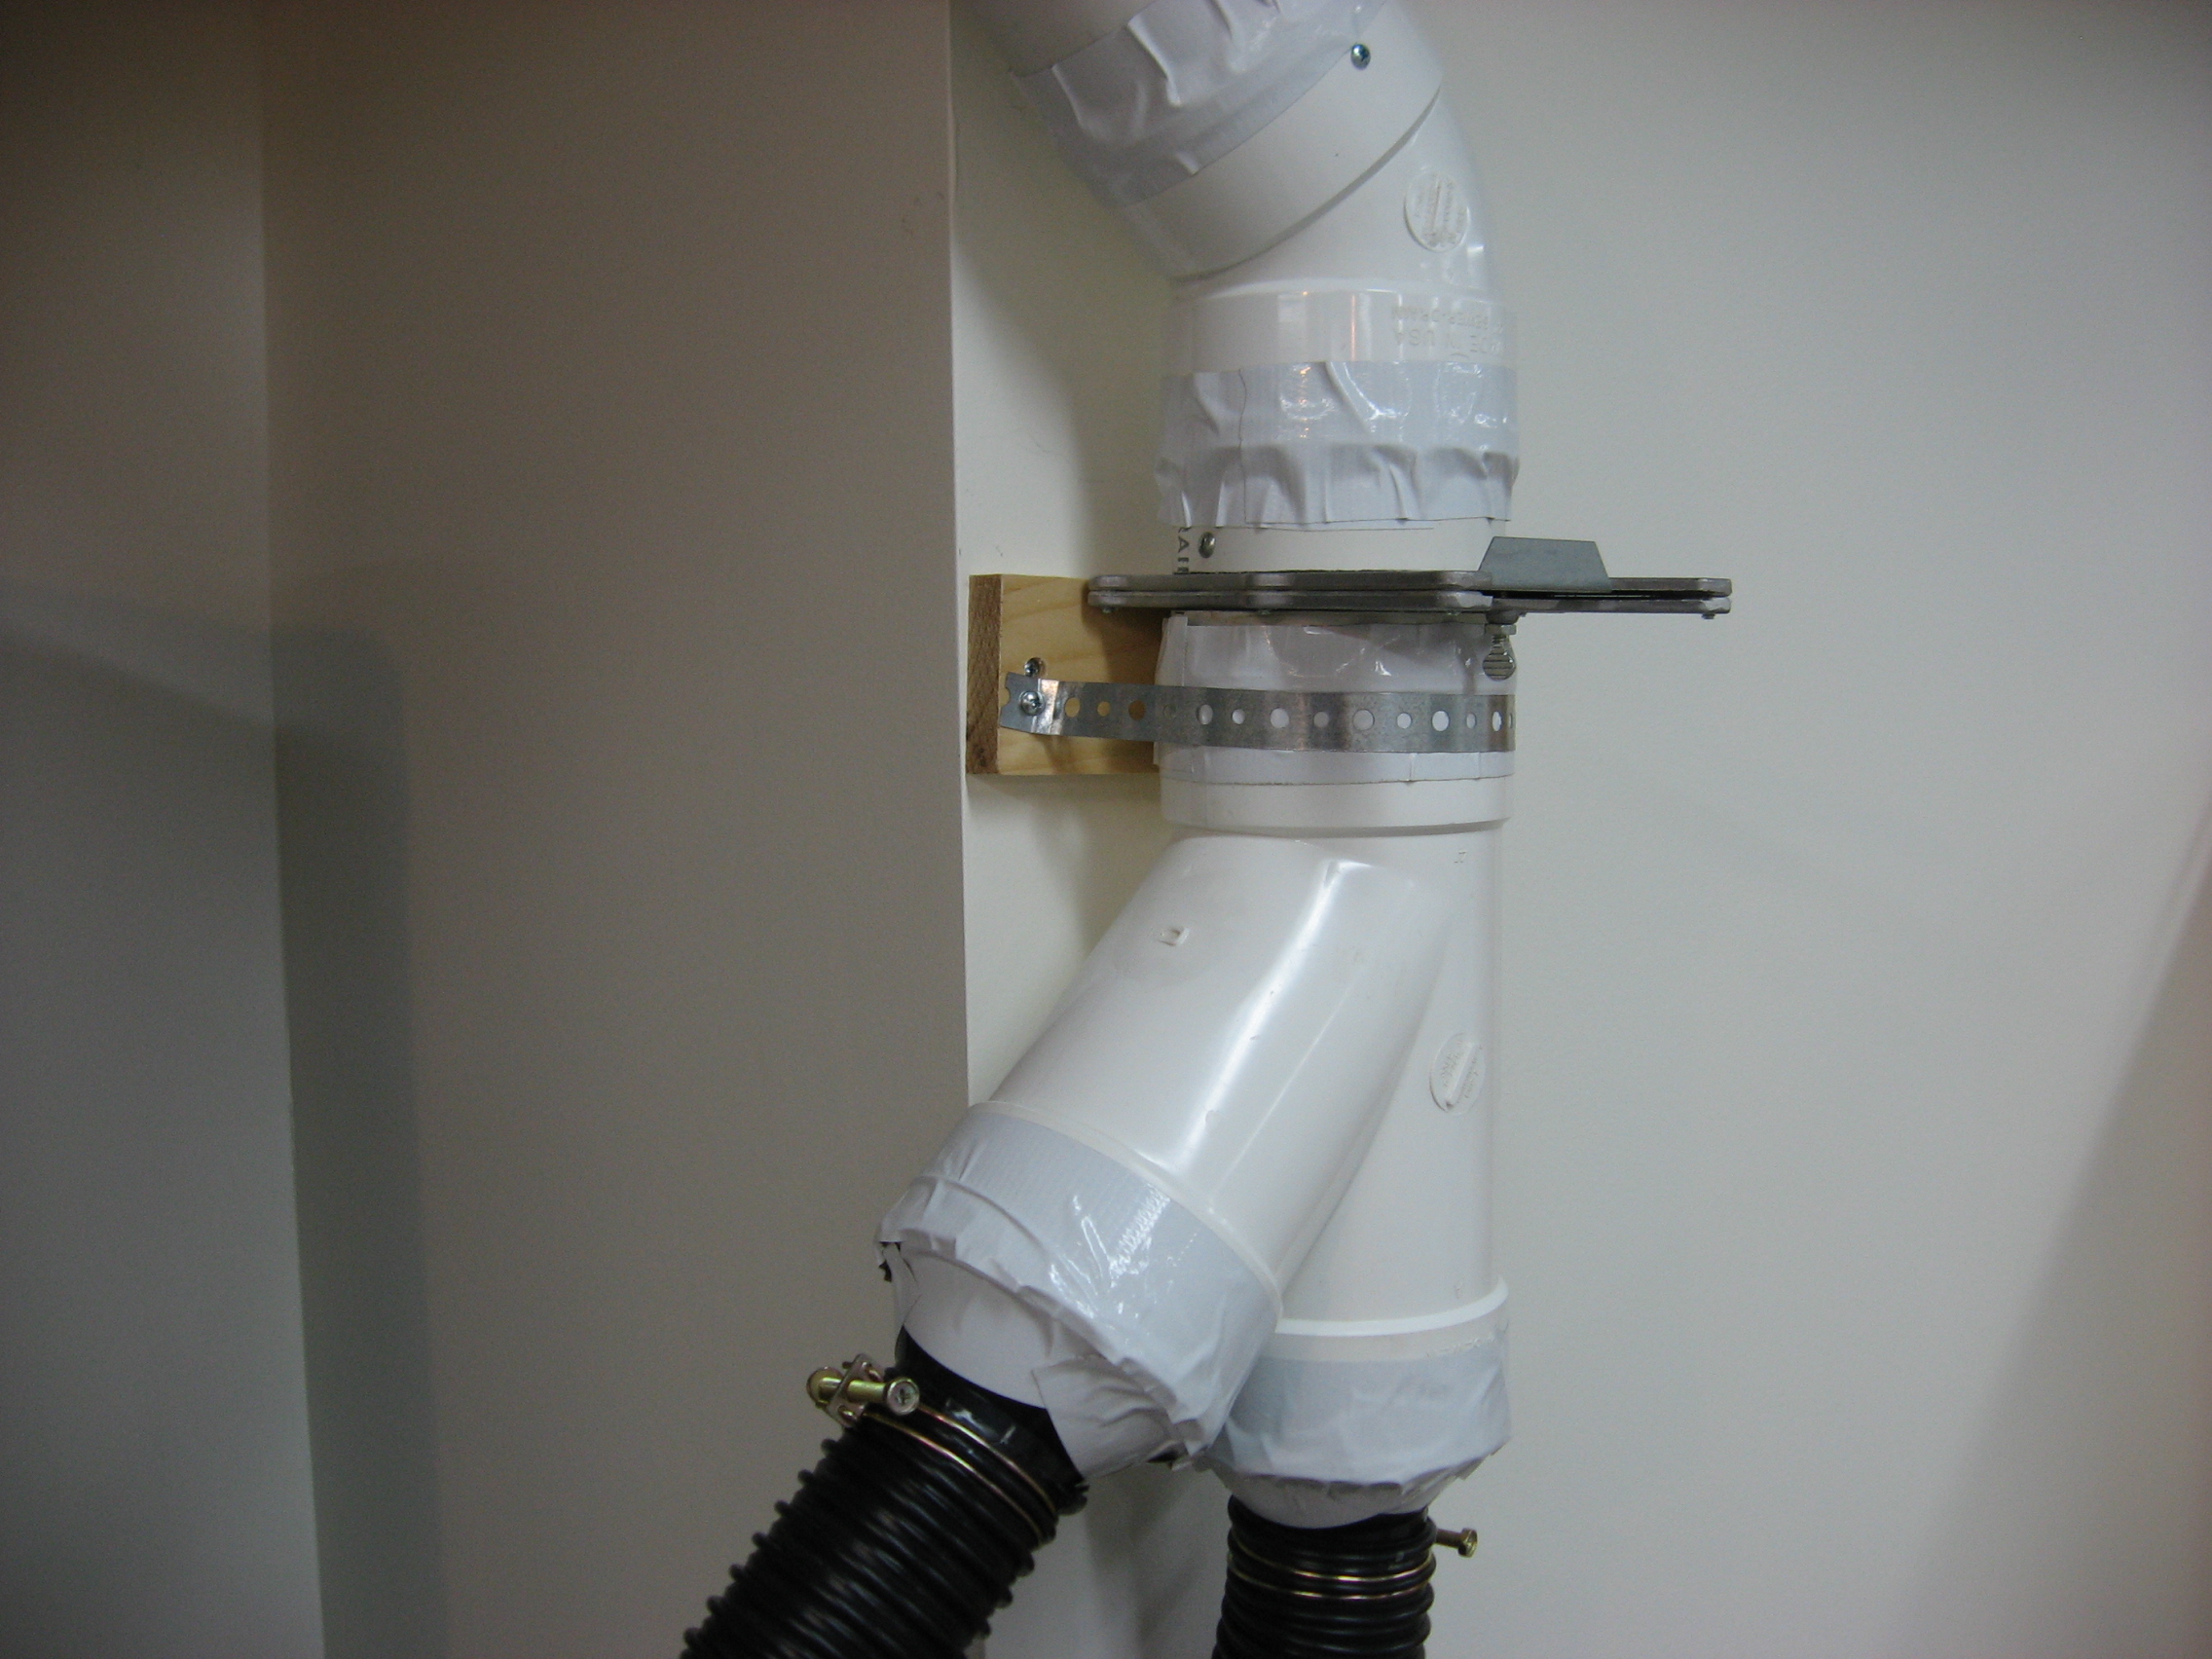
Ducting and Blast Gates: I installed 4" S&D ducting running to each stationary tool. Each tool has its own blast gate. A short length of 2 1/2" hose runs from the blast gate for tools that can not accept a 4" line. So far this arrangement has worked fine for me. I have also installed a couple additional 2 1/2" drops from the main 4" line for use as a vacuum cleaner.
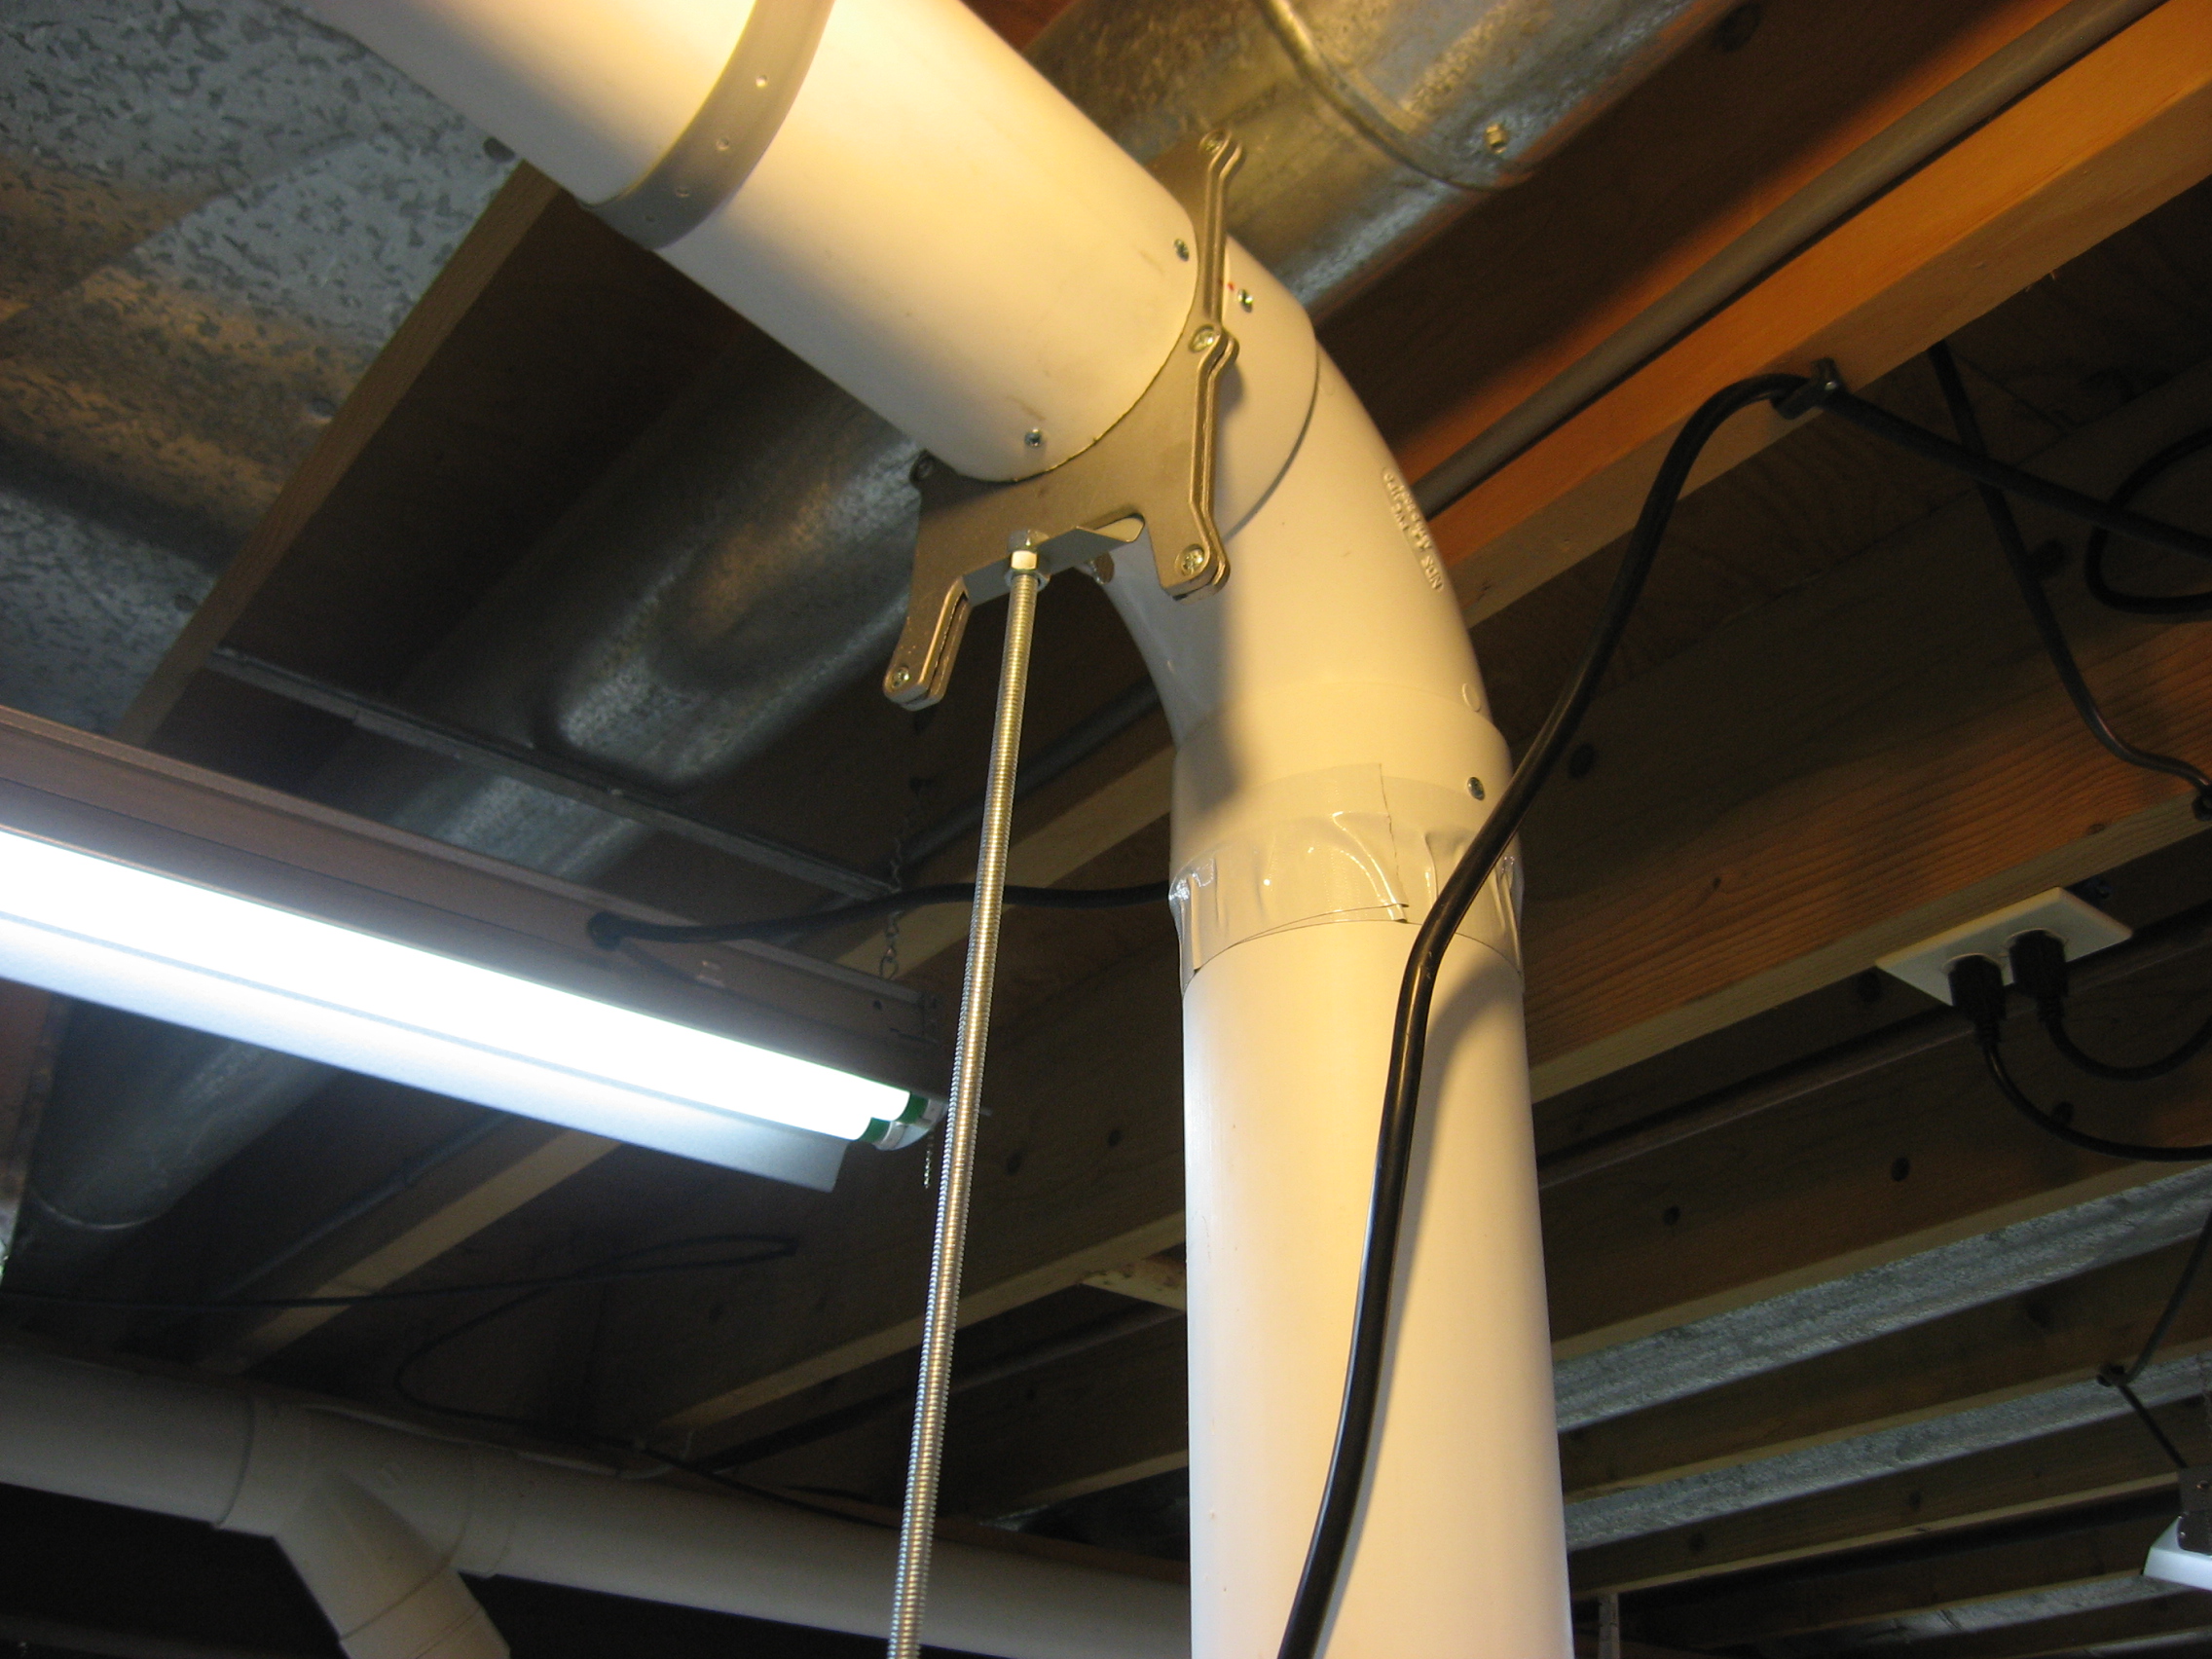
Here are some close-up pictures that show how I connected the metal blast gates to the 4" S&D. I used White Duct Tape to seal and hold the S&D joints. [Very good stuff] The joints where I needed a little more "holding power" I put one or two short #6 screws into the unions and use Duct Tape as well. I only use metal blast gates. They last much longer than the plastic ones.
The metal blast gates are smaller than the 4" S&D pipe and posed a
problem to get them to fit snugly. To solve this problem, I took a
length of regular gray Duct Tape, ripped it lengthwise down the center
and wound it around the metal Blast Gate sleeve until it fit snugly
inside the 4" S&D pipe. I then trimmed the access tape to the same
length as the Blast Gate sleeve. The snug fit provided a
good air seal and I used a couple of #6 screws to hold the Blast Gate
and the S&D pipe together. I found that Amazon.com has some of the least expensive dust collection accessories (blast gates, reducers, hoses, etc.) ON/Off Switch:
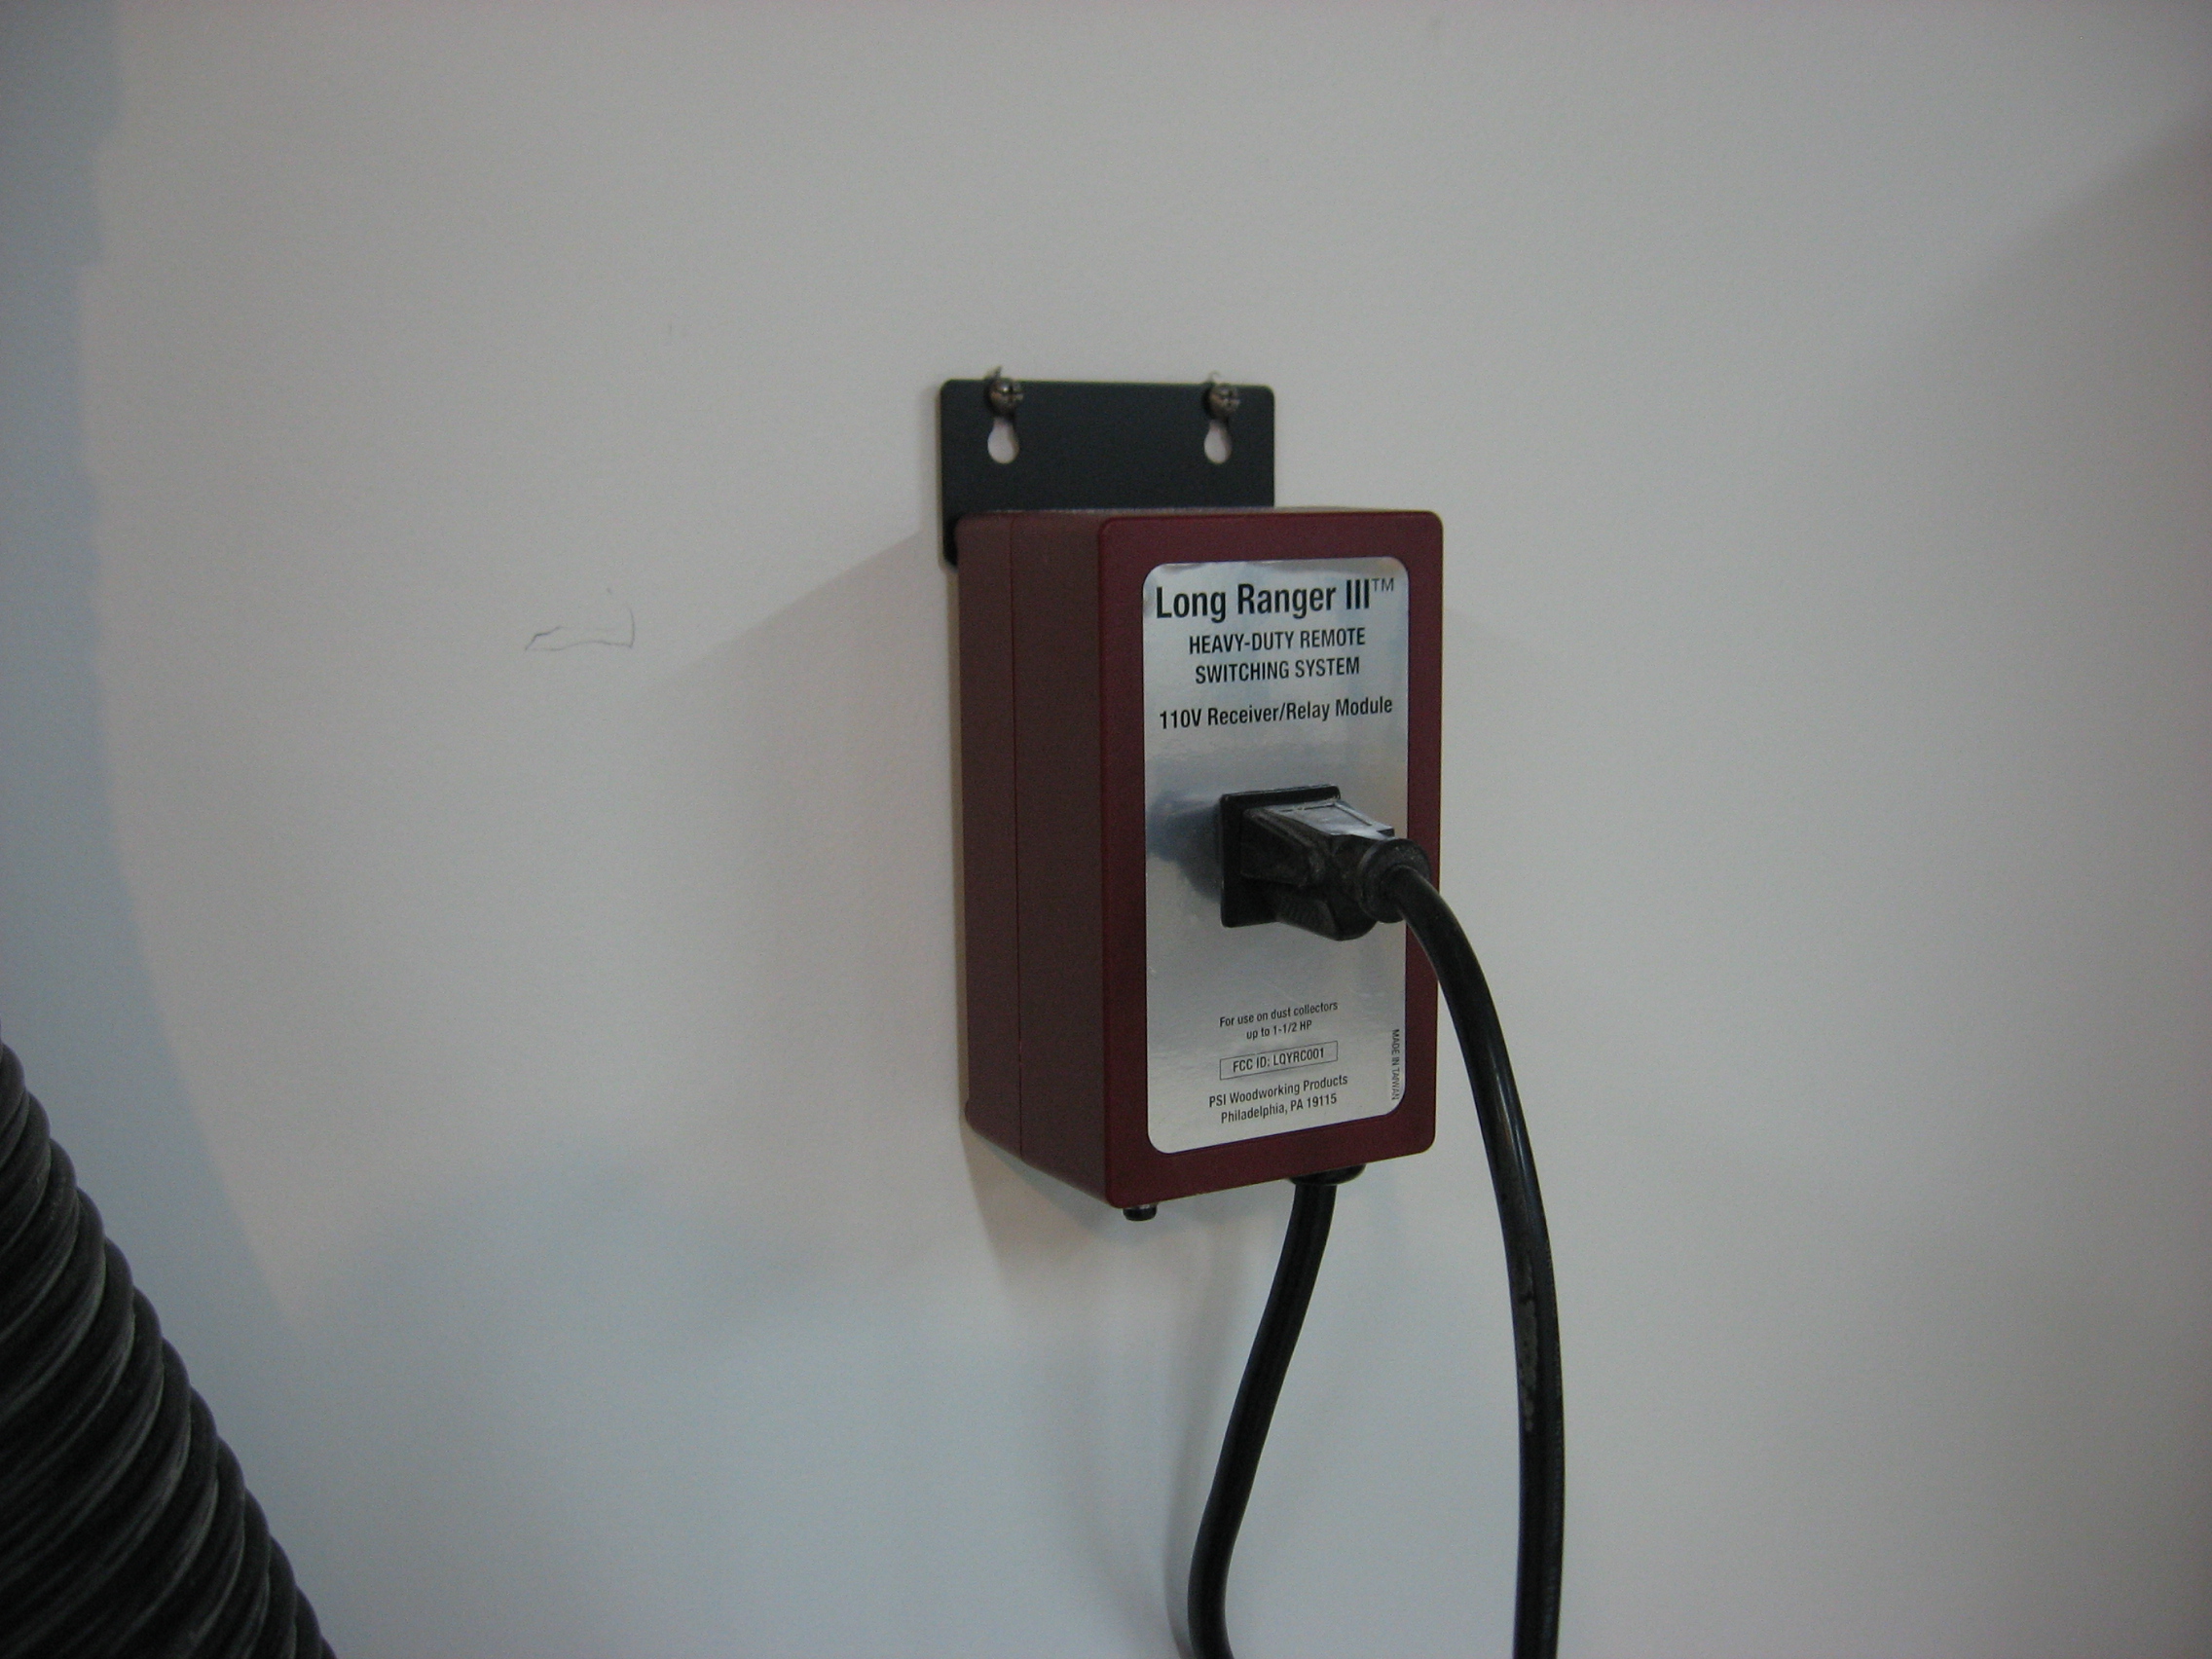
After installing a dedicated 20amp line to the DC, I went the easy route and purchased the Long Ranger III remote switch. This arrangement works the best since I can keep the remote conviently on the table saw or in my shirt pocket if I'am moving around the shop. |
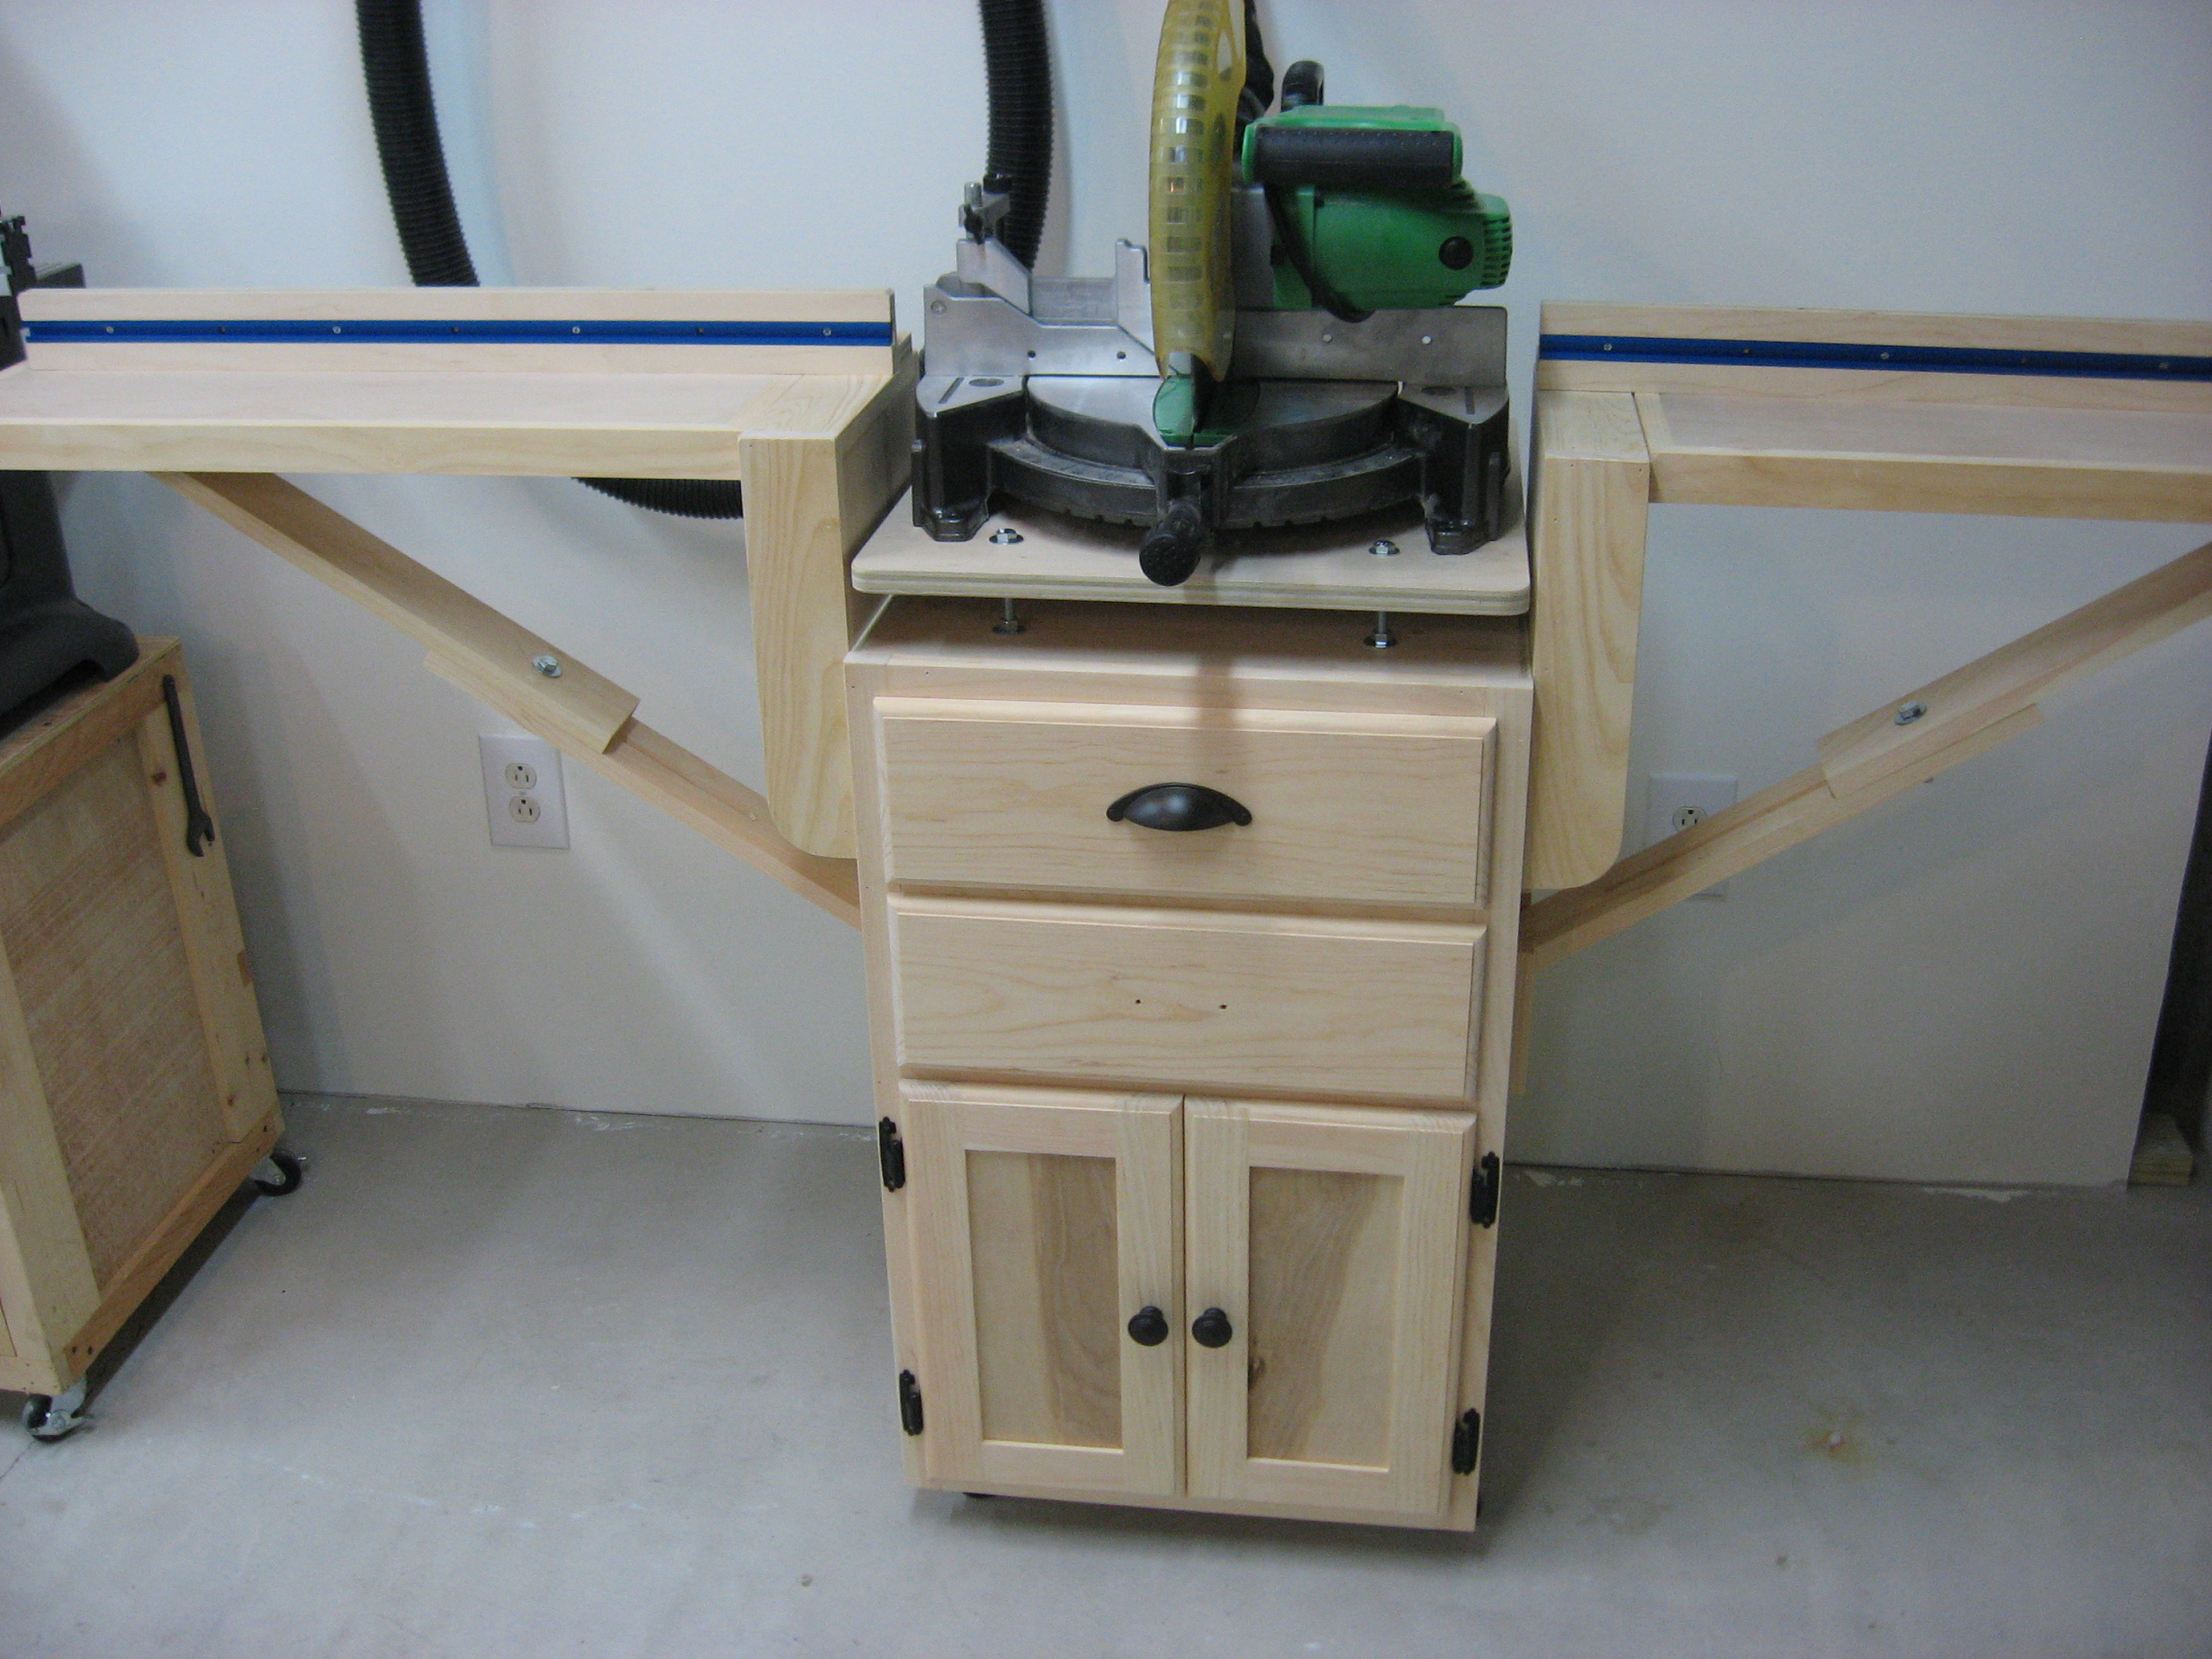 |
Miter Saw - Hitachi 10" I recently made the cabinet for the miter saw. Although I decided to put hinged wings on the cabinet I have the room to leave the wings up. The cabinet is on casters so that it can be moved when cutting long pieces.
|
The SketchUp Model
Shop Tour
Shop Construction Phase
Click on any picture thumb to see an expanded view
Here's a tour of
my "new and improved" workshop. In late 2011 my wife and I moved from our
farm house where we lived for 30 years to a newer home with a much larger
basement.
Since I'm a SketchUp user, I took the opportunity to use SketchUp to layout my
new workshop in detail. Part of the decision process was to take down an
existing partition wall and put up others. Other decisions included
placement of lighting, electrical and dust collection. The new shop is 500
Sq. Ft.
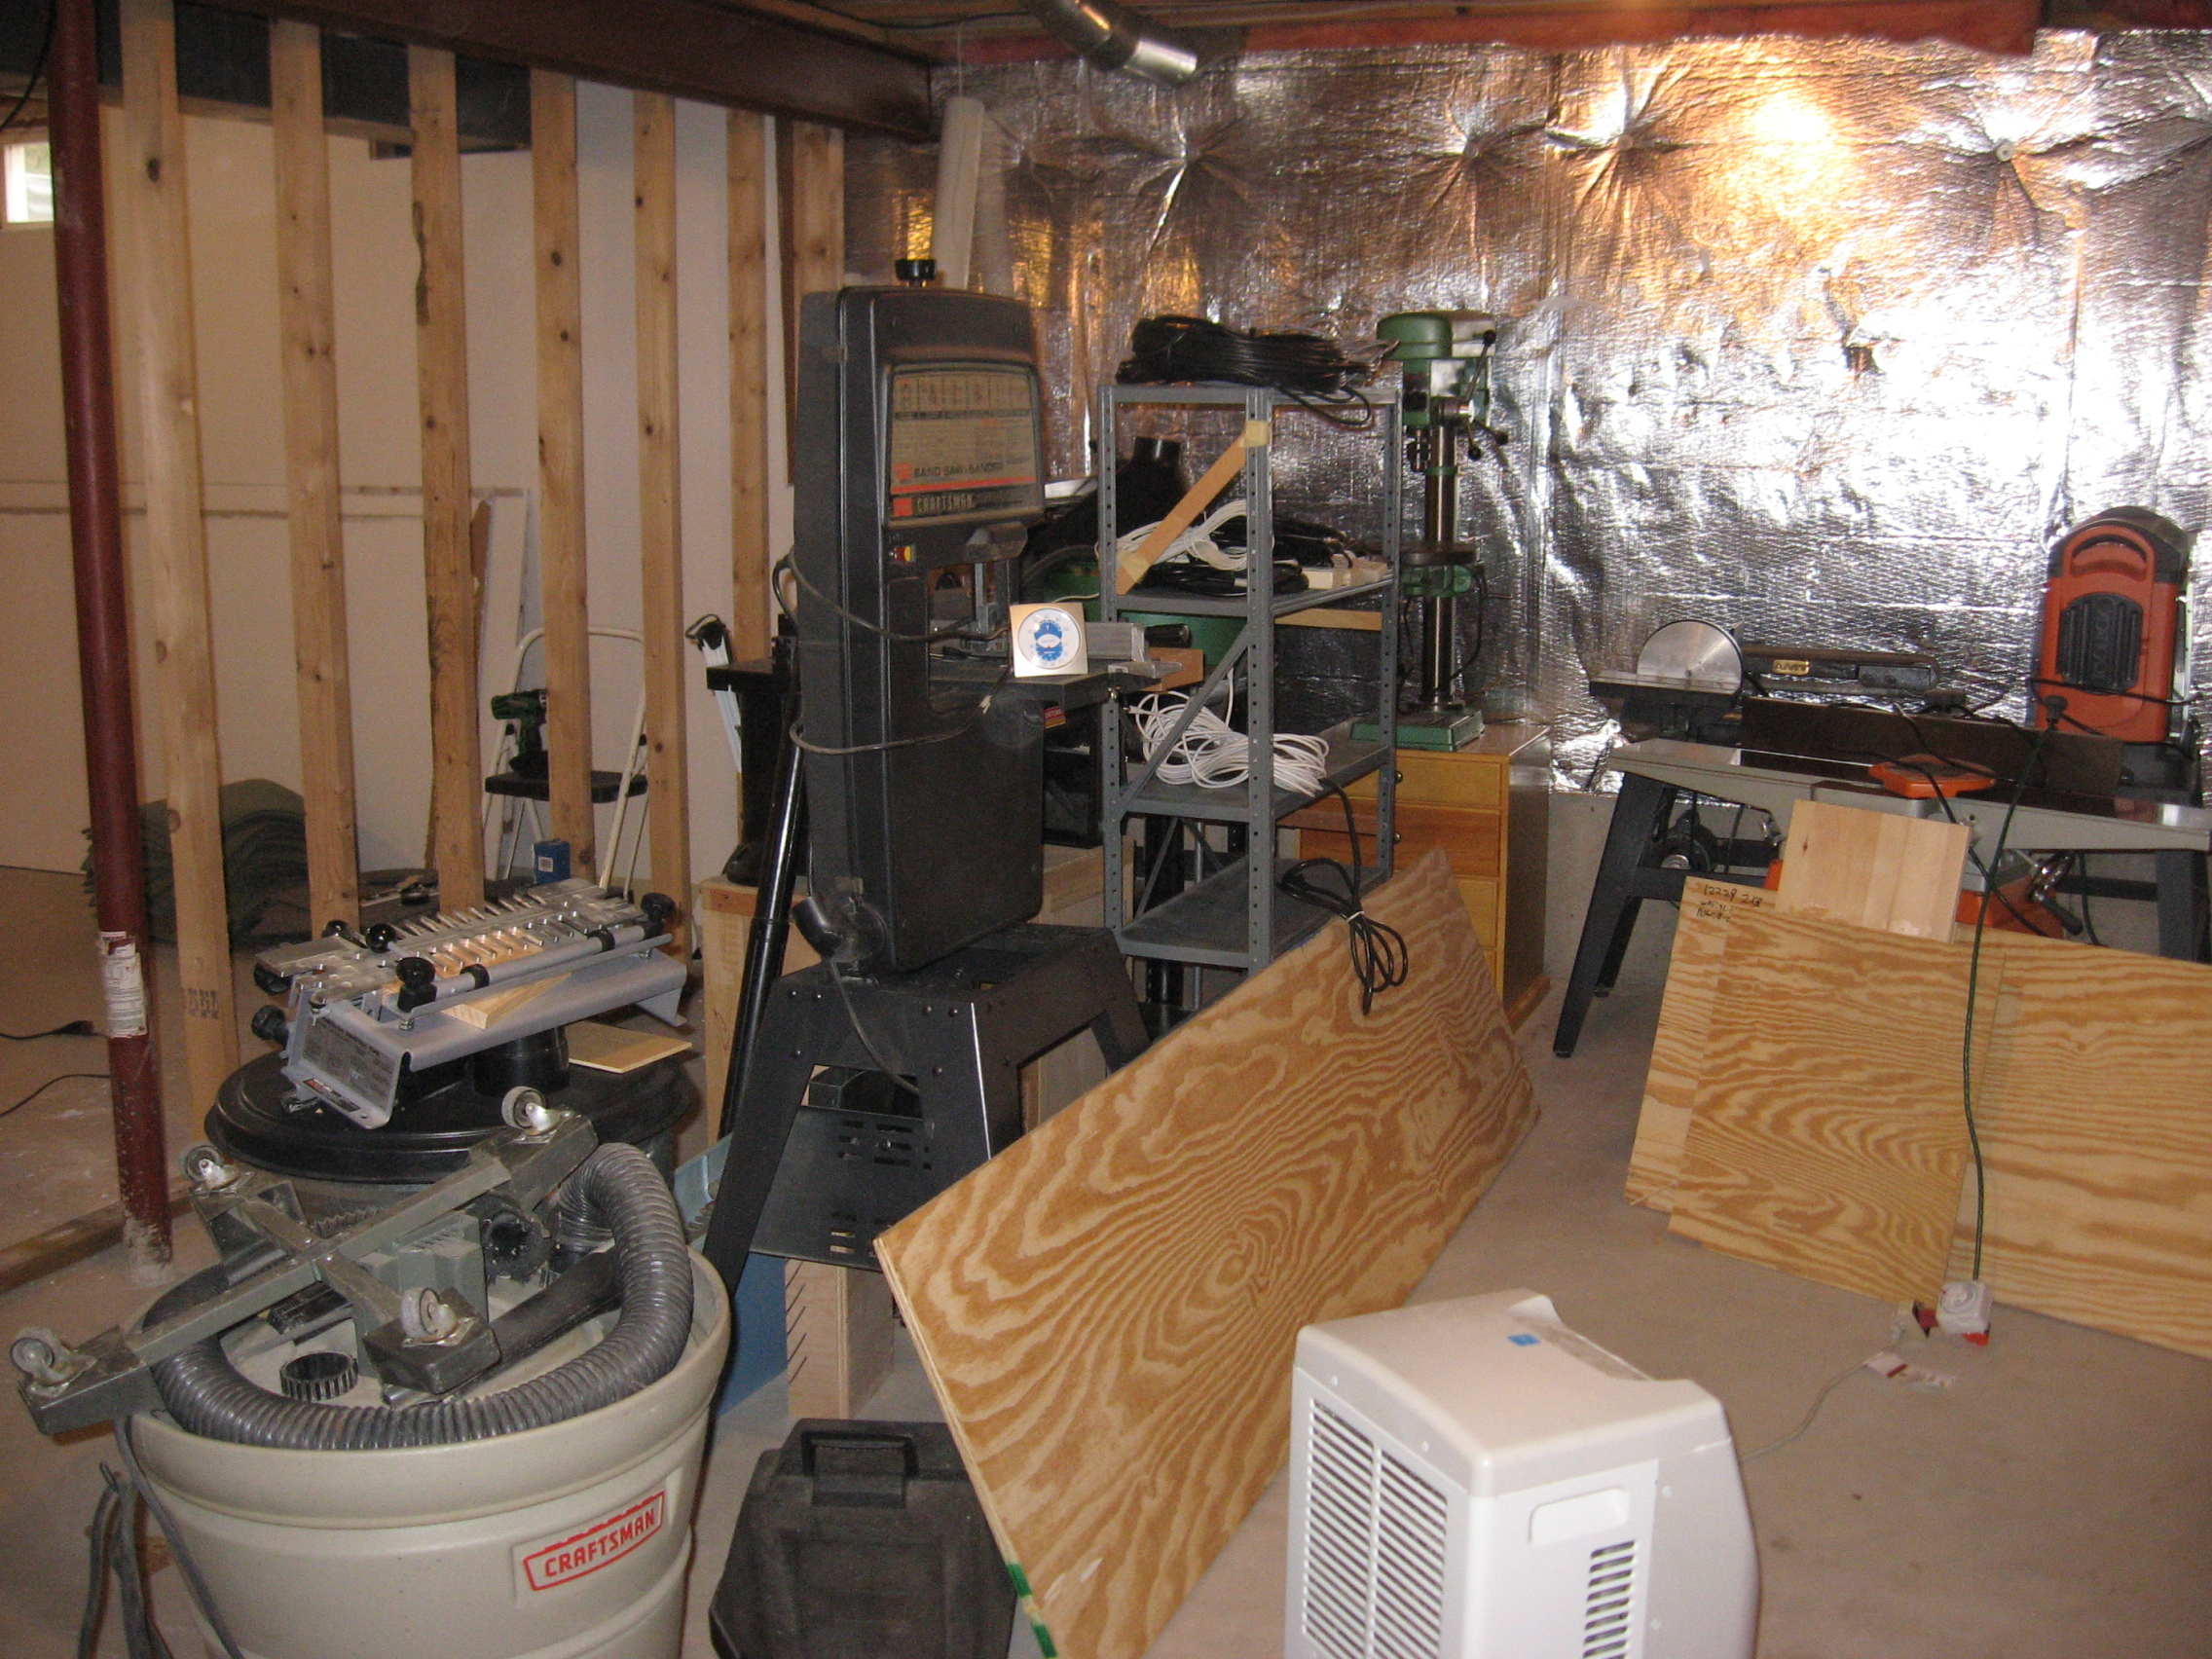
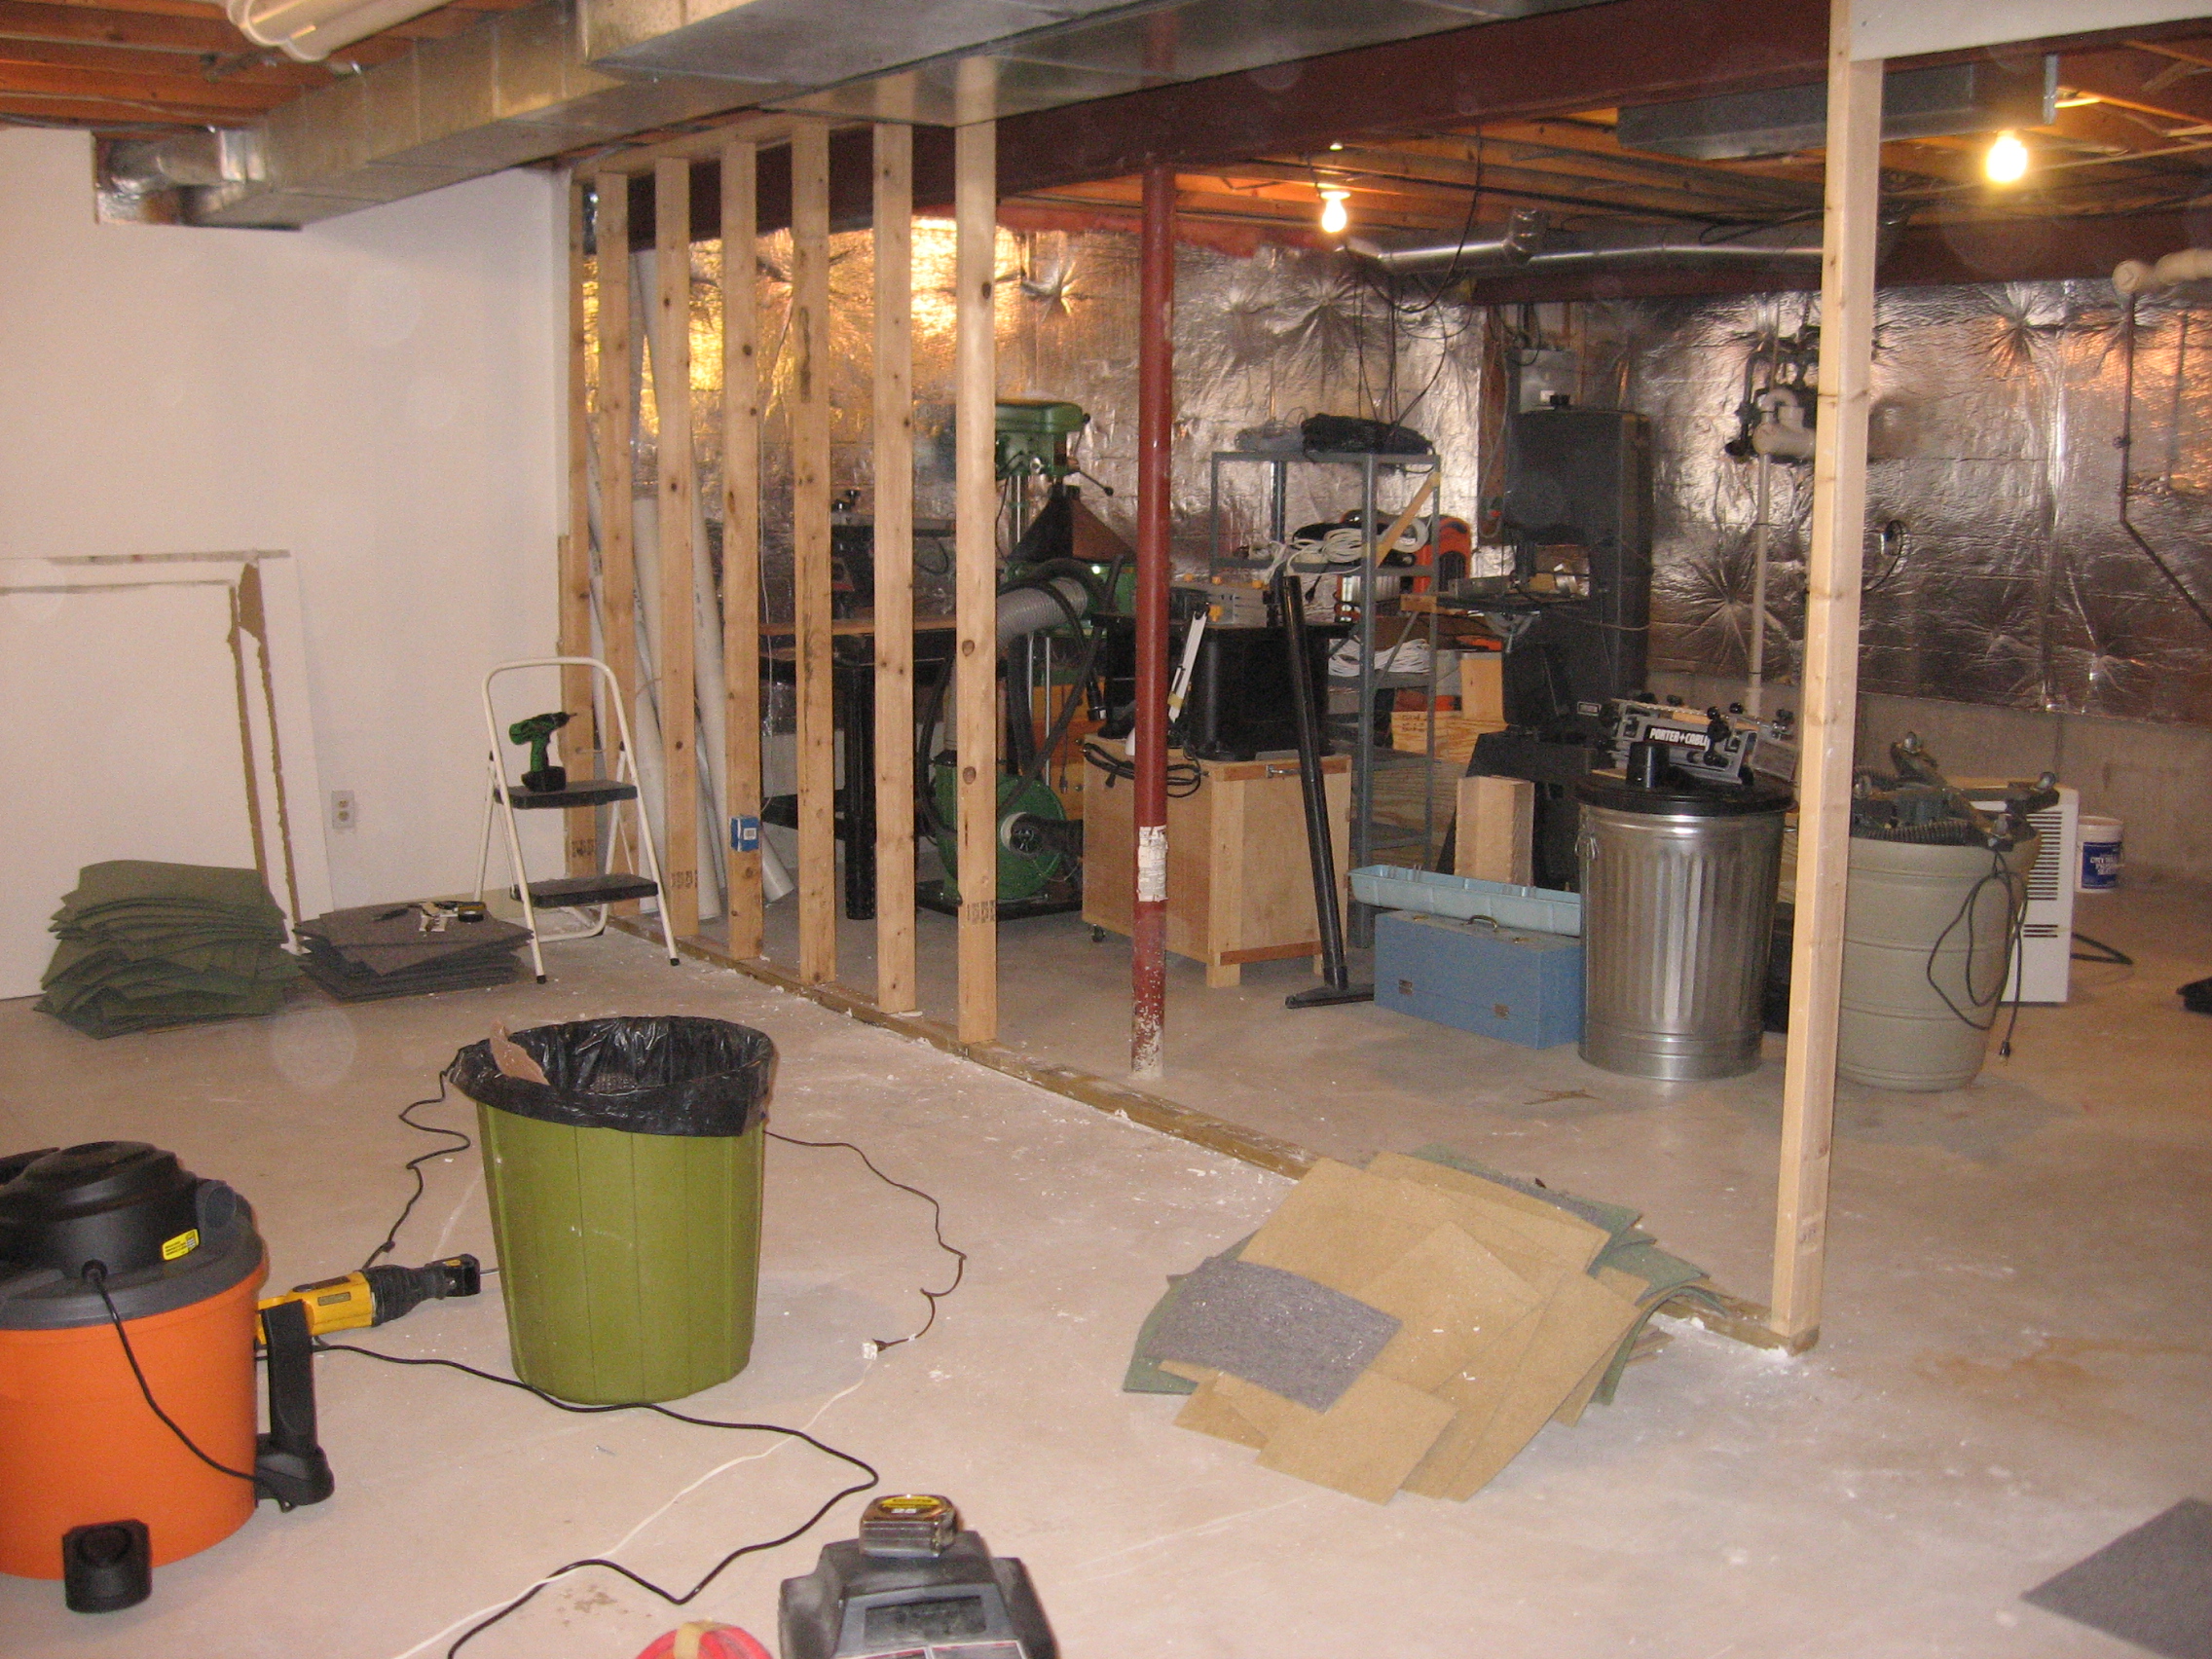
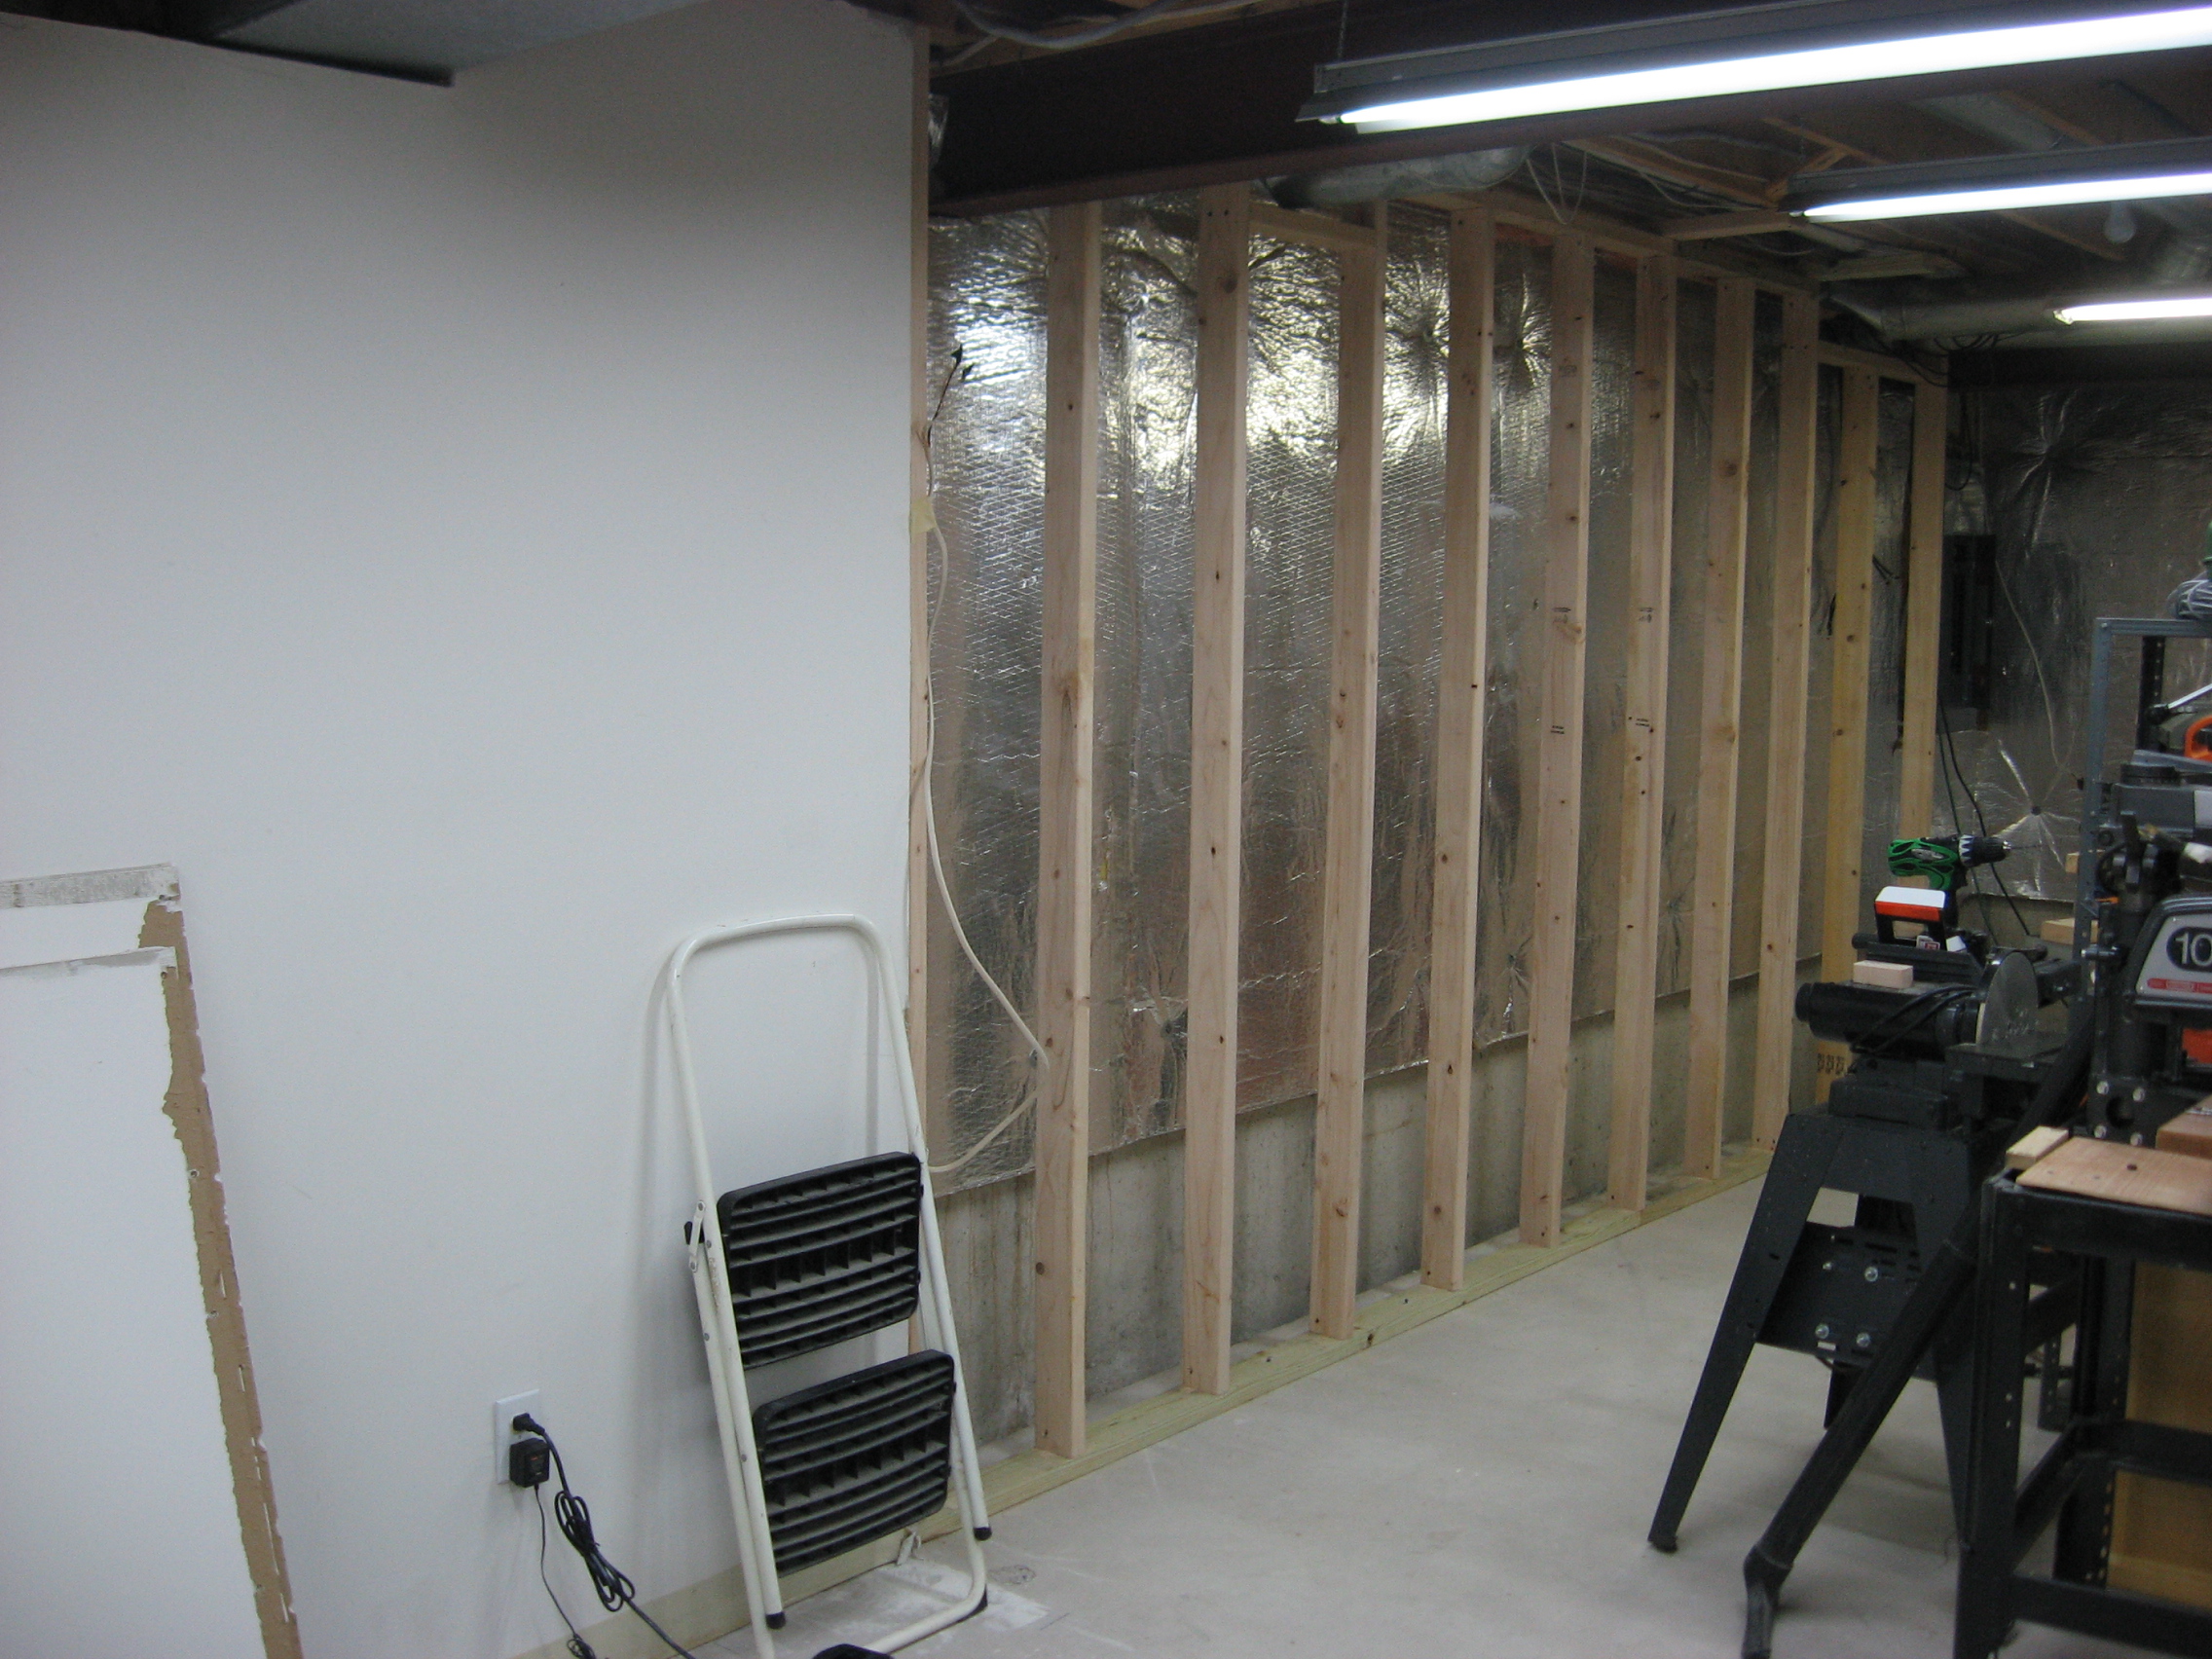
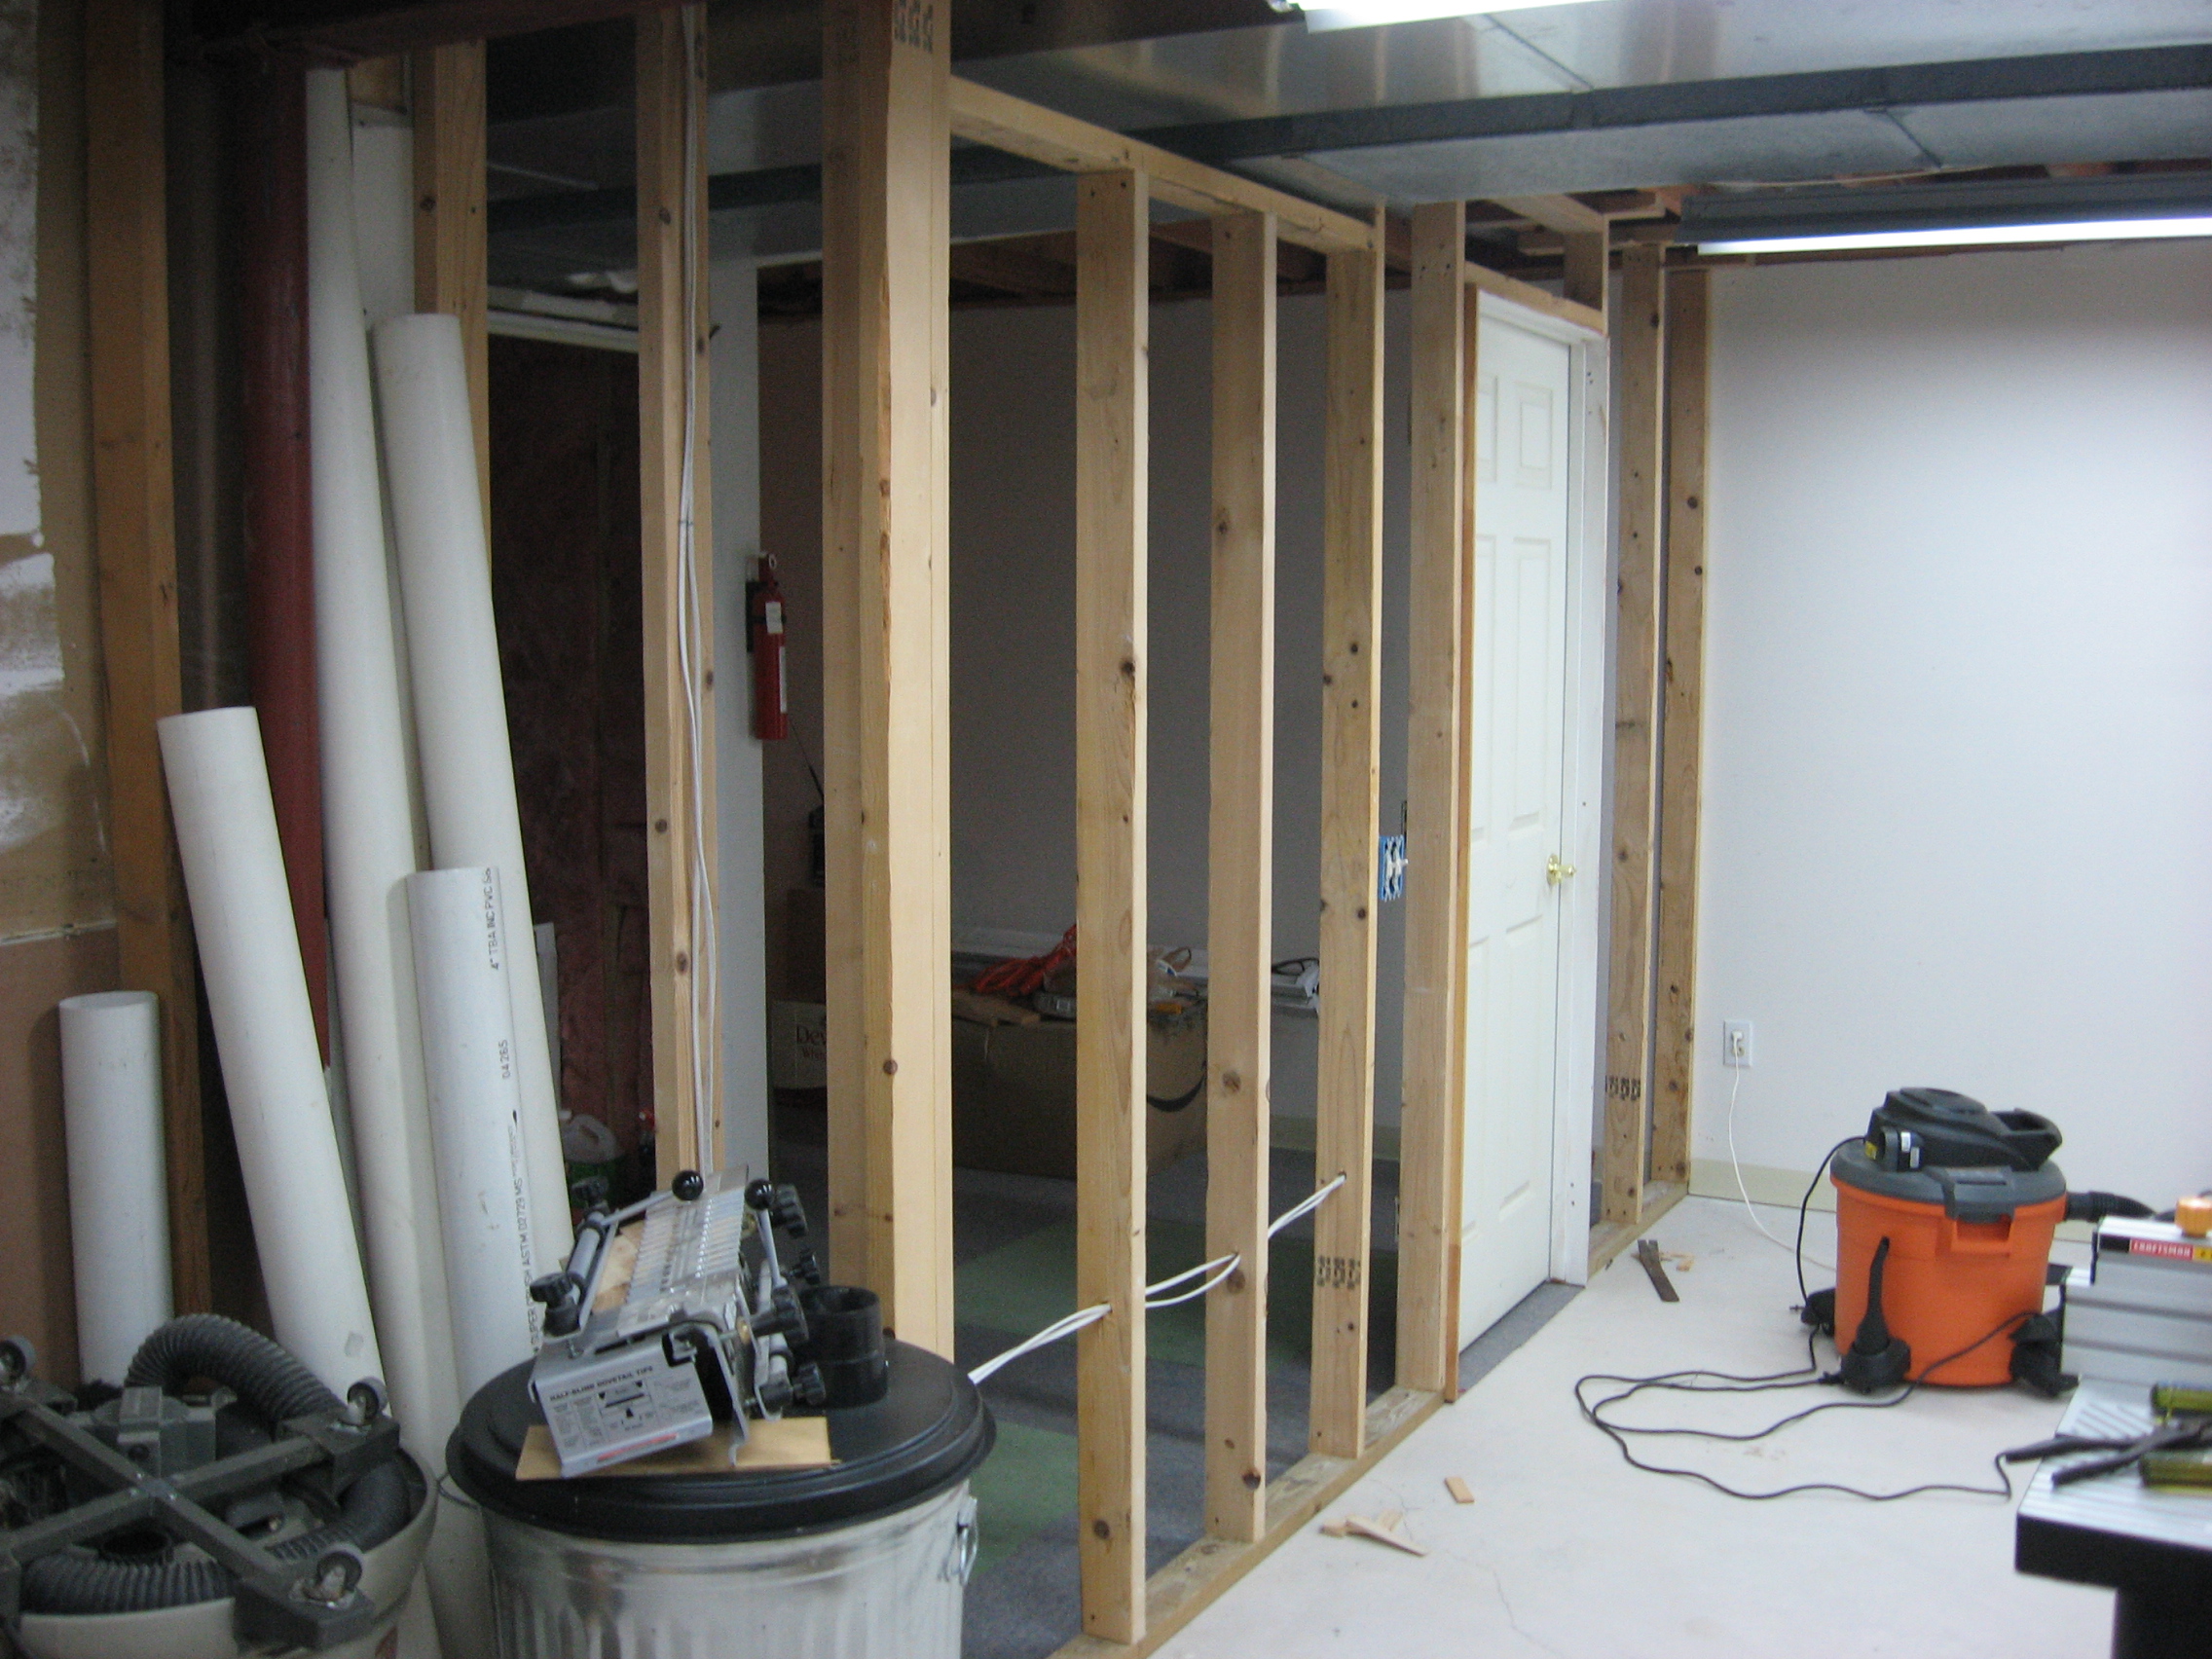
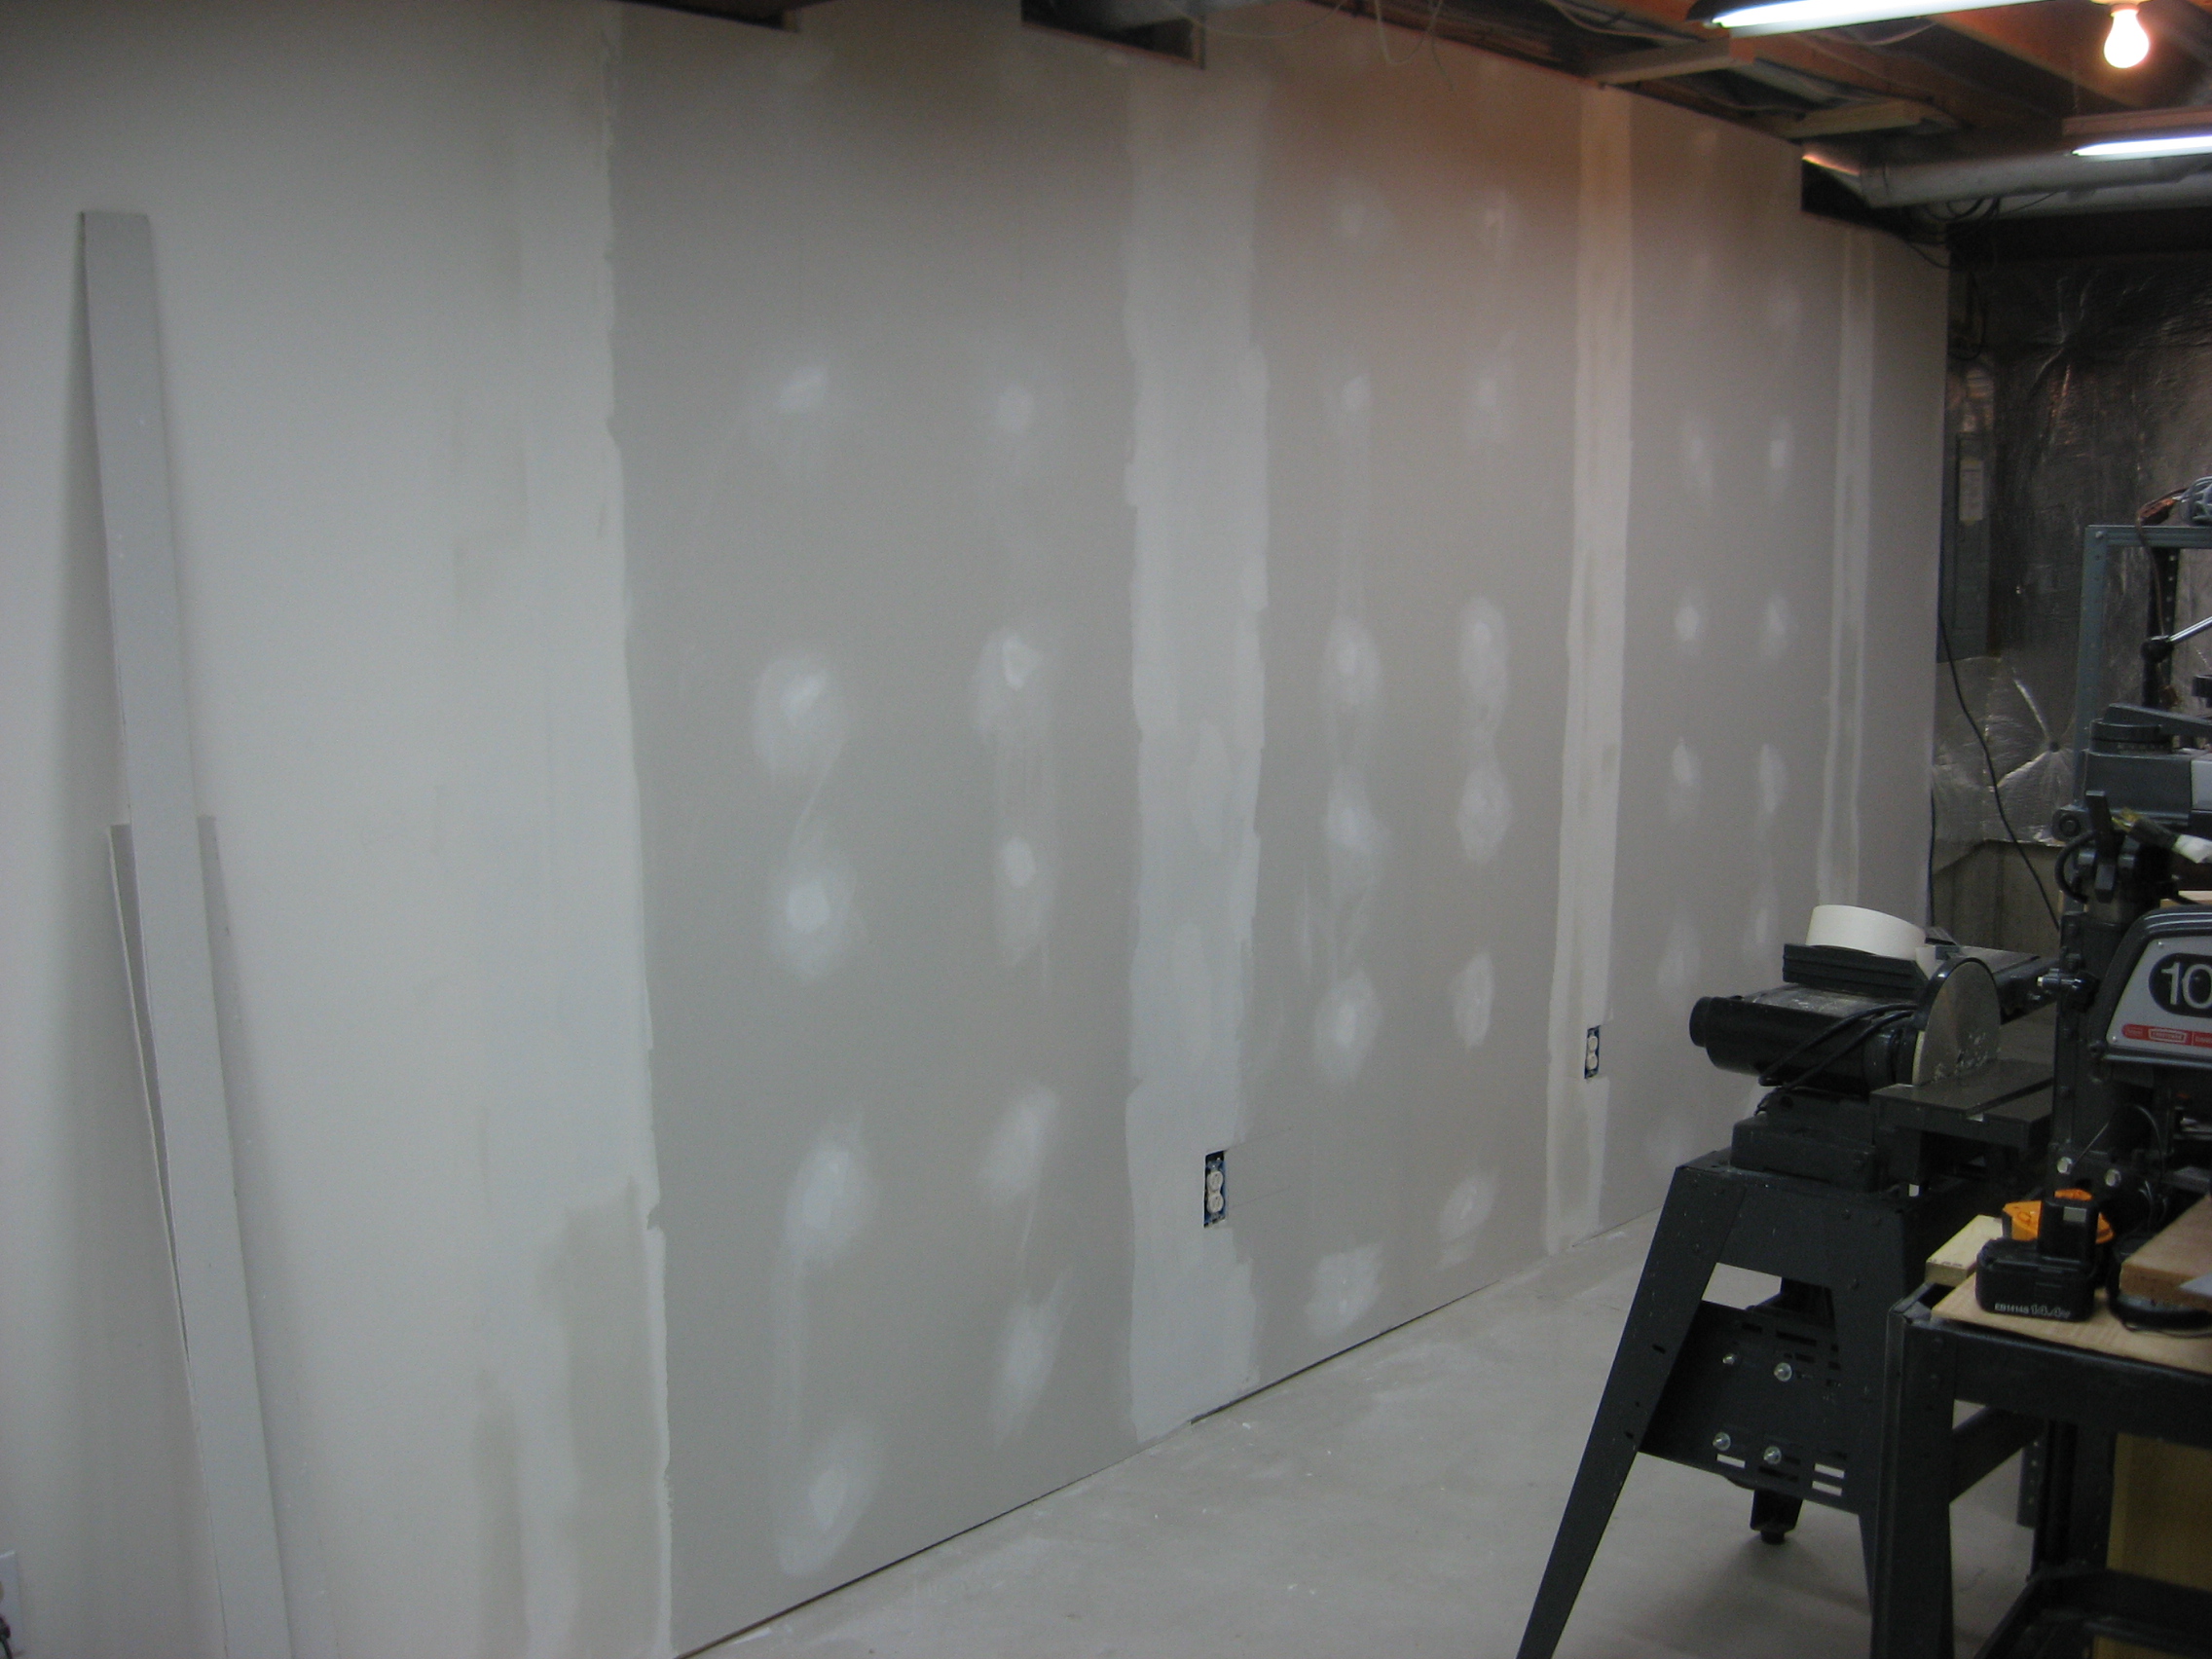
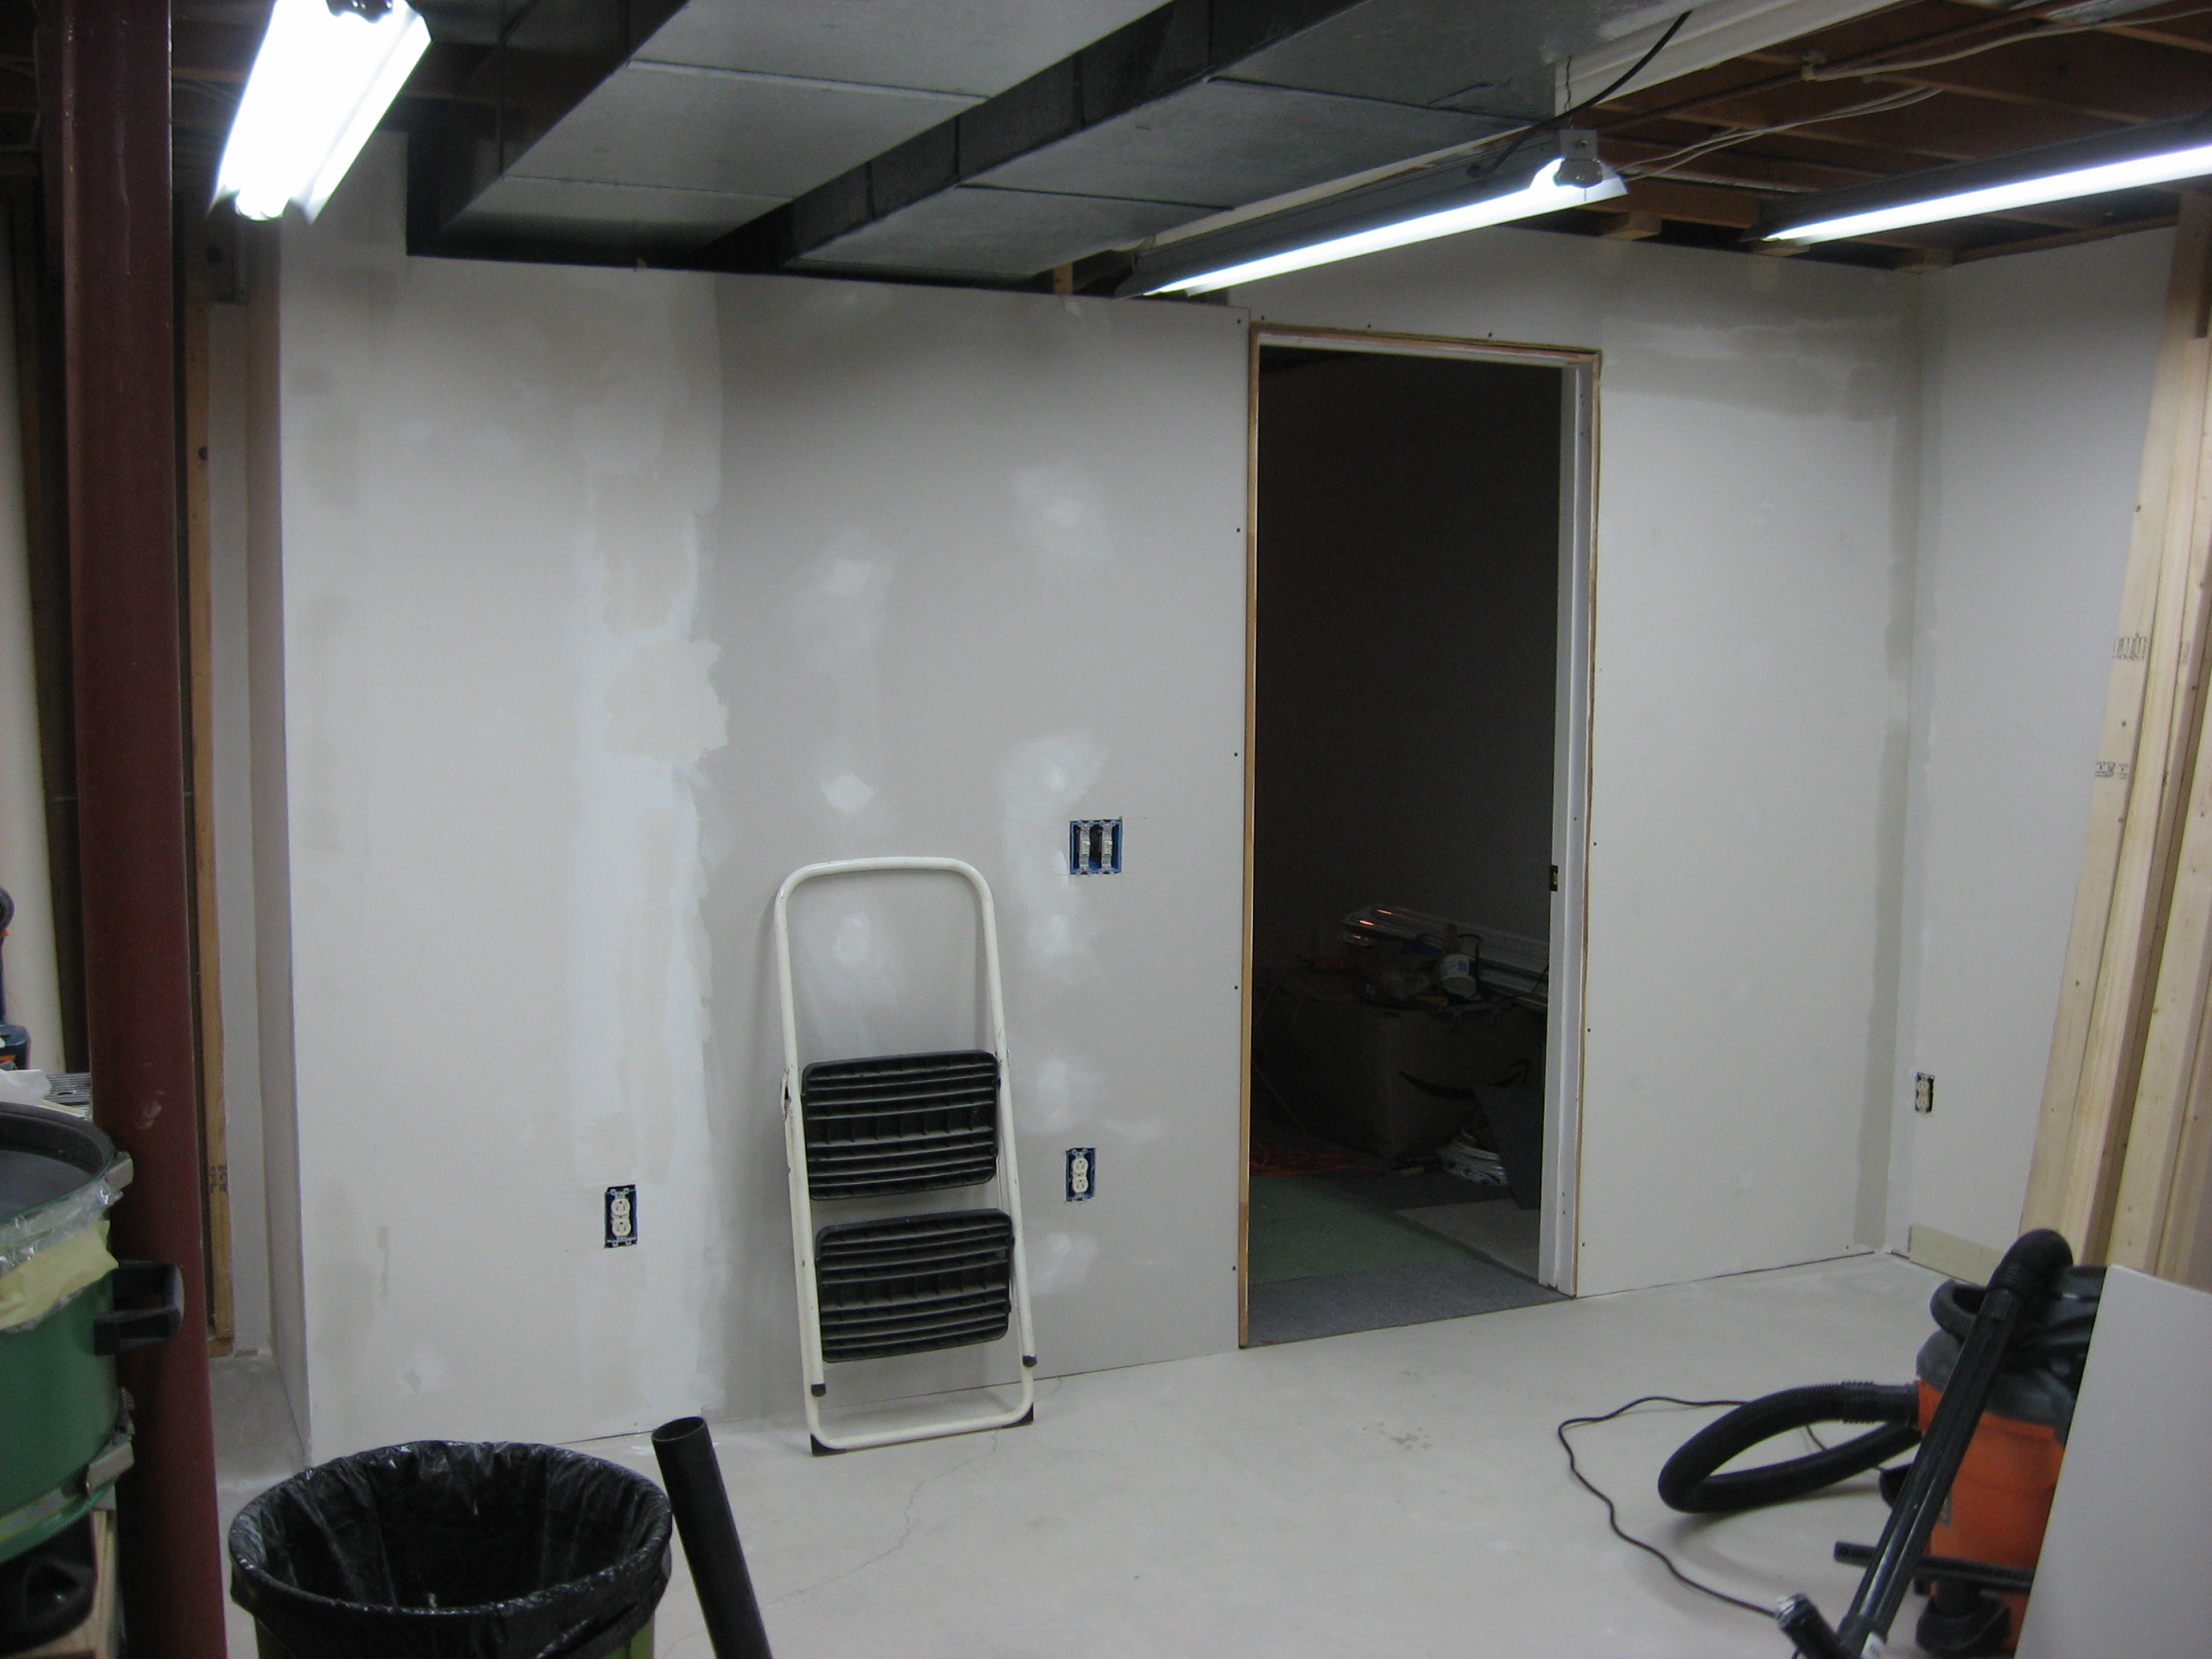
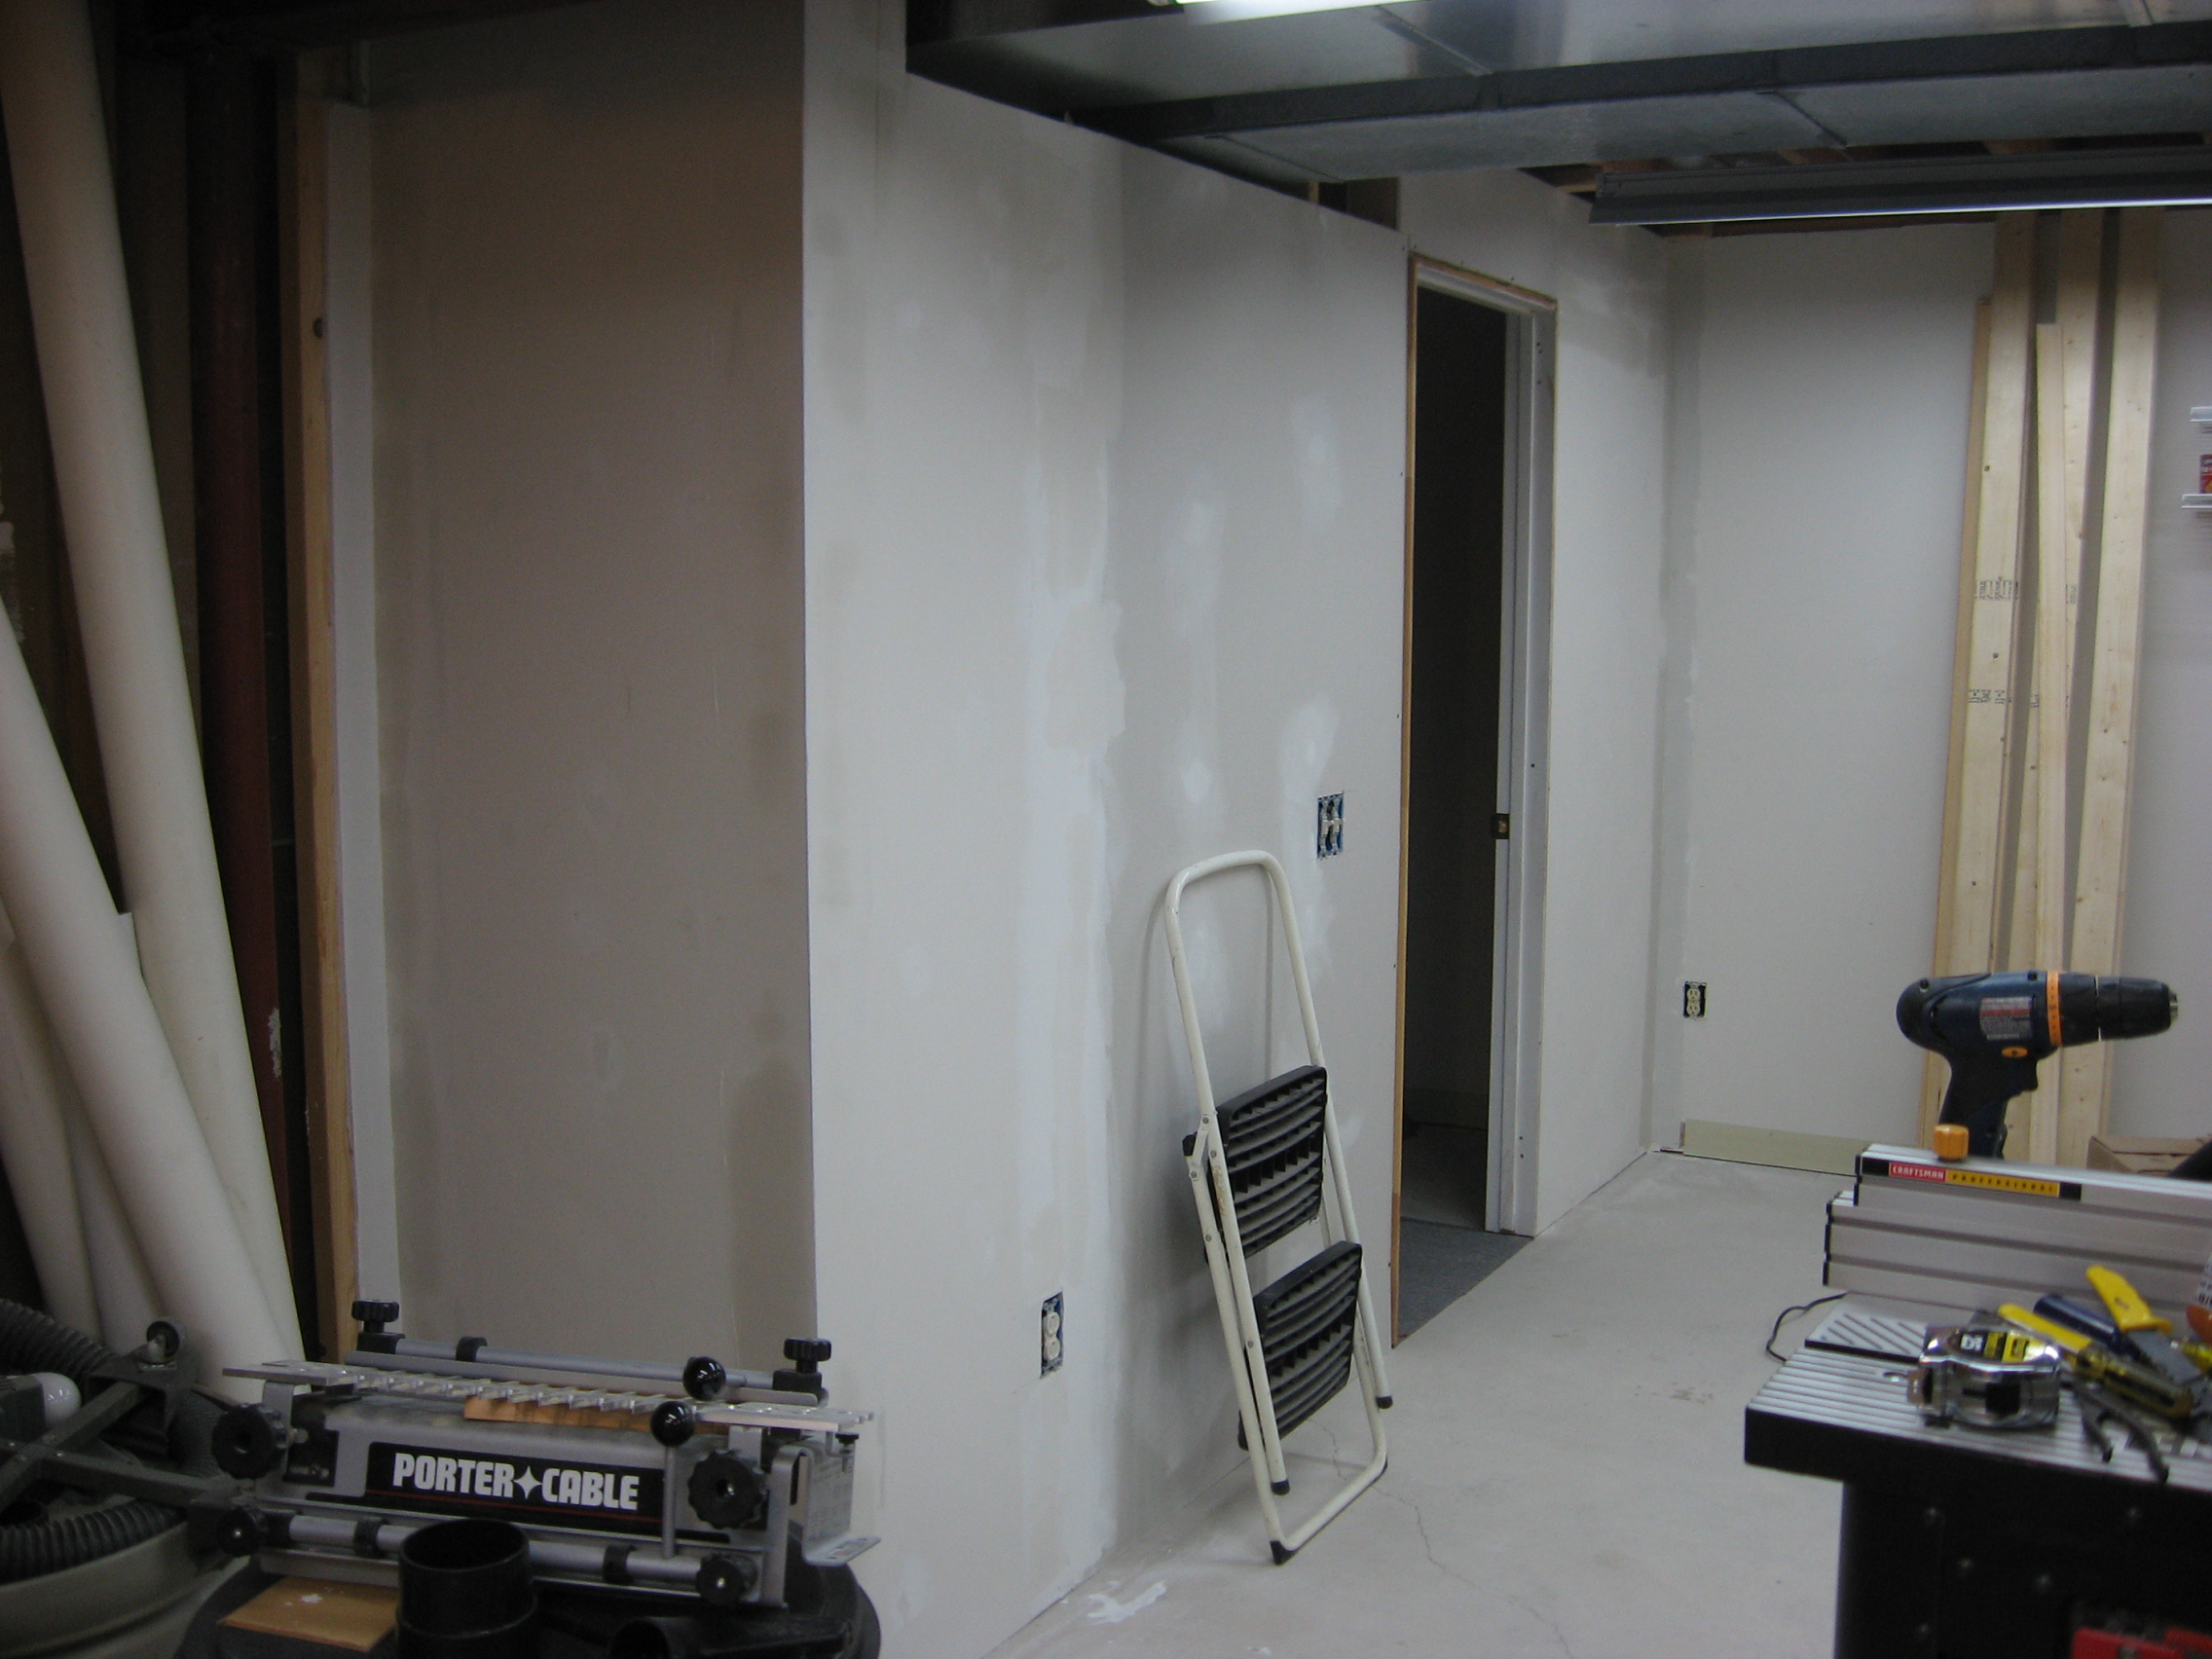
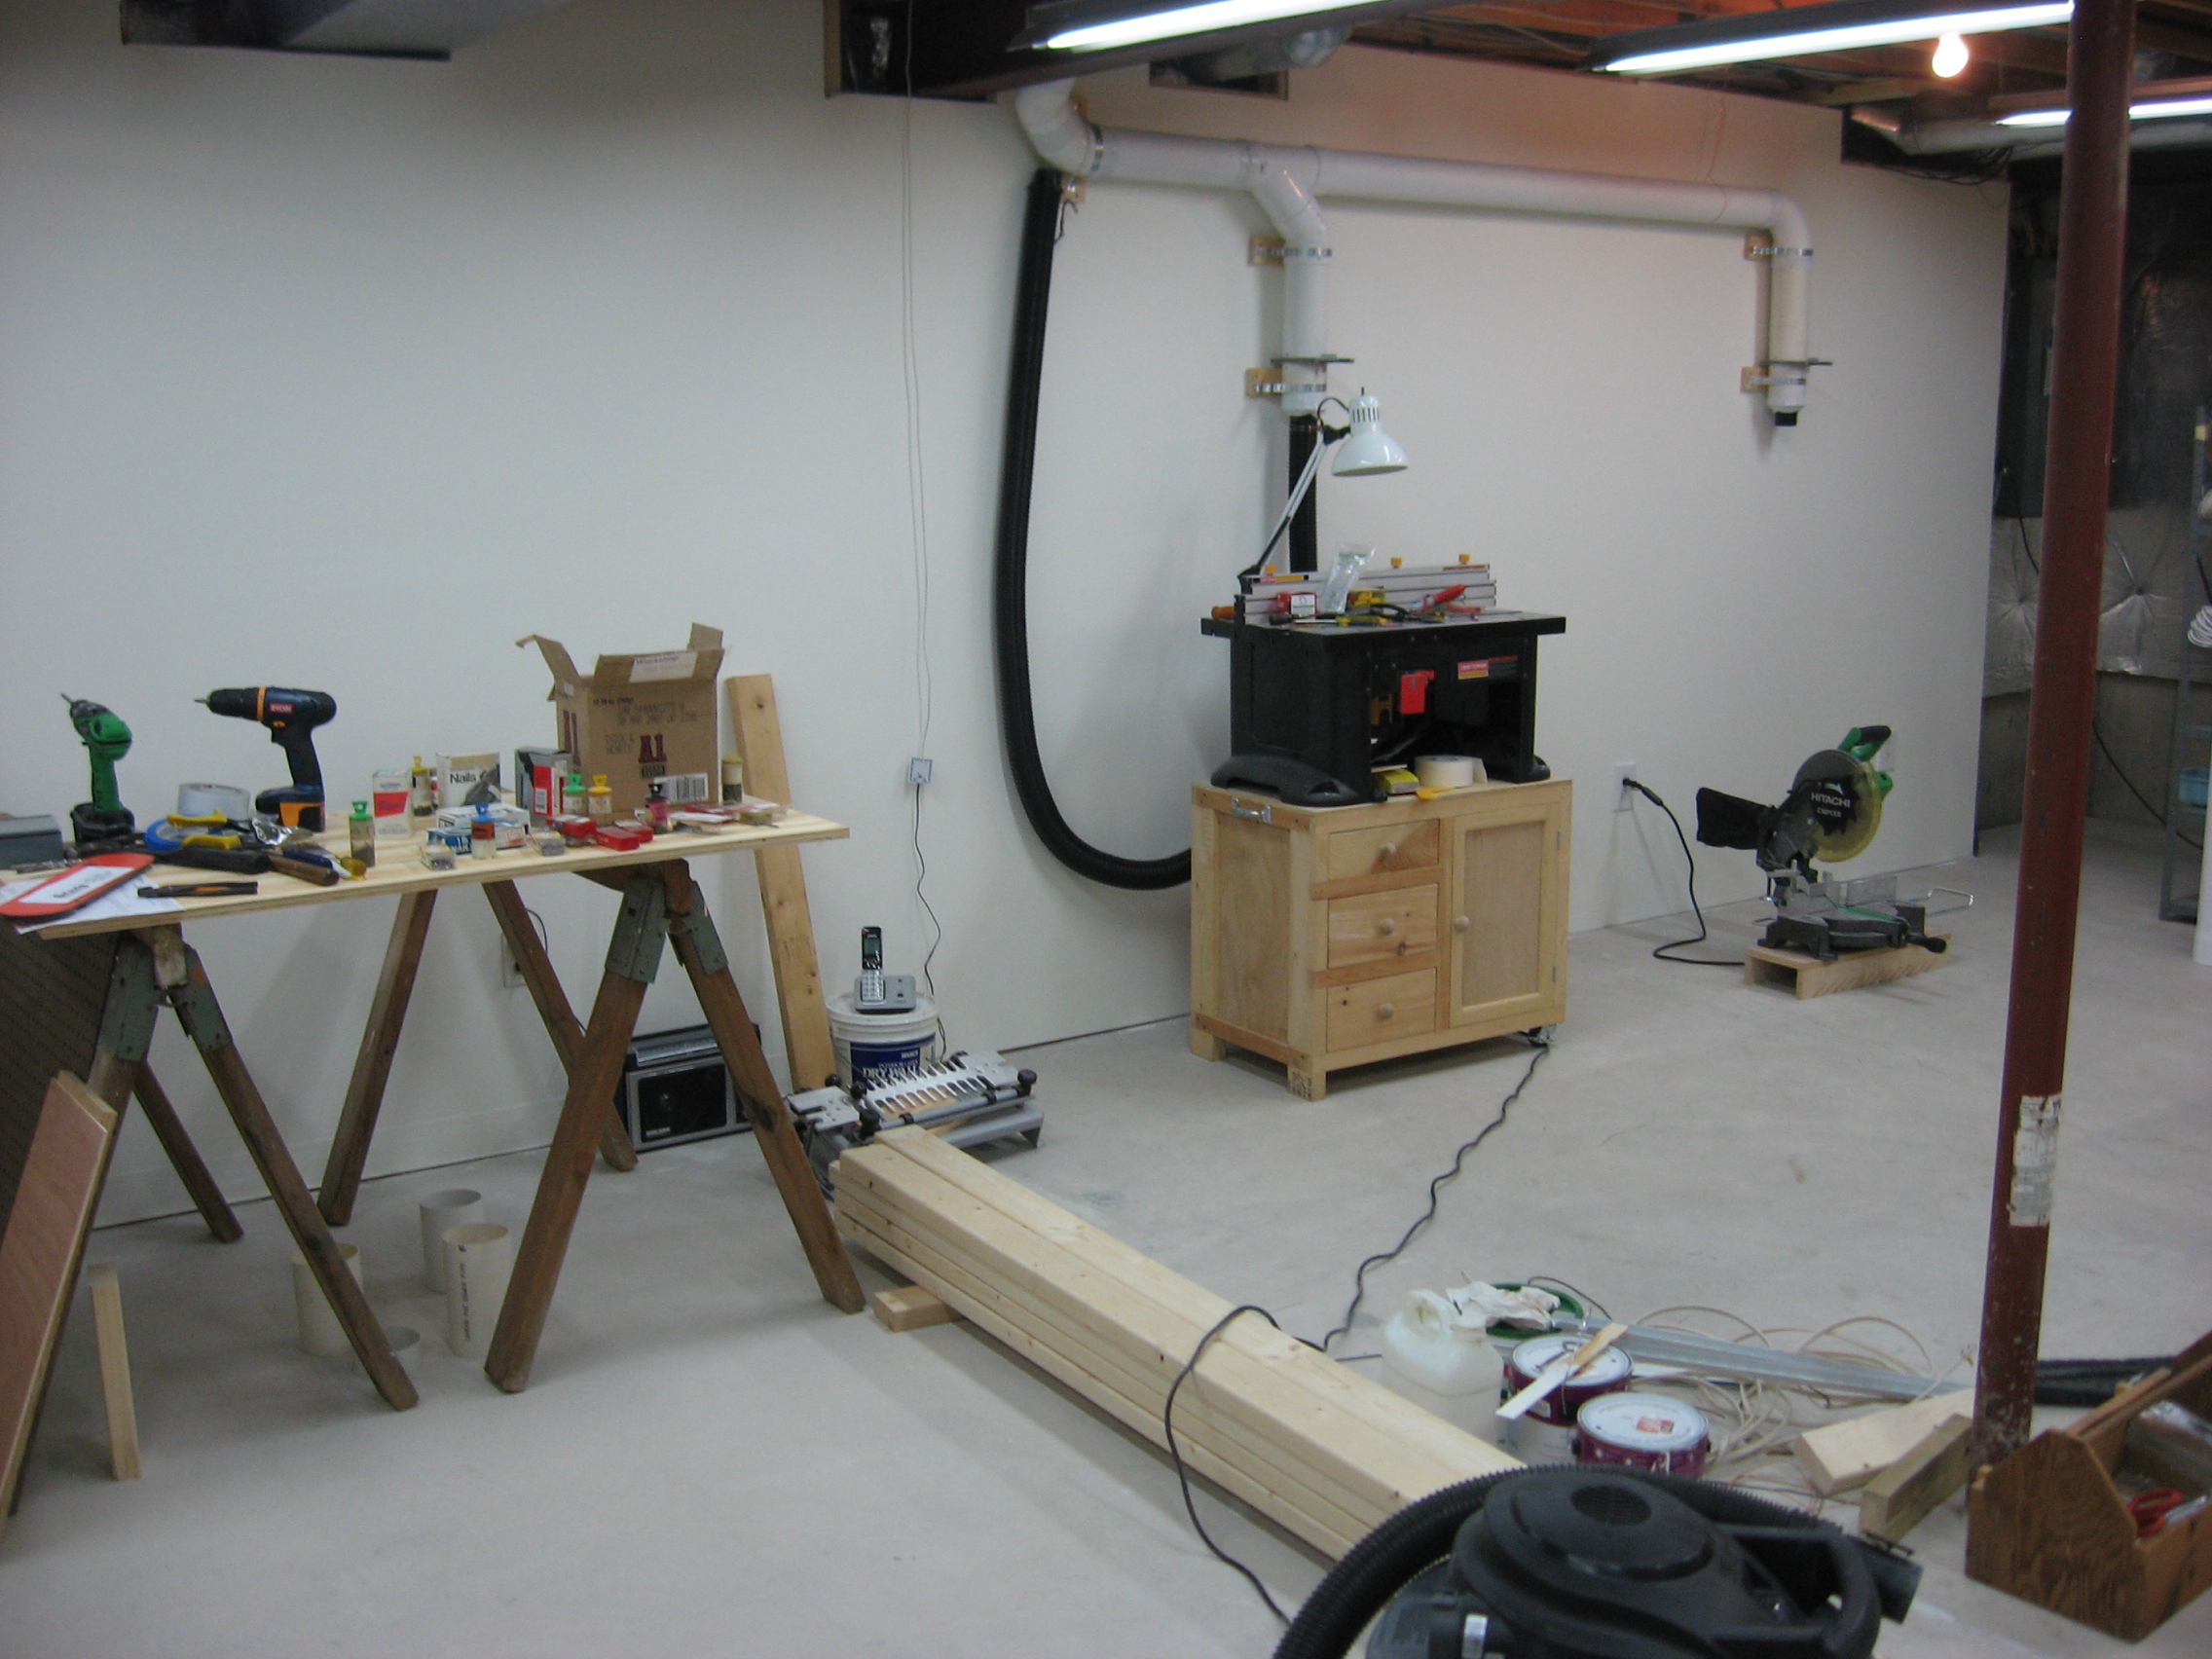
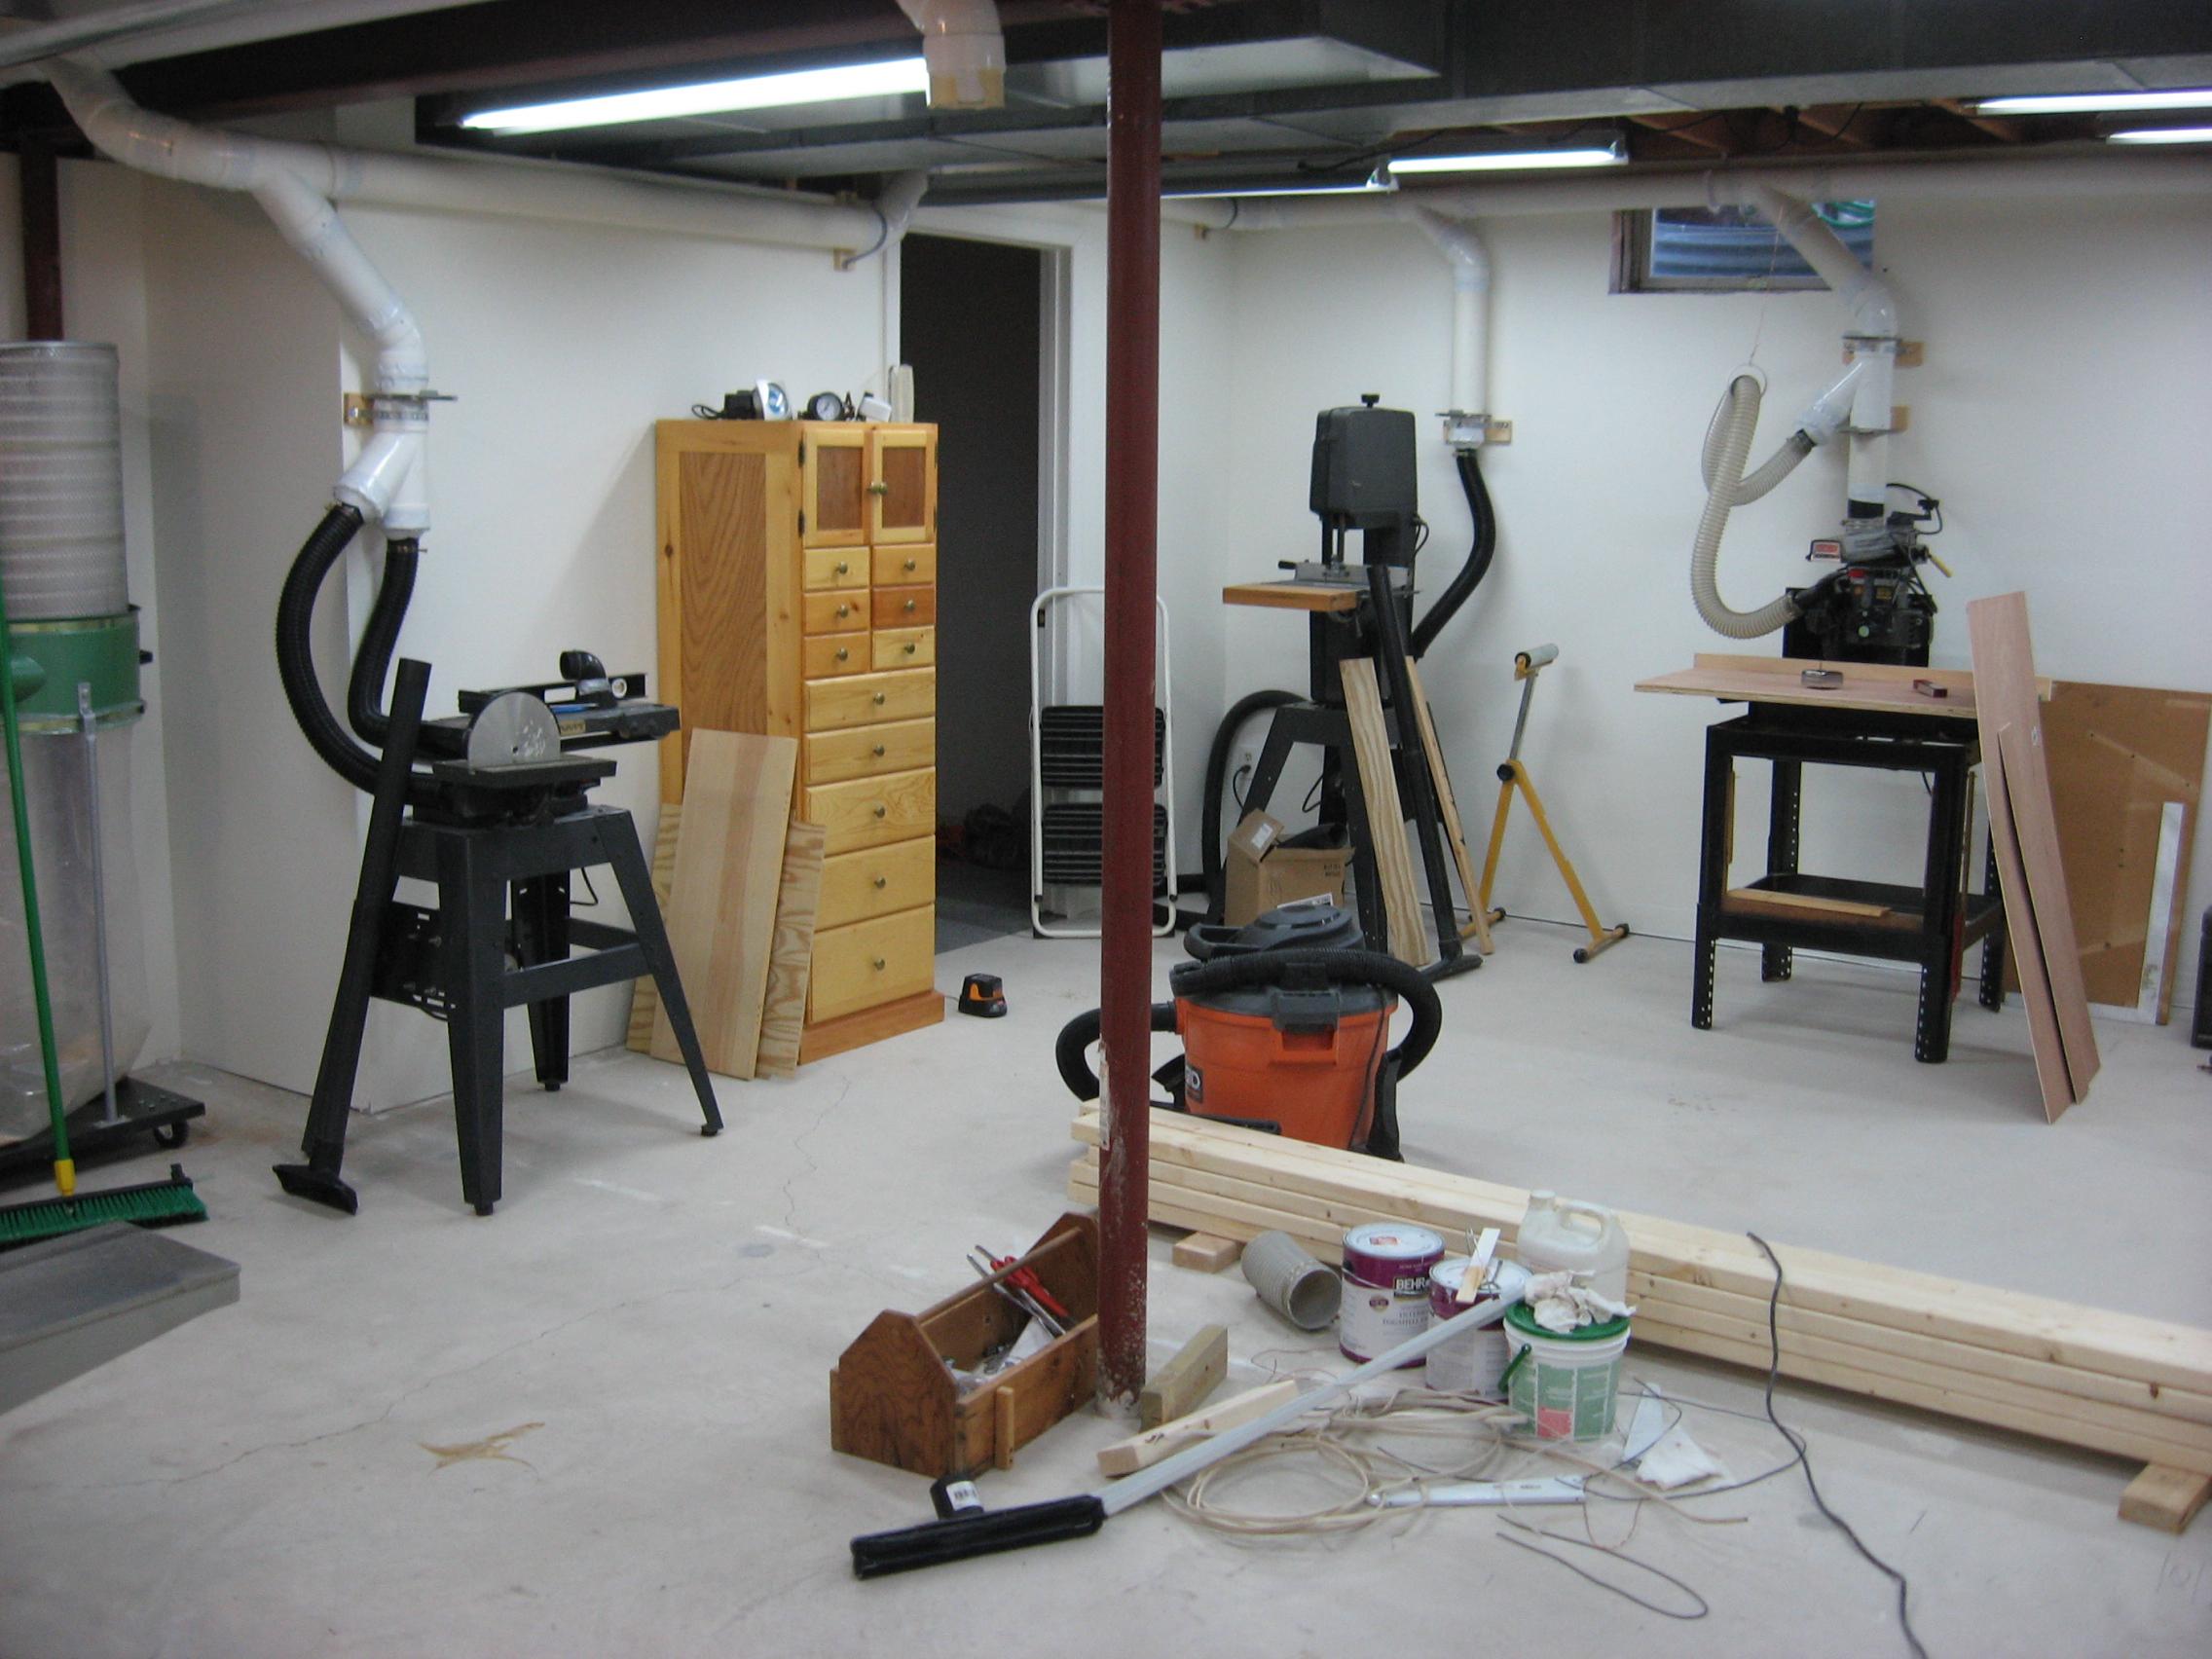
The photos below show some of the stages of the shop setup and construction
process as well as the SketchUp model of the shop.
 |
 |
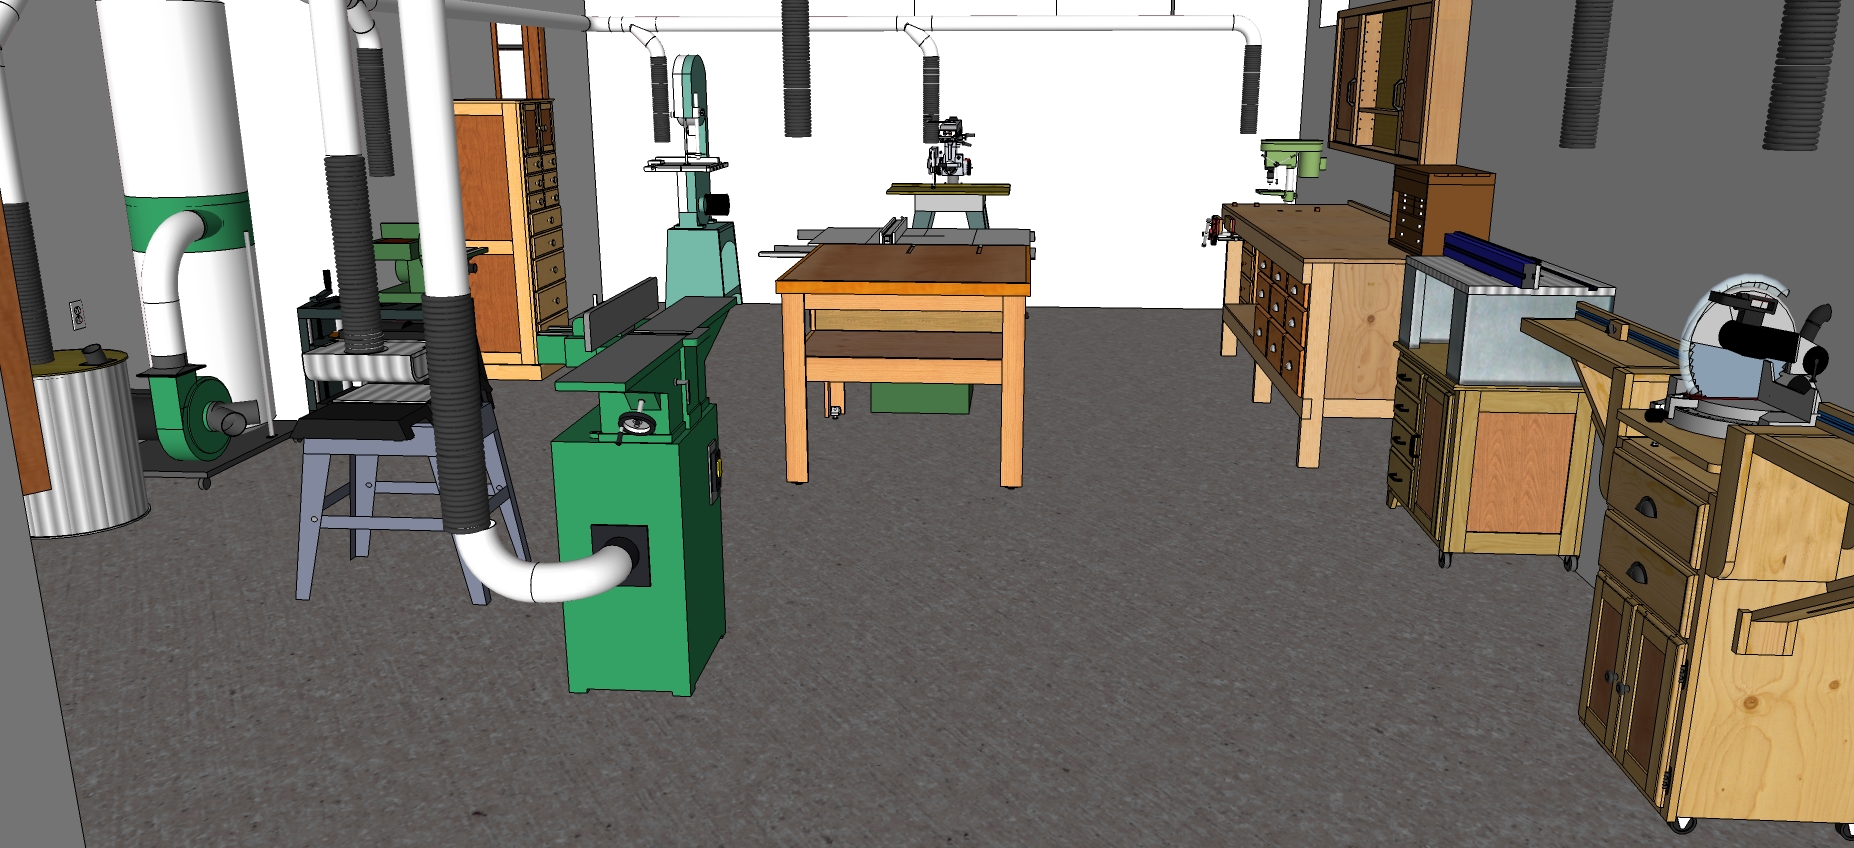 |
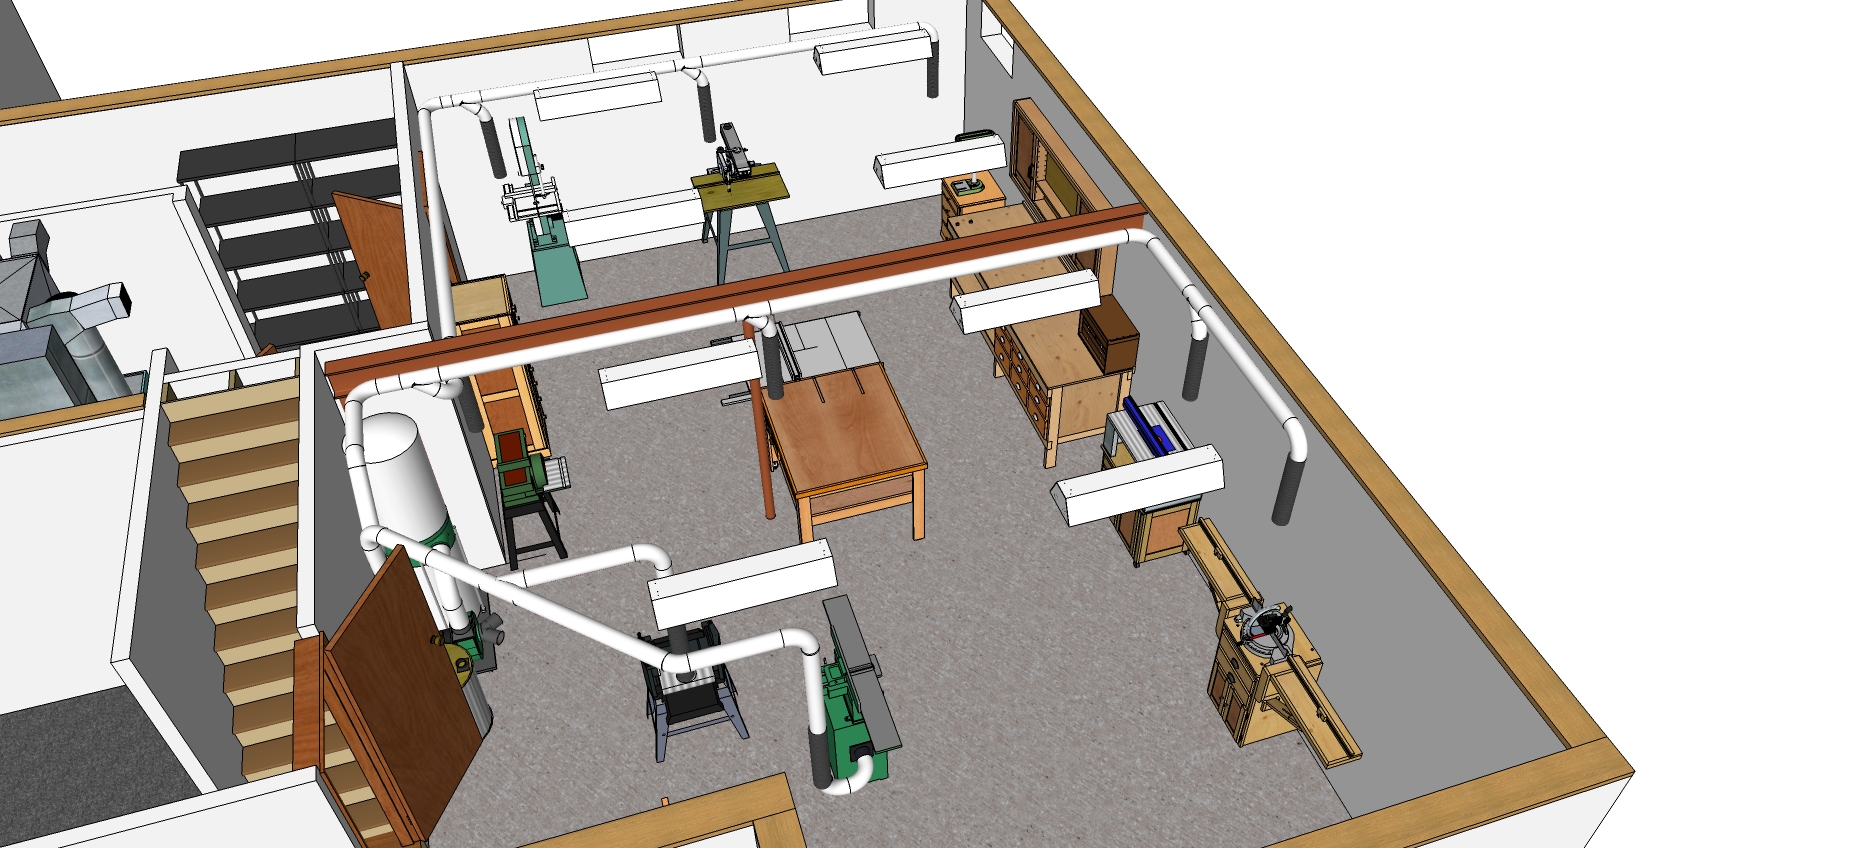
Here are three views of the
SketchUp drawing that I did as a model for setting up my new workshop.
The model helped to plan how best to layout the shop including placement
for the lighting and dust collection. Click on any of these images to enlarge it. The equipment models that I used were downloaded from the SketchUp 3D warehouse. |
|
Video Tour of the Shop These photos show some of the initial changes that had to be made in order to enlarge the shop space. There were 2 rooms with a divider wall that needed to be brought down and another wall that needed to be put up in order to separate the shop from the rest of the basement. Wiring for outlets and lighting was next followed by drywall and painting. I then placed the equipment per my SketchUp plan and began running the 4" lines for dust collection. |
.JPG)