
Ed's Cabinet
![]()
![]()
![]()
![]()
![]()
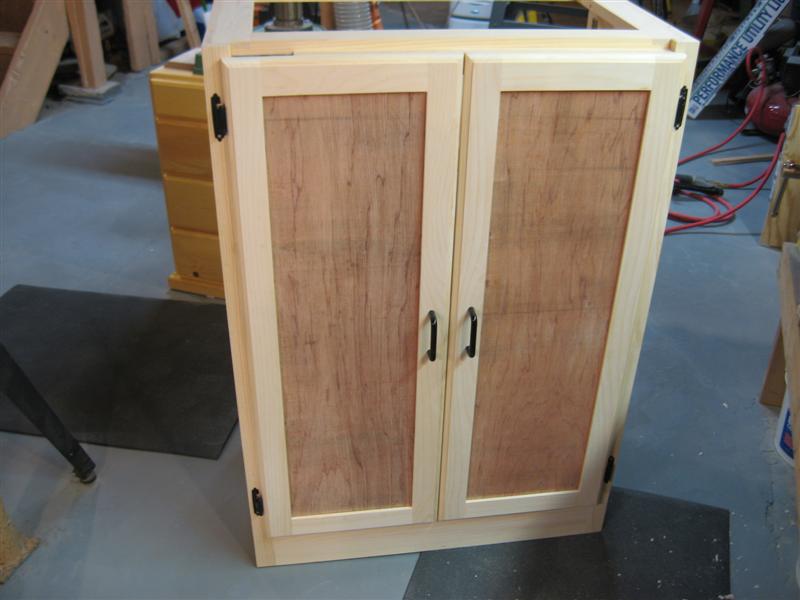
This is a combined tool and storage cabinet that I made for a friend. The overall dimensions are 28" x 17" x 80". Below are the in-process photos for "Ed's cabinet". Construction started on 2-6-07.
Country
Woodcrafts
|
2-8-07 - Preparing the cabinet sides (Total Project Time = 4.5 hrs.) |
|
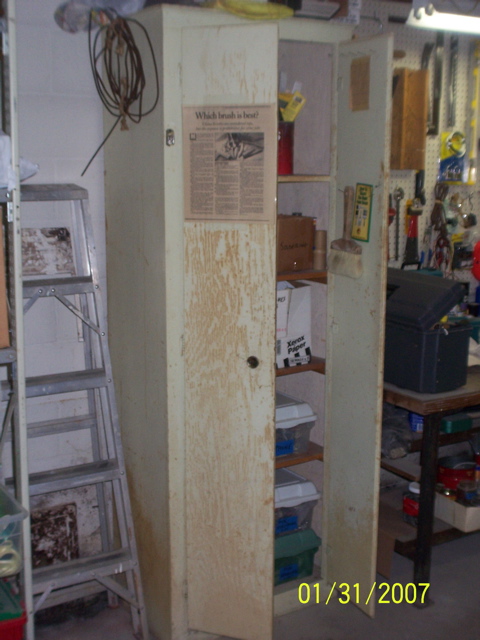 |
Here's Ed's old cabinet which provided the rough dimensions and guiding inspiration for a new one.
|
.JPG) |
Most of the lumber and hardware is purchased |
.JPG) |
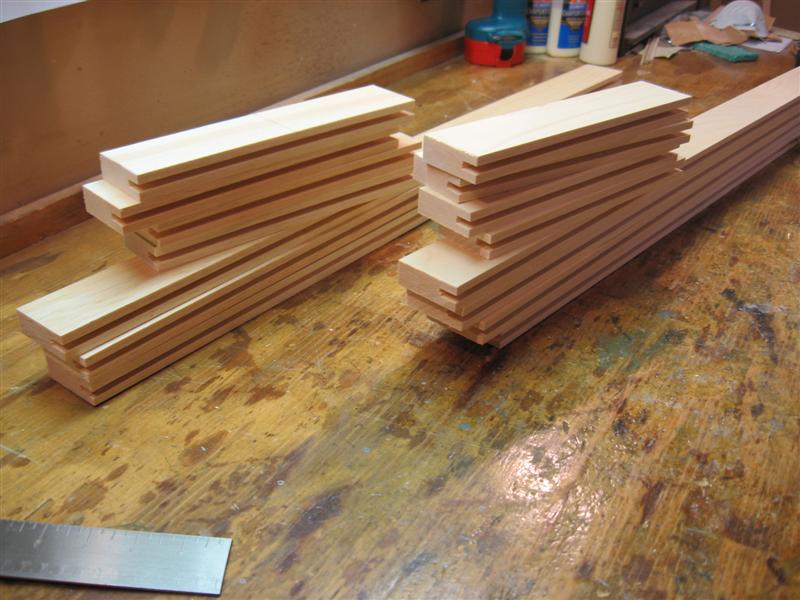
The first step - upper and lower side stiles and rails are cut and ready for groves and lap joints |
.JPG) |
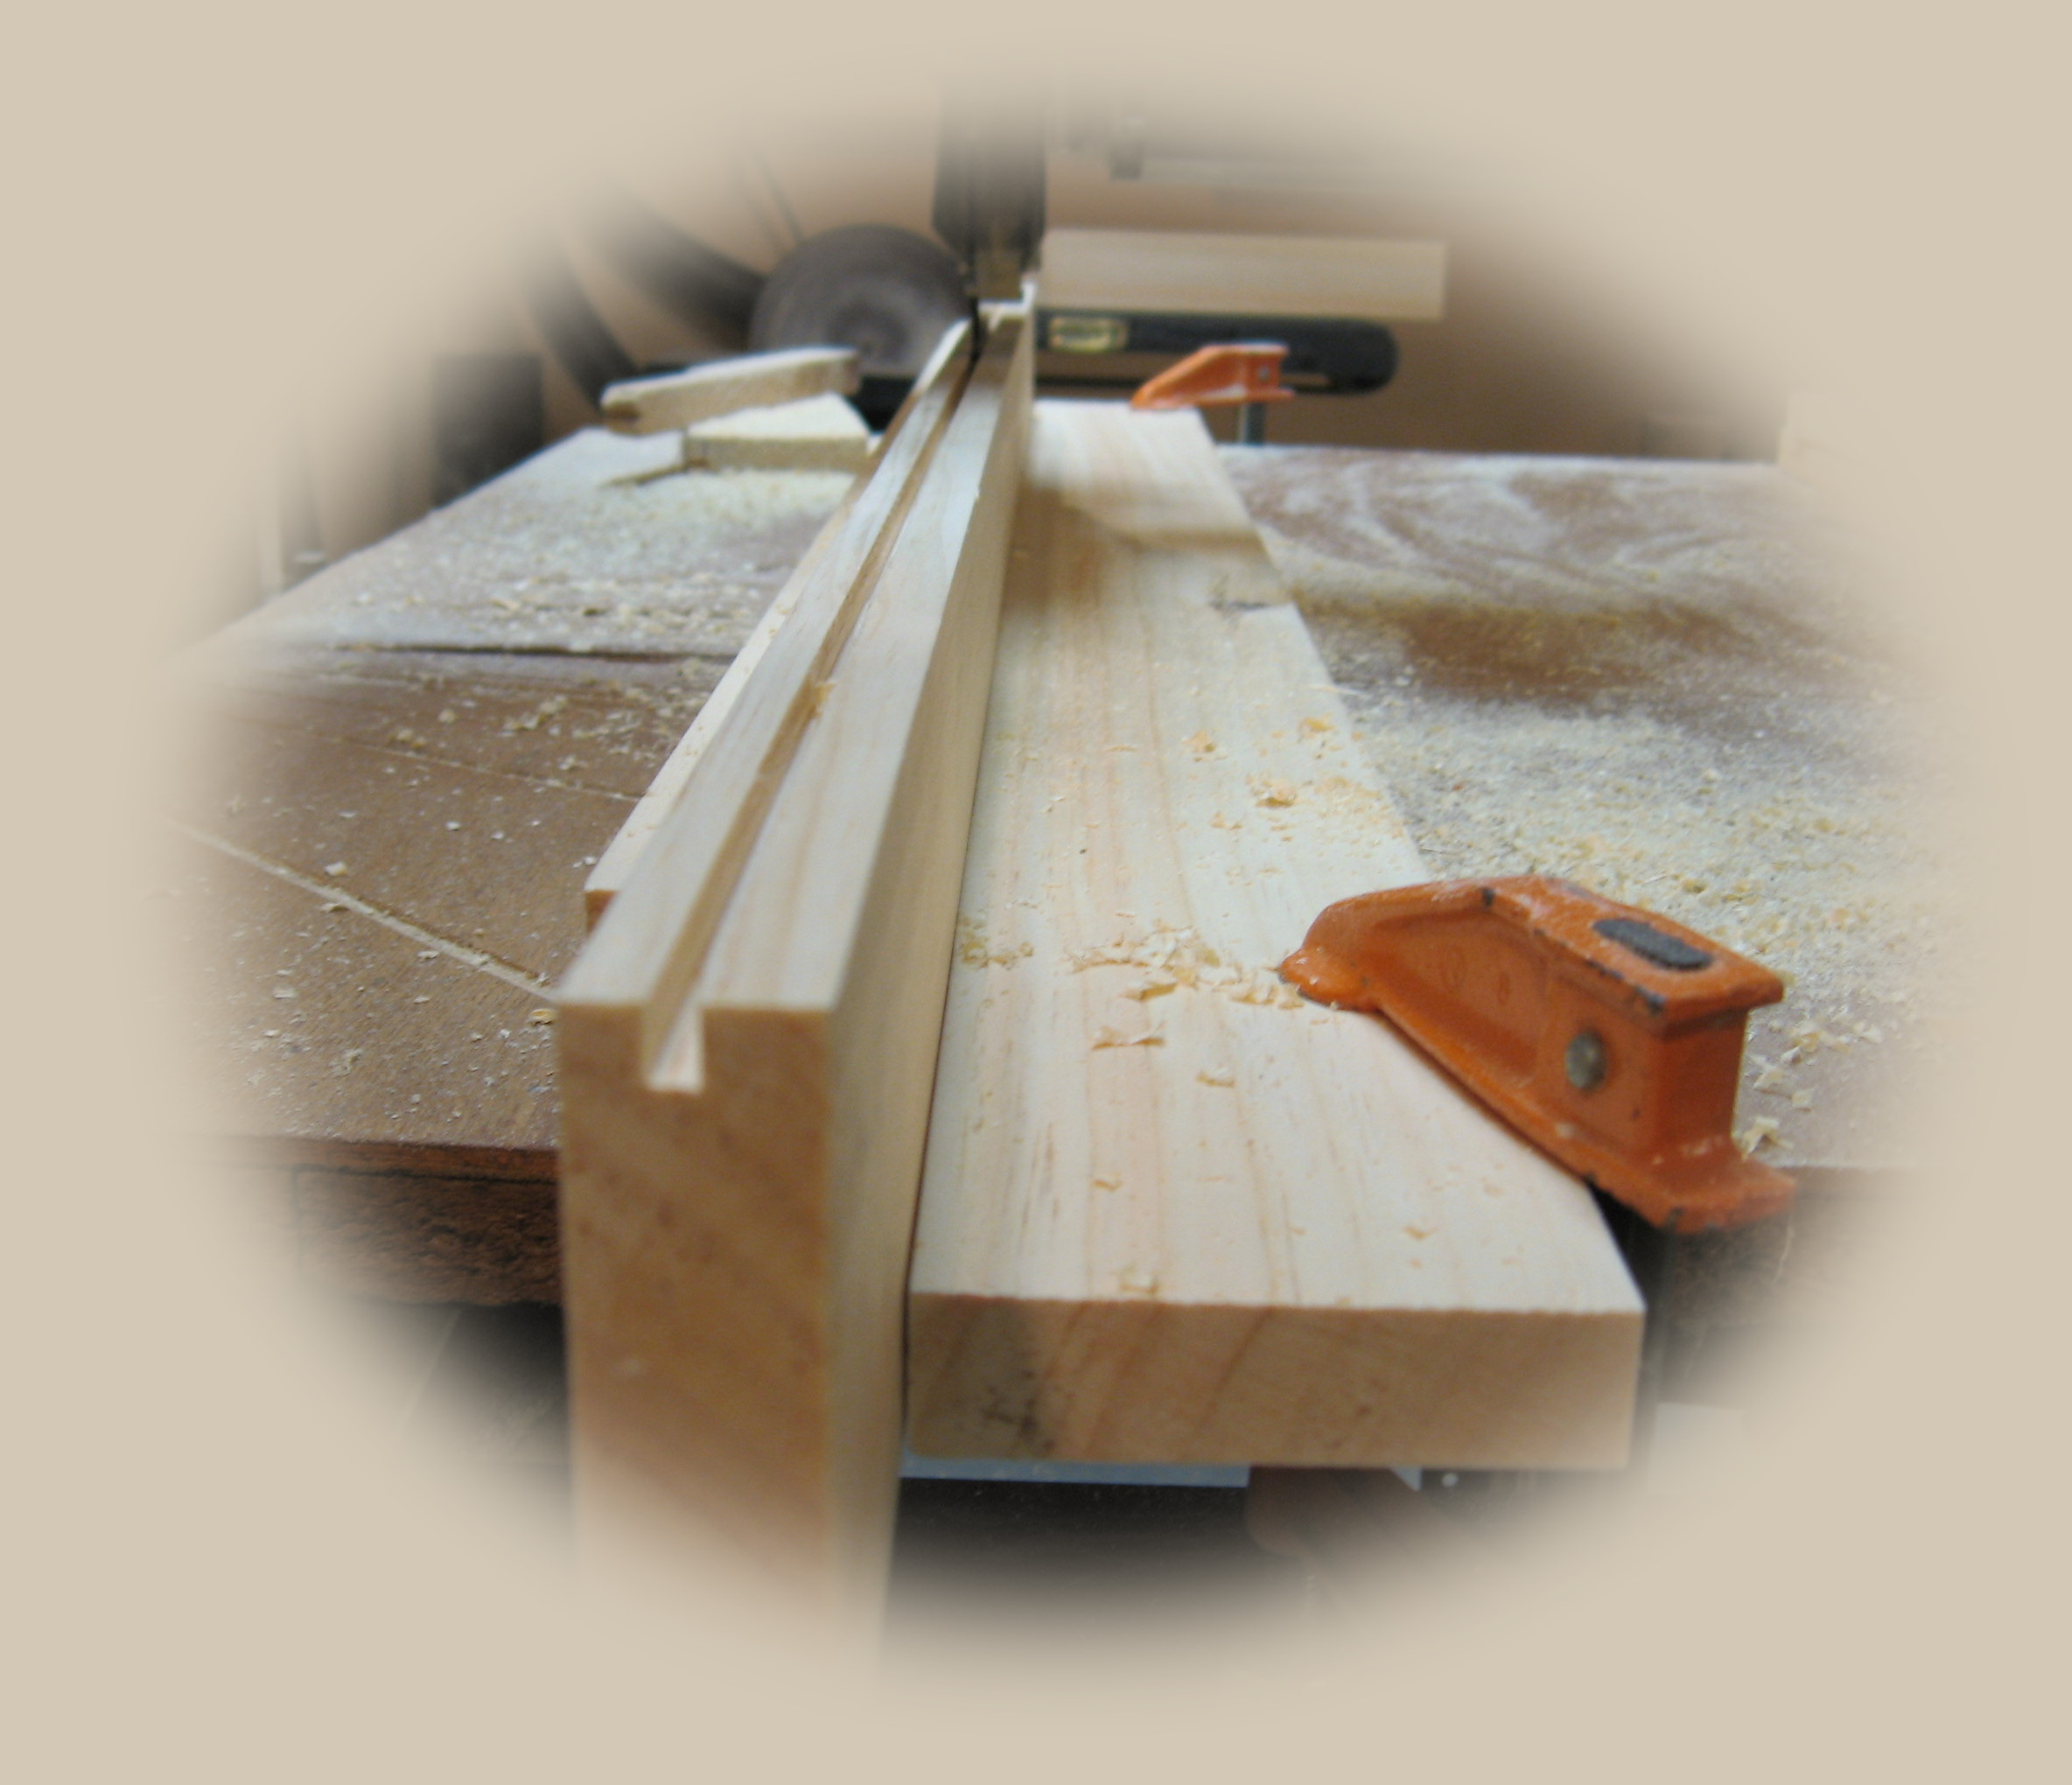
Here's the setup for cutting the groves in both the stiles and rails for the side panels. There are some center rails that require groves on both sides for the panels. |
.JPG) |
Rather than attaching the stiles and rails with through mortise and tenons I'm using end lap joints because I think they'll be stronger. Here I'm cutting the lap joints, rabetts and dados. |
 |
The stiles and rails are ready for assembly. |
|
2-10-07 - Assembling the cabinet sides (Total Project Time = 12.5 hrs.) |
|
.JPG) |
Saturday morning started off with cutting the 1/4" panels and assembling the paneled sides. Half lap joints were glued and nailed. |
.JPG) |
A short clamping time until the glue cured and the sides were done and ready for sanding. |
|
|
Now that the sides are done I can move on to cutting the internal framing. I'm using half laps here as well. |
.JPG) |
Here I'm constructing the framing with glue and nails. A quick check to see that they are square and I set them aside to dry. |
.JPG) |
The sides and framing are on the workbench and ready for assembly, but I'm saving that for tomorrow. |
|
2-11-07 - Assembling the cabinet shell (Total Project Time = 15.5 hrs.) |
|
.JPG) |
Started the glue up this morning. One side at a time. You never have enough clamps. |
.JPG) |
Top unit in final glue-up. More clamps, and I think a bigger work bench! |
.JPG) |
Today has been a glue & clamp, glue & clamp kind of day. But, both the upper & lower units are glued up and drying overnight. Tomorrow I start with the face framing and maybe begin cutting the stiles and rails for the doors.. |
|
2-12-07 - Adding the face frames (Total Project Time = 17.5 hrs.) |
|
.JPG) |
Today I clamped the upper & lower units together for the 1st time. To my relief, they fit together reasonably well. The face frames are also cut and installed. Next step - drawers and doors |
|
2-25-07 - Making the Drawers (Total Project Time = 23.5 hrs.) |
|
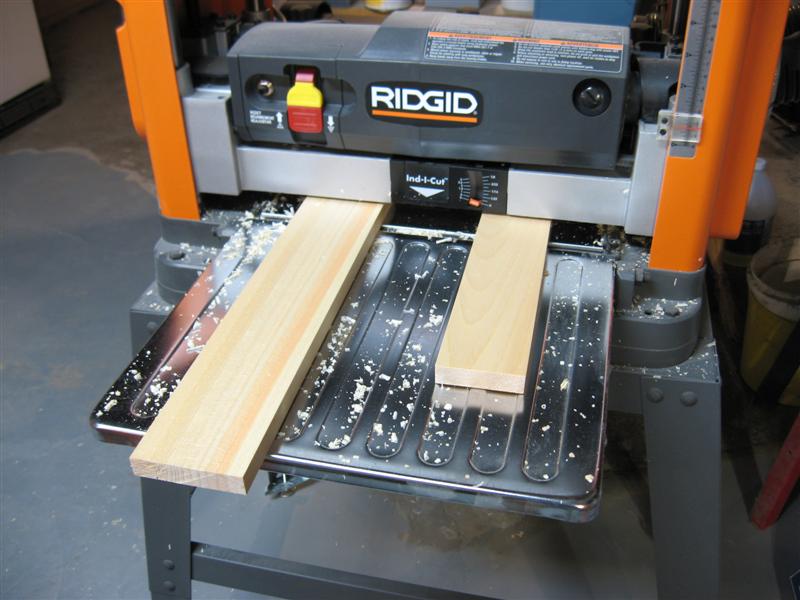 |
After cutting the drawer sides, fronts and backs I plane the thickness down to 5/8". |
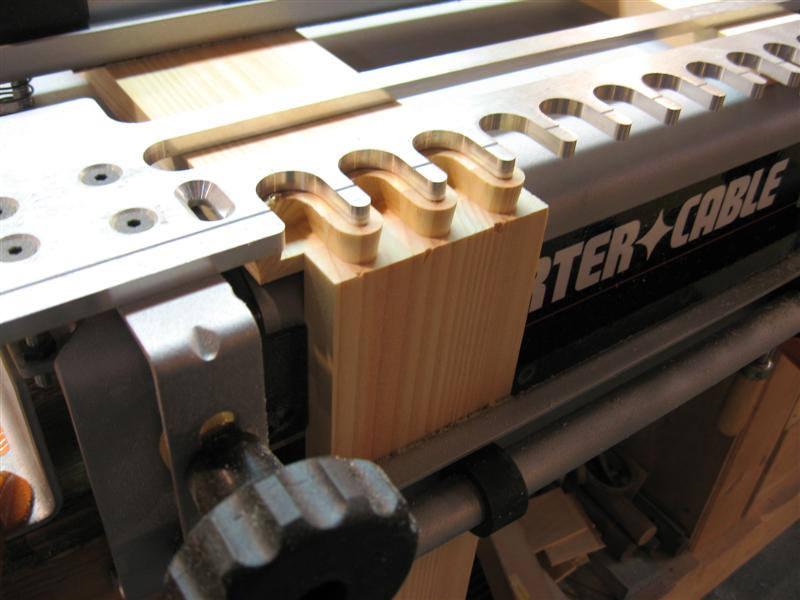 |
After careful setup, I cut the first half-blind dovetails. The test fit is perfect. When all the dovetails are cut I then cut a grove in the front and sides for the bottom and cut a dado in the sides for the back of the drawer. |
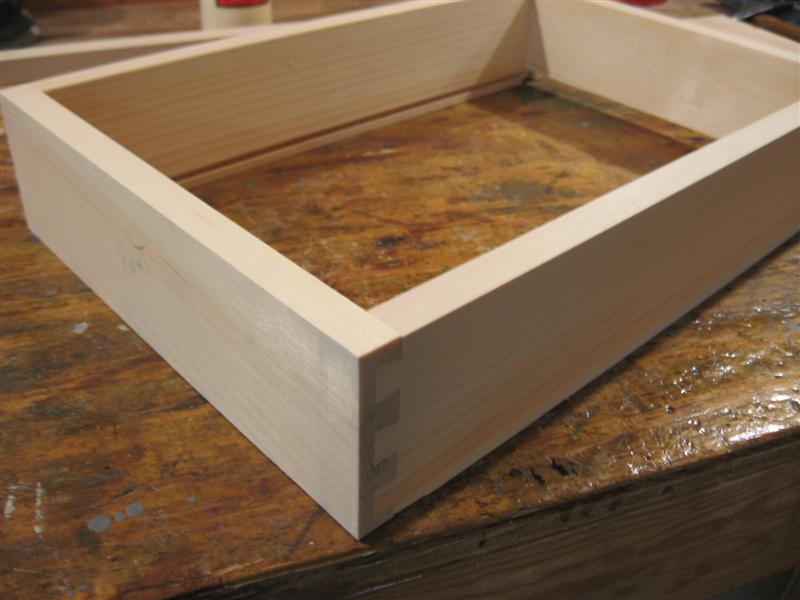 |
One of the drawers is done and ready to fit the bottom in. |
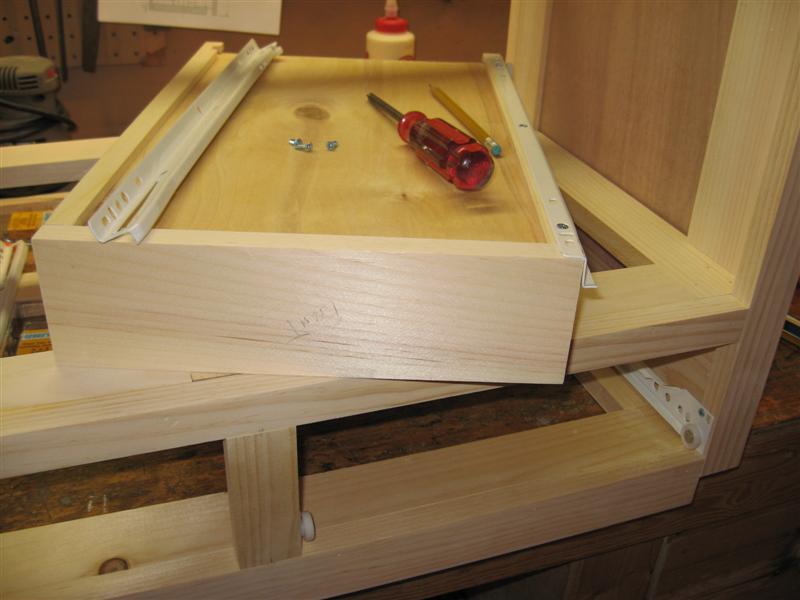 |
Here I'm attaching the drawer guides. These guides work great and are relatively easy to install. |
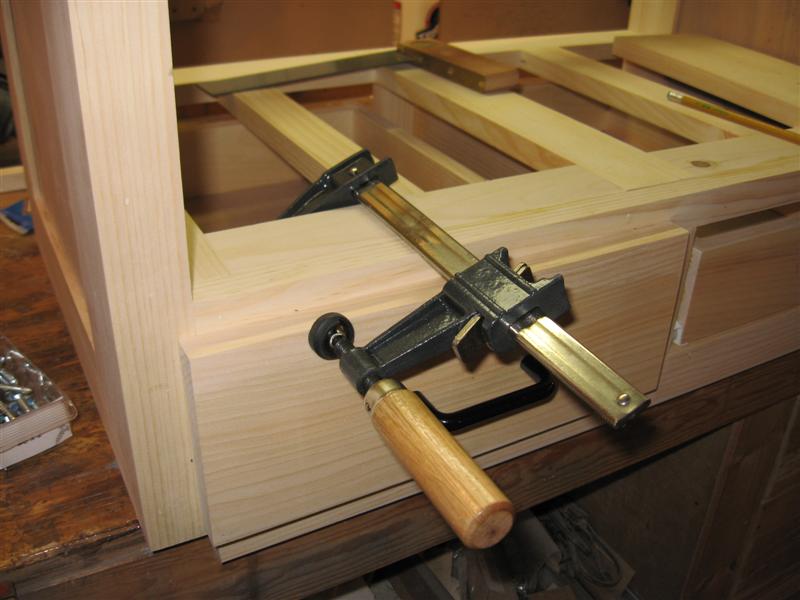 |
The two drawer fronts are cut and aligned to the drawer opening. I'm using a clamp here to keep them in place while I attach them to the drawer. |
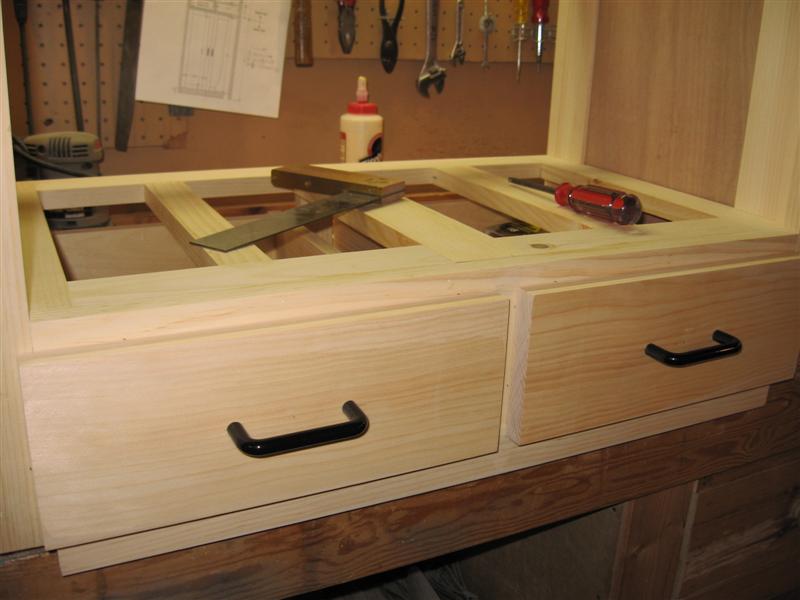 |
The fronts are attached and the handles are installed. I'll remove the fronts and run a round over beading bit around the edges later to finish them off. Then I'll reattach the fronts with a couple more screws from inside to add additional strength. |
|
2-28-07 - Making the Doors (Total Project Time = 29.5 hrs.) |
|
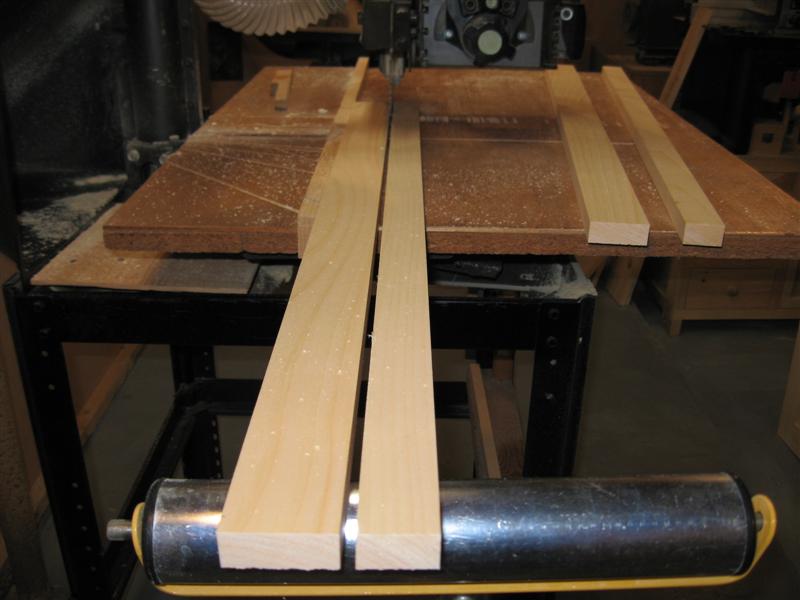 |
The door stiles and rails are cut and ripped to a 2" width. |
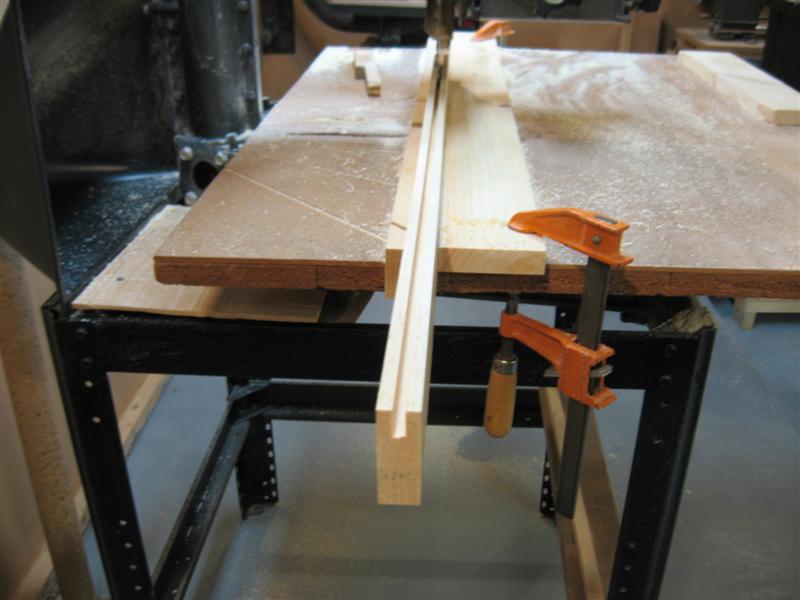 |
Here I'm cutting the groves in the stiles & rails for the panels and tenons. One pass down each side guarantees that the grove is centered. |
|
|
All of the groves are now cut and I begin to cut the 1/4" x 1/2" tenons on the rails. |
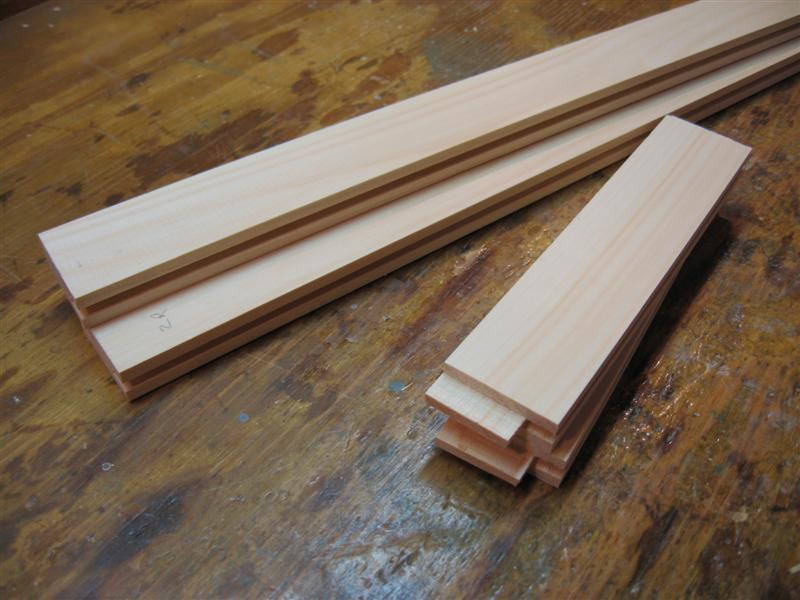 |
The tenons are cut and I test fit them to ensure they fit snug. Next step is to rip and cut the 1/4" panels to just 1/16" undersize. |
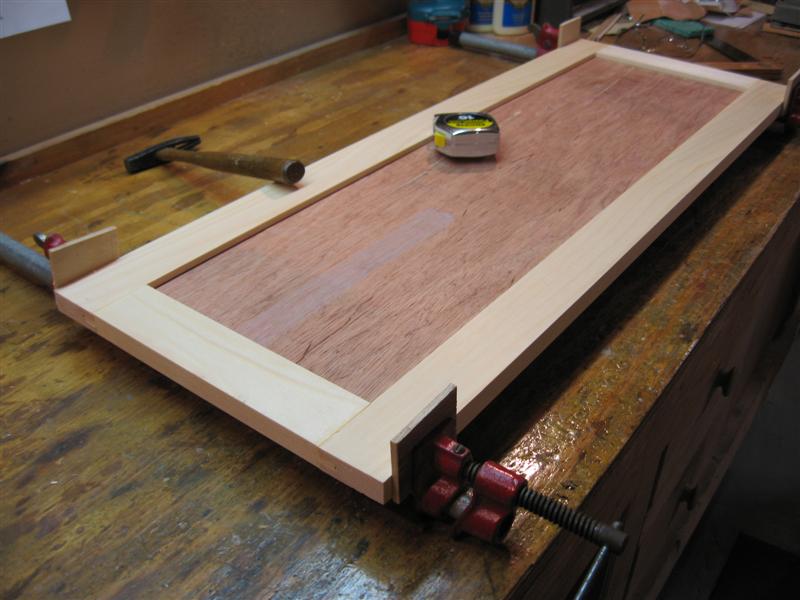 |
Here's the final glue up. A quick check with the tape measure across corners to make sure they are square and I set them aside to dry over night. Tomorrow I'll use the router to add a decorative edge. |
|
3-3-07 - Making the Sliding Trays (Total Project Time = 35 hrs.) |
|
 |
The material for the sliding drawer frame is cut to size and the dados and groves for the bottom plywood is done. |
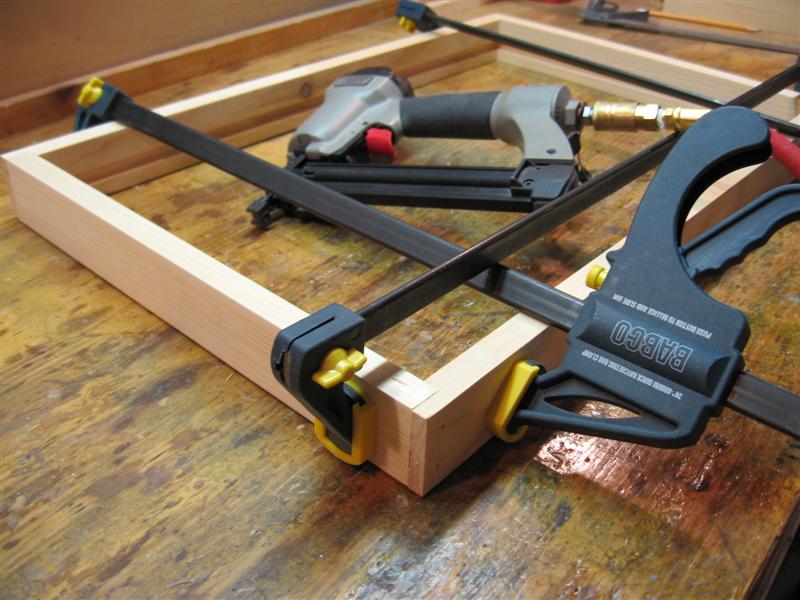 |
Here I'm gluing and nailing the back frame piece to the sides. |
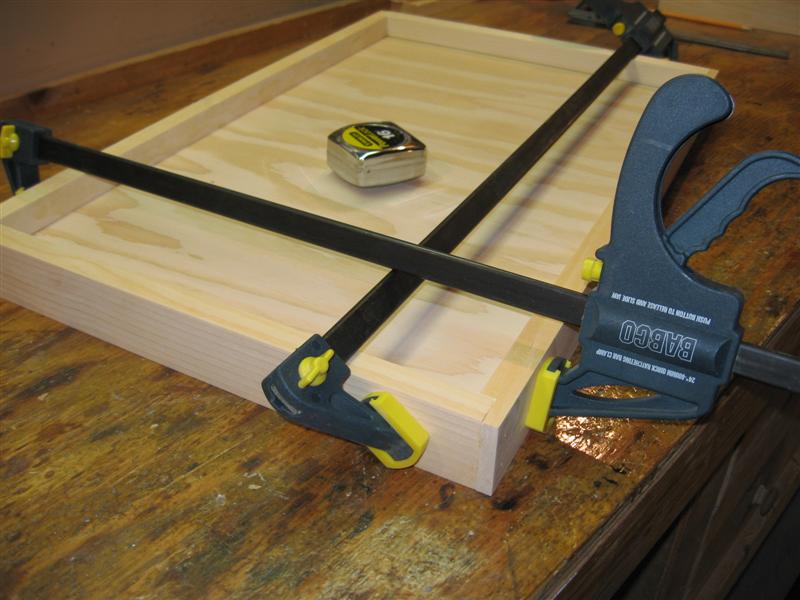 |
After the 1/2" plywood is inserted, I attach the front frame piece with glue and check it for square. A couple of clamps keep it all tight while I nail it in place. |
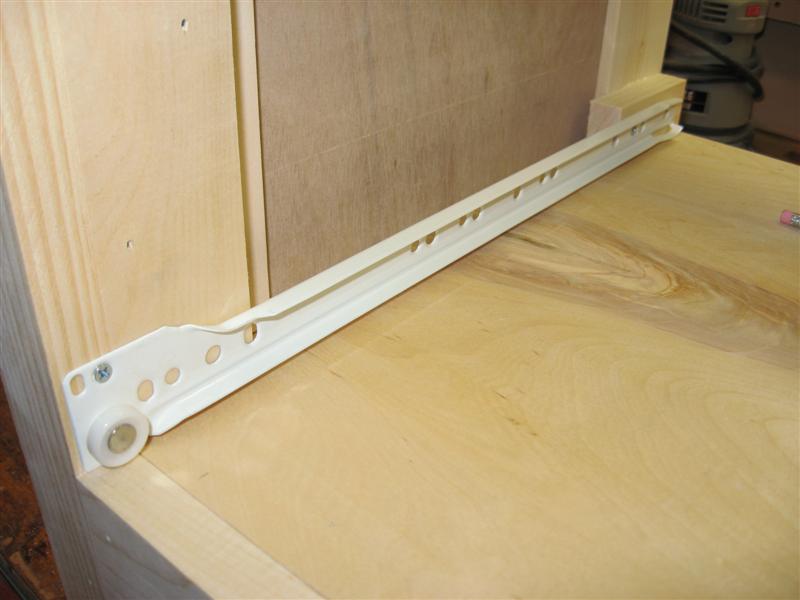 |
Here I'm installing the drawer runners. I've set these runners back about 1/4" so the tray won't interfere with the closing of the doors. |
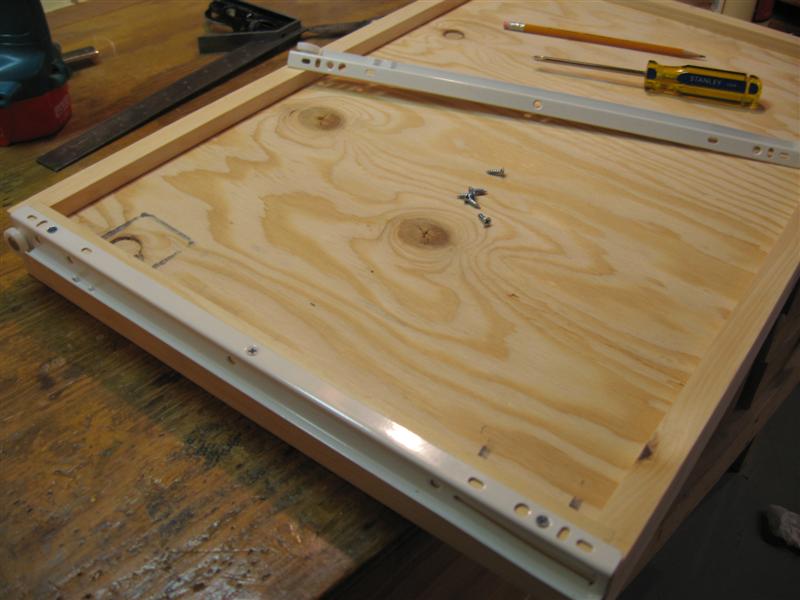 |
The runners on the tray go on easy and quick. Just align them to the front and add 3 screws. |
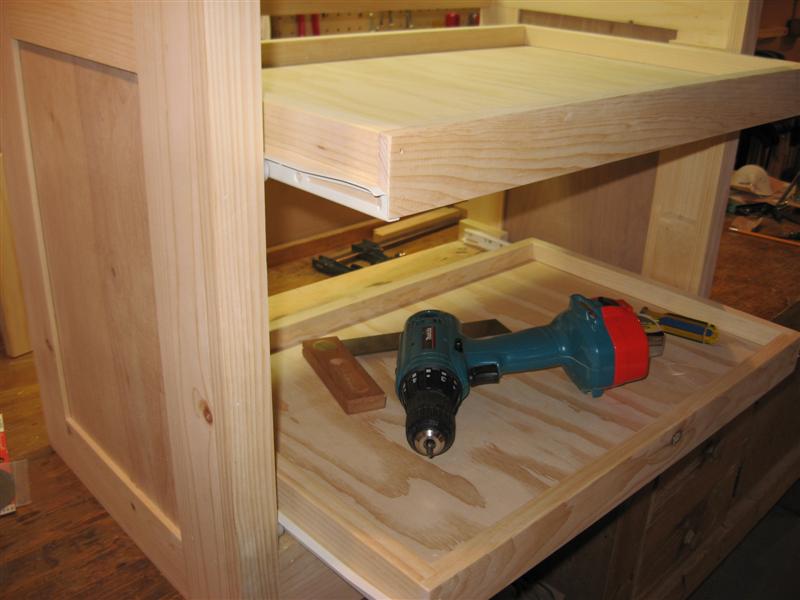 |
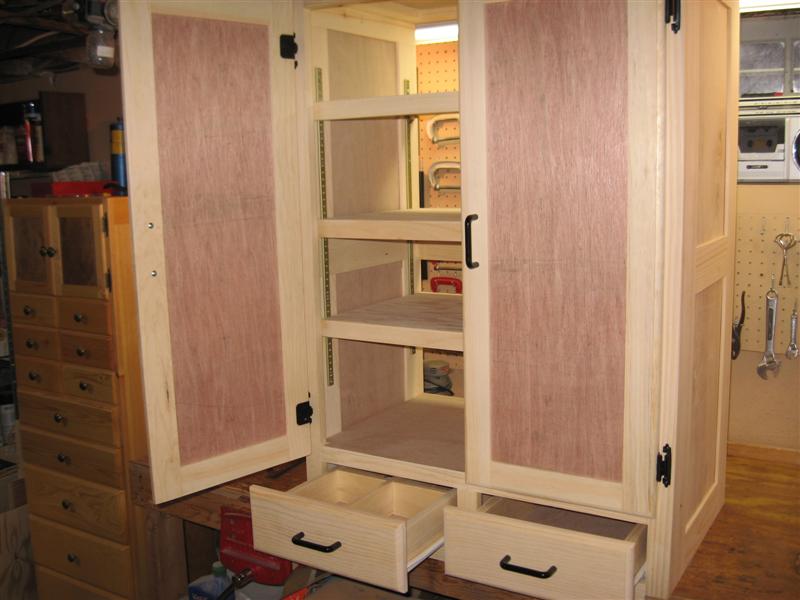
Both of the sliding trays are finished and installed. Next I'll move on to making the adjustable shelves. |
|
3-4-07 - Installing Shelves & Doors (Total Project Time = 40.5 hrs.) |
|
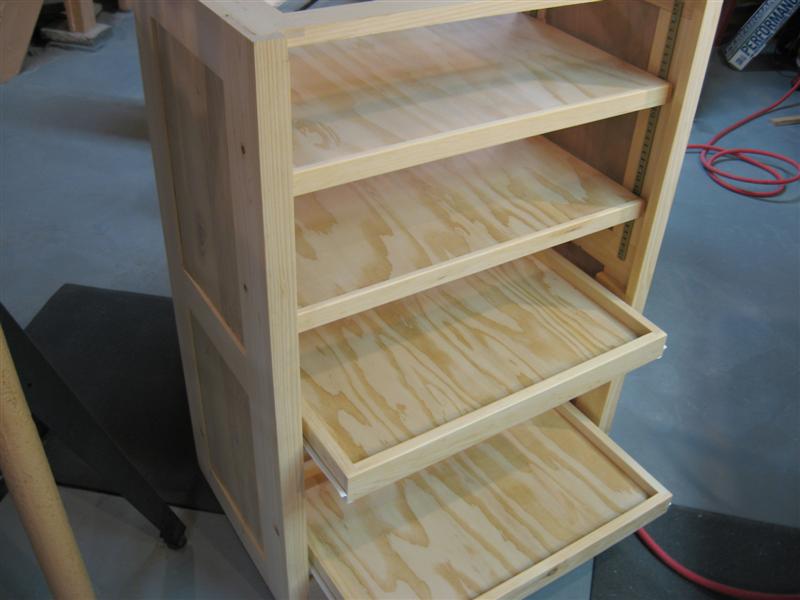 |
I've used 1/2" plywood and added a rabbetted front face for the adjustable shelving. The adjustable shelving track and hangers are also installed on the lower unit. |
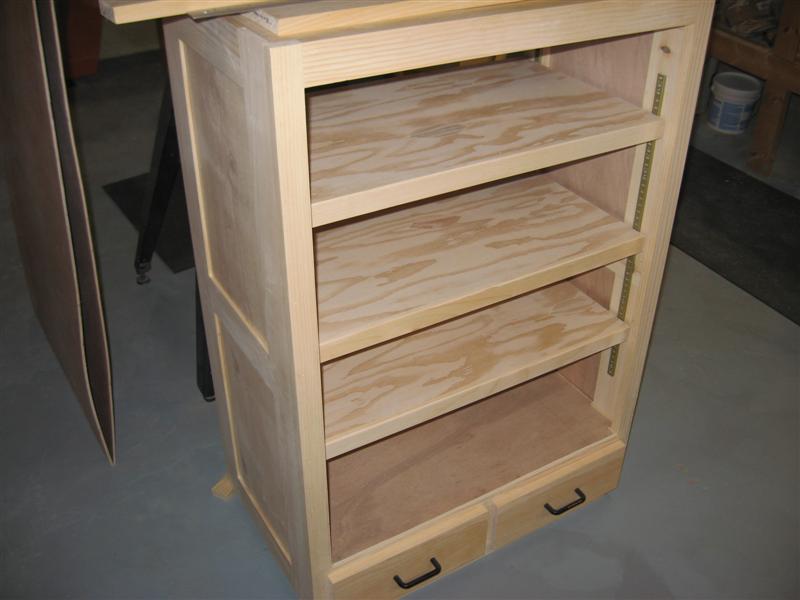 |
The upper unit gets 3 adjustable shelves. This completes the shelves. |
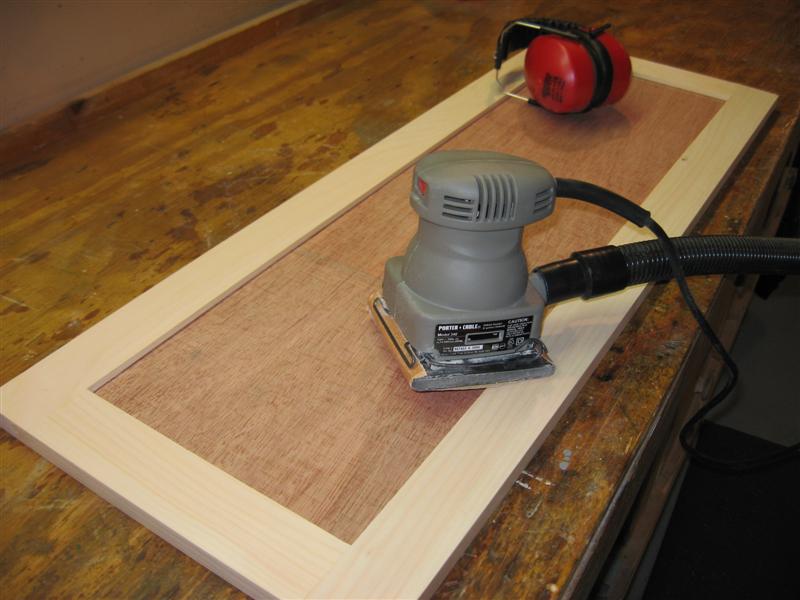 |
Now I've moved on to the doors. The 1st step is to sand both the front and back of each door. |
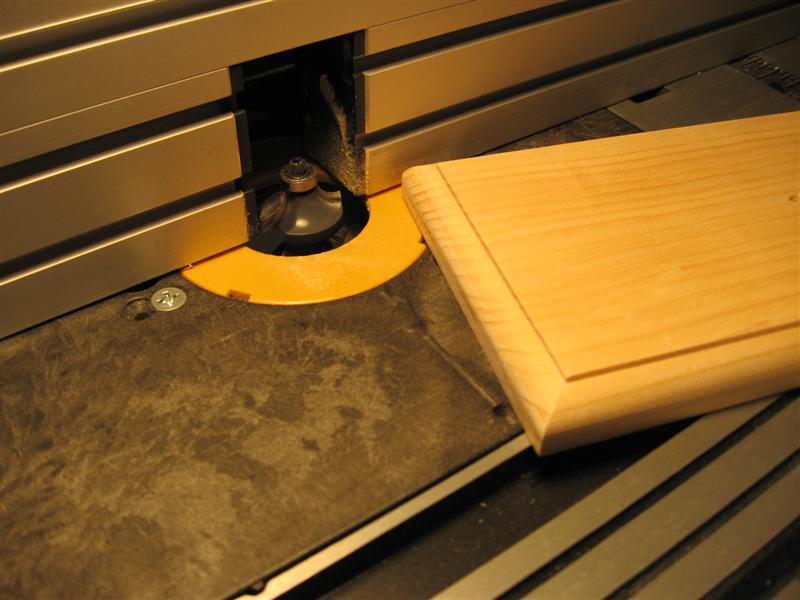 |
Here I've installed a round over beading bit in the router table and have rounded over the front of the first drawer. I'll round over all of the doors with the same setup. |
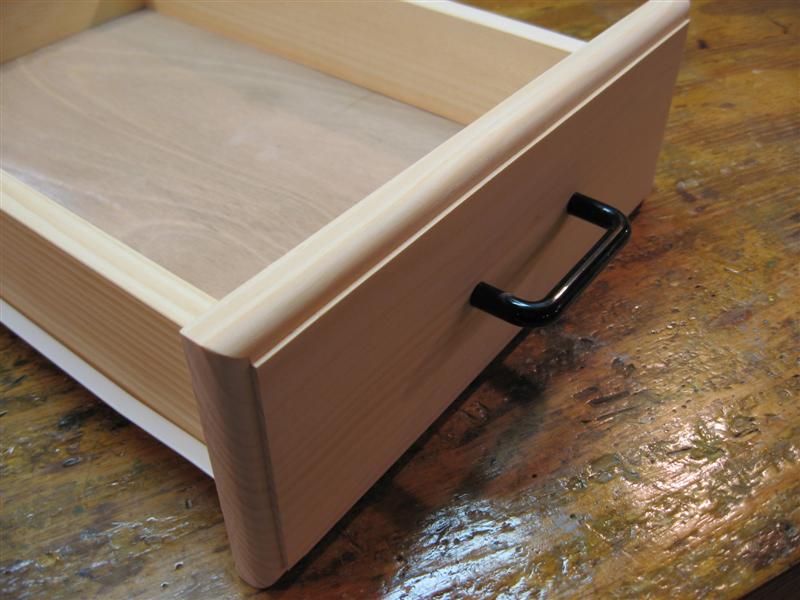 |
The finished and sanded drawer front is reattached. The drawers are done! |
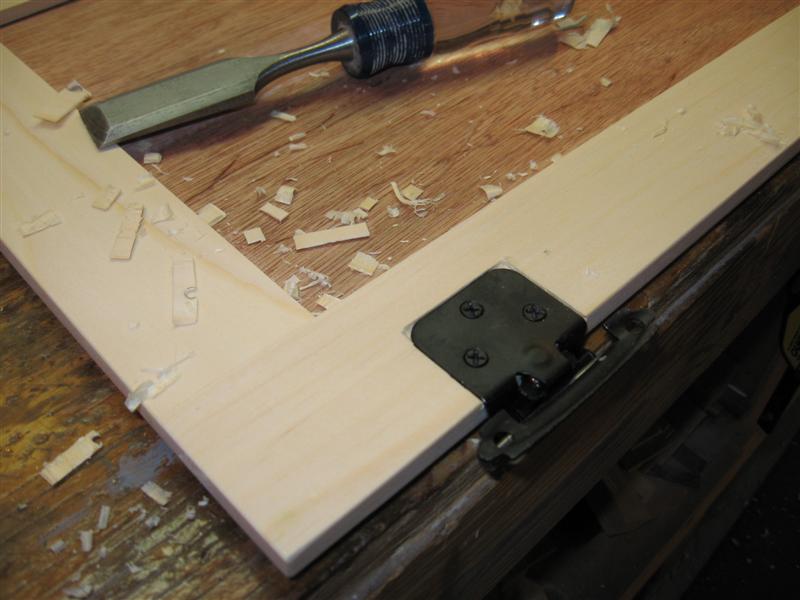 |
Now I've moved on to the doors and have checked the door alignment on the lower unit to ensure they will fit correctly. In this photo I've cut the mortise and have the 1st hinge installed. The handles are installed too. |
 |
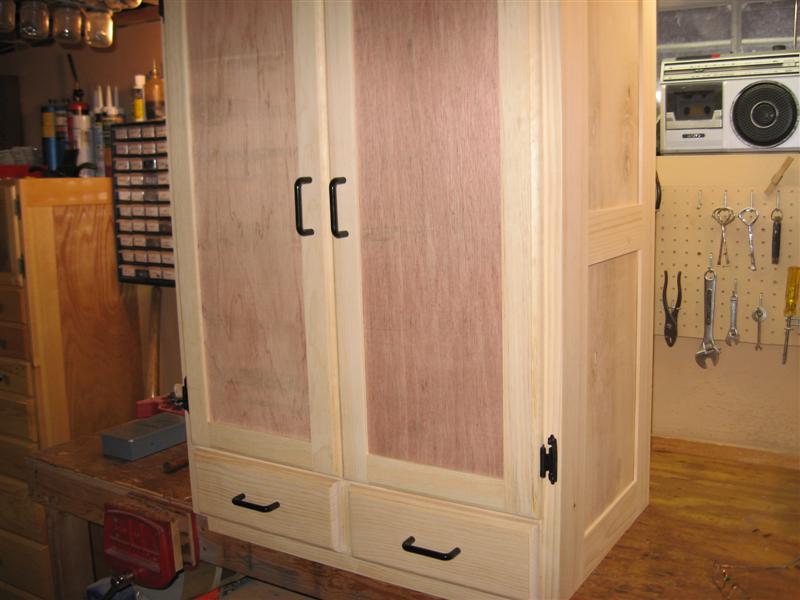
Both doors are installed on the lower unit. I'll add a front base molding and the lower unit is finished! |
 |
One more photo of the lower unit with doors installed. I've used spring-loaded hinges so the doors will close with out latches. |
|
3-6-07 - Installing Upper Doors & Back Panels (Total Project Time = 44.5 hrs.) |
|
 |
I've installed the hardware on the doors and both doors are now installed on the upper unit. |
 |
I add molding around the top to give it a more finished look. I also cut the back panels and attached them to both the upper & lower halves. |
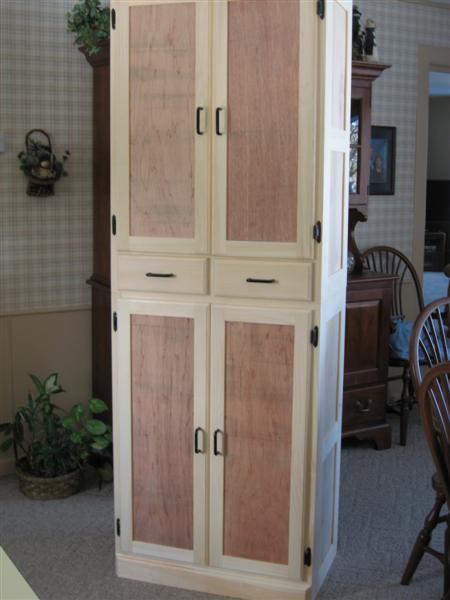 |
The final operation was to put the two units together and drill holes in the internal framing for screws to secure the two halves together. I'll take them apart again for delivery. Except for delivery and setup, I think I can call this job complete. Ed will do the final painting at his house. |