
Miscellaneous Projects
![]()
![]()
![]()
![]()
![]()
Here are a few miscellaneous projects that I have done in the past few years.
Country
Woodcrafts
 |
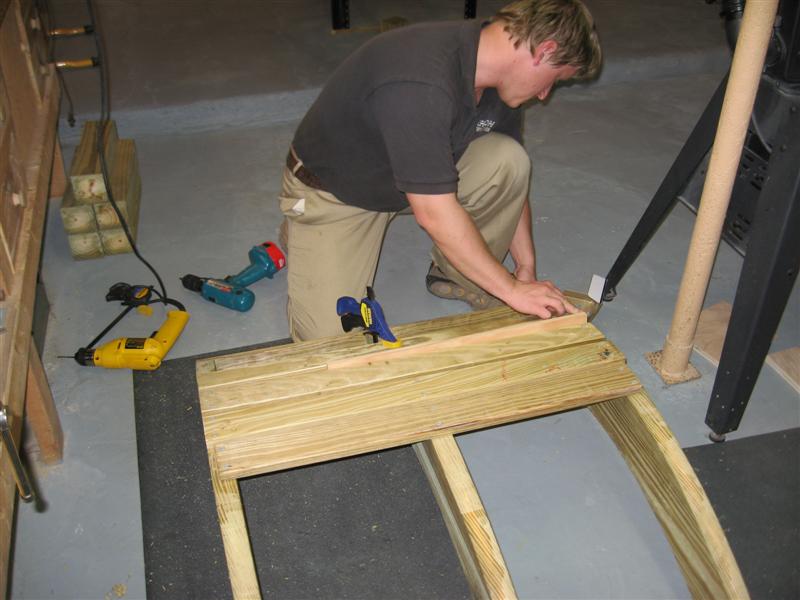
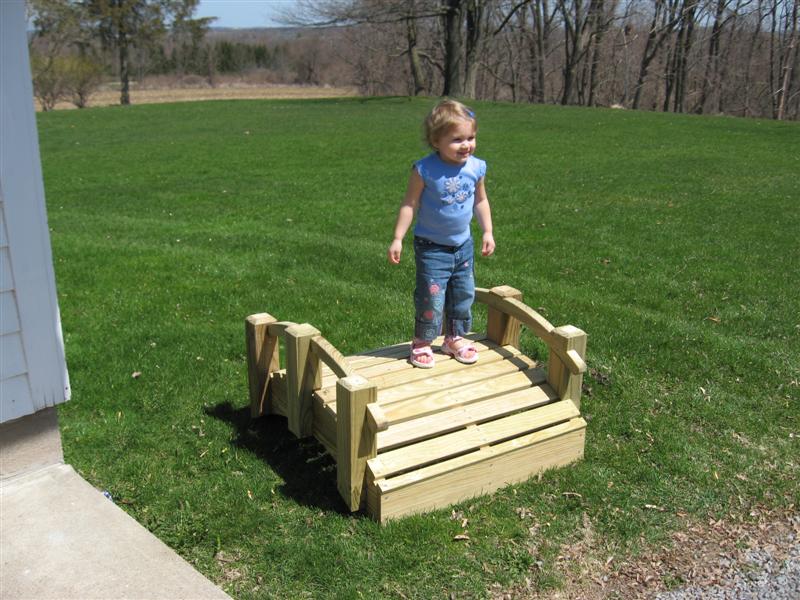
Oriental Garden Bridge My son & I built this bridge in a weekend. (4/22/07) It measures 36" long and 32" wide and was built for one of Greg's customers. |
|
| The arch spans were cut from 2' X 12" and screwed together with a 1" x 6" face board. |
 |
|
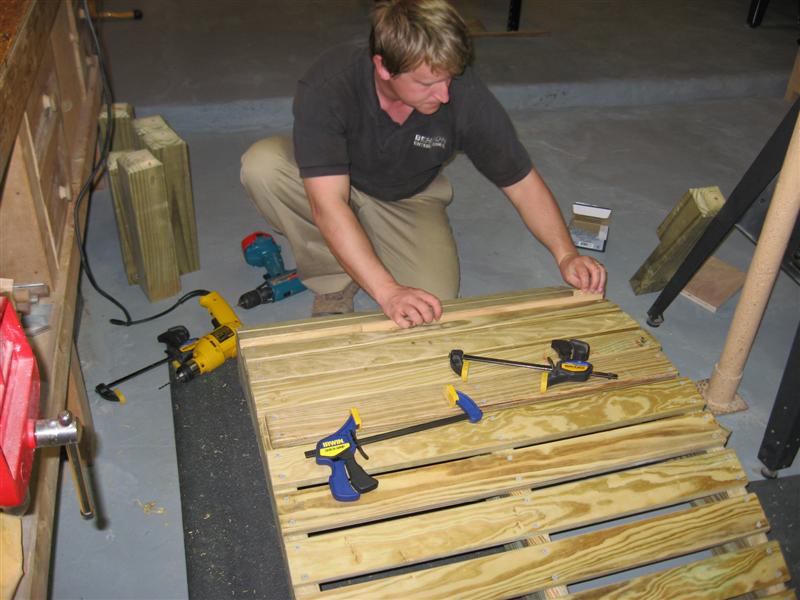
| Greg is attaching the 1" deck boards that have been ripped to 2 7/8" wide. We started with the center board and worked down to both ends. Were using 1/2" spaces between the boards. |
 |
|
| The deck boards are almost all attached. |
 |
|
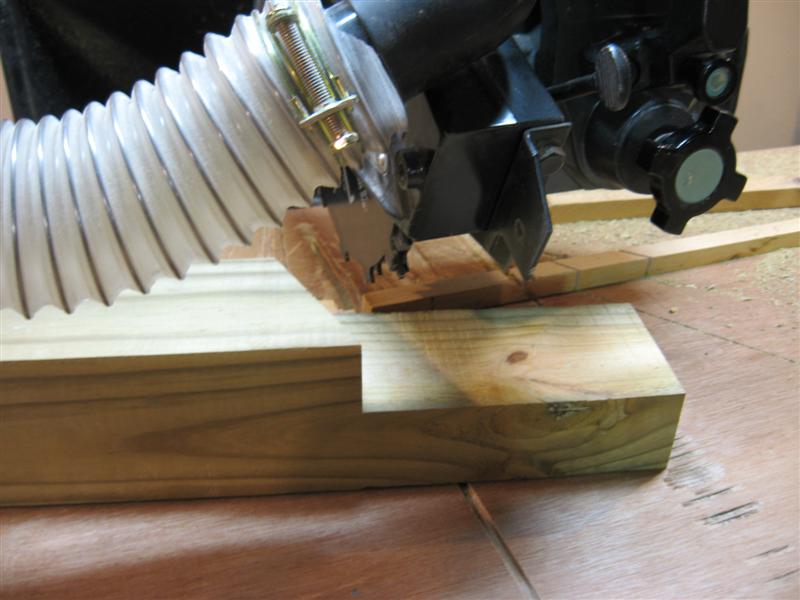
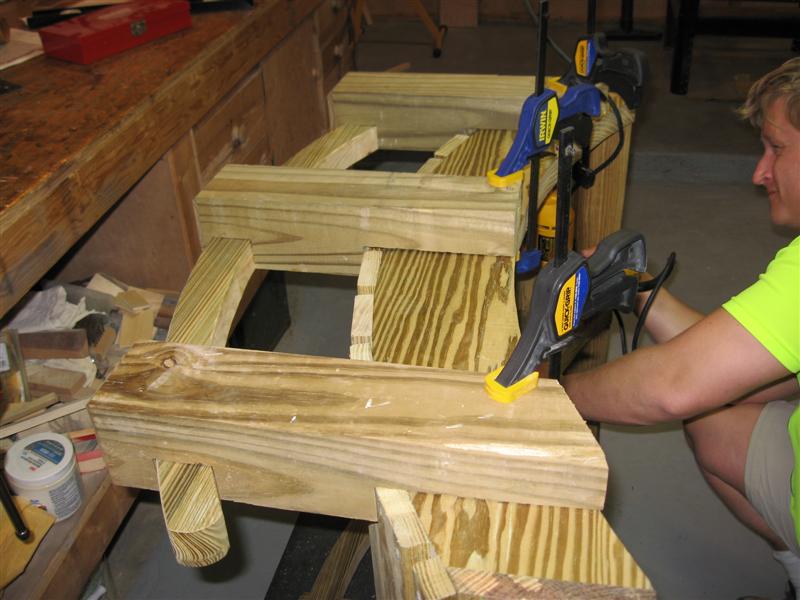
| While Greg is attaching the deck boards I cut the half laps on the posts. The railings are already cut and ready as well. |
 |
|
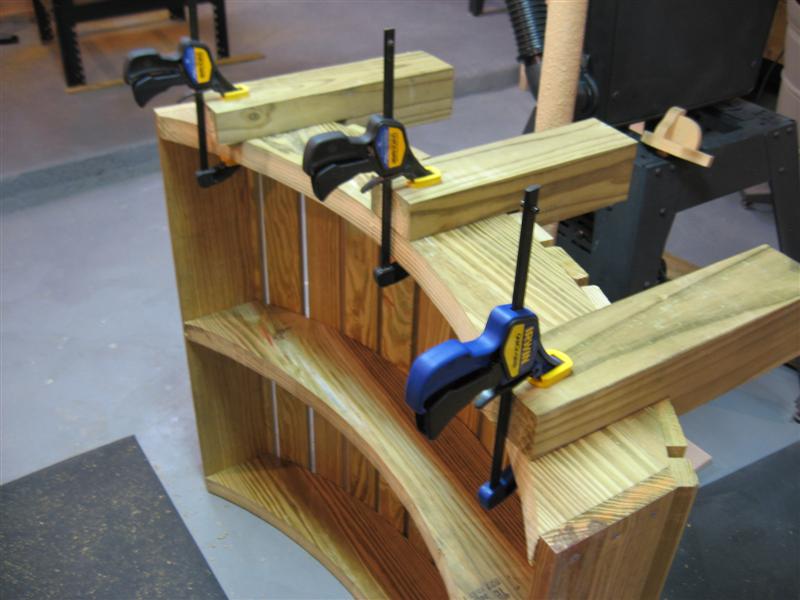
| In this picture we've temporarily attached the posts and are getting ready to clamp the railing on and mark its position so that I can cut the dodos for recessing the railing. |
 |
|
| The final step. Greg has attached the railing and is now securing the posts from the inside with 1/4" lag bolts. |
 |
|
| The first crossing. My granddaughter Lauren is the first to take the trip across. |
 |
|
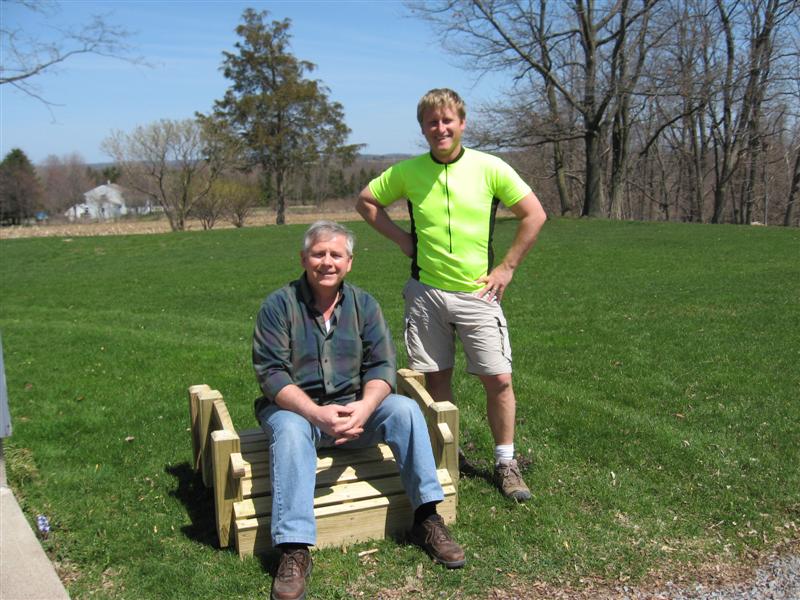
| Greg and I take a minute to do a final pose. Delivery is scheduled for tomorrow. |
 |
|
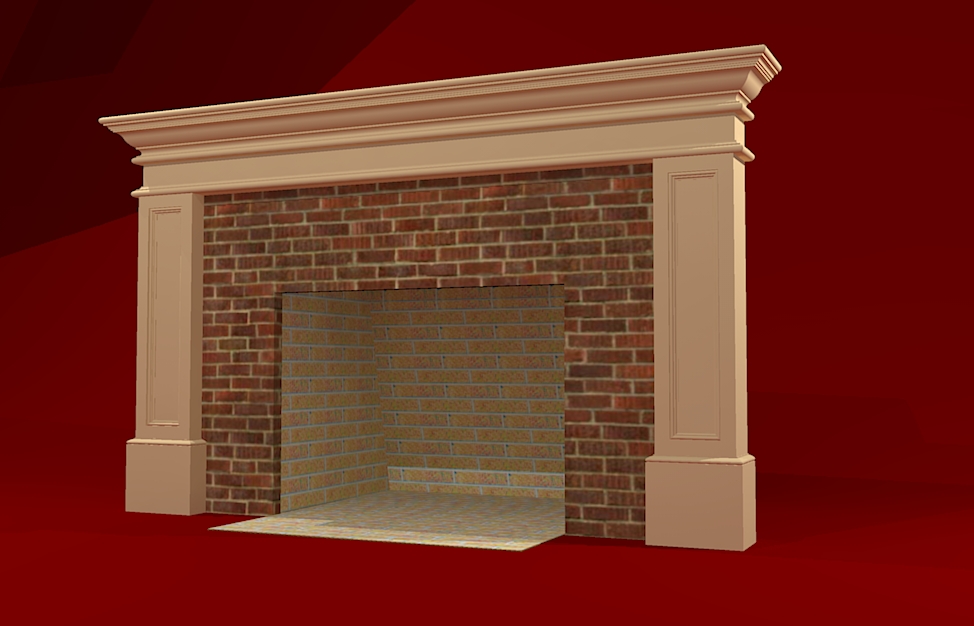 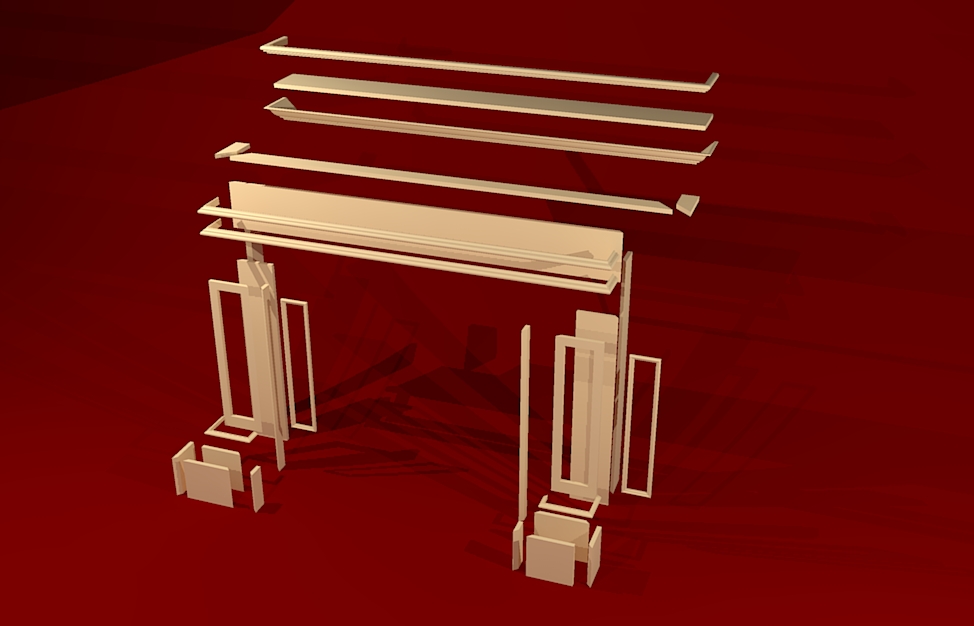 |
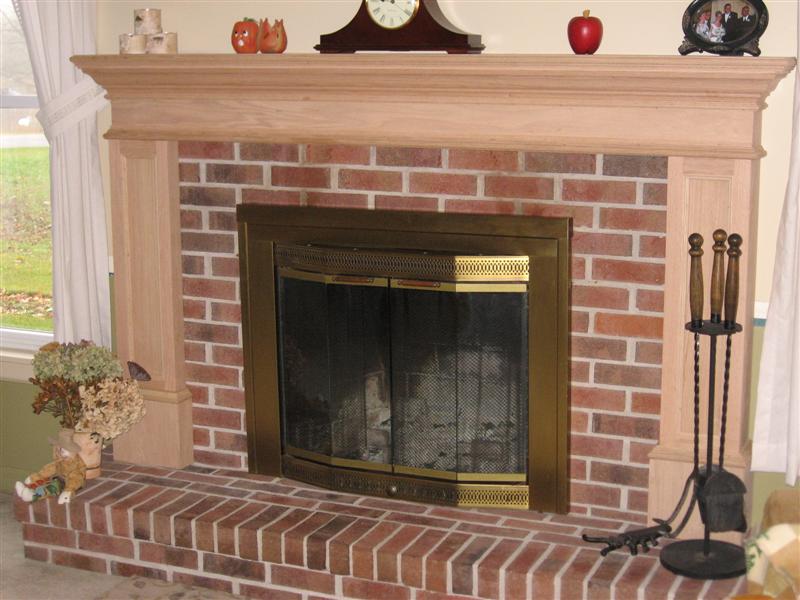
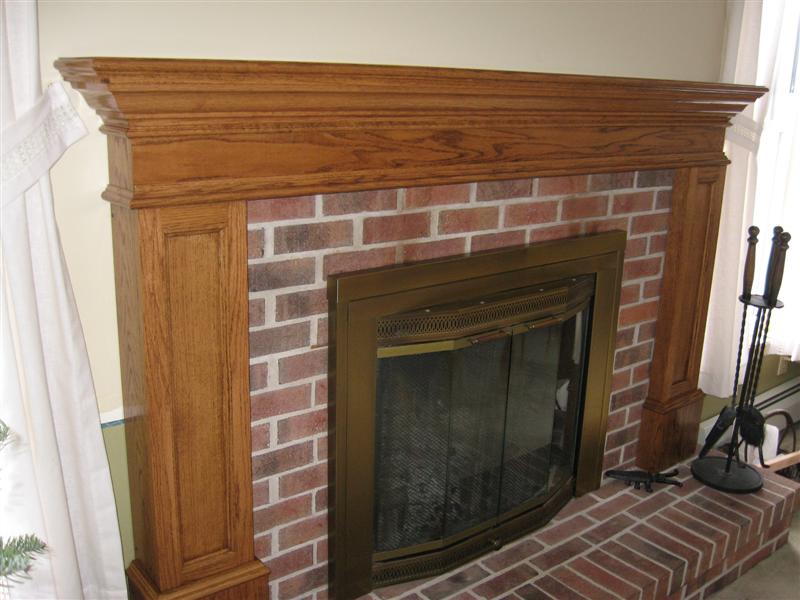
Fireplace Mantel This custom made fireplace mantel is made from solid Oak. The rough measurements are 74" wide by 47" high. It was built during November of 2007. The mantel was drawn and modeled using Sketchup. |
|
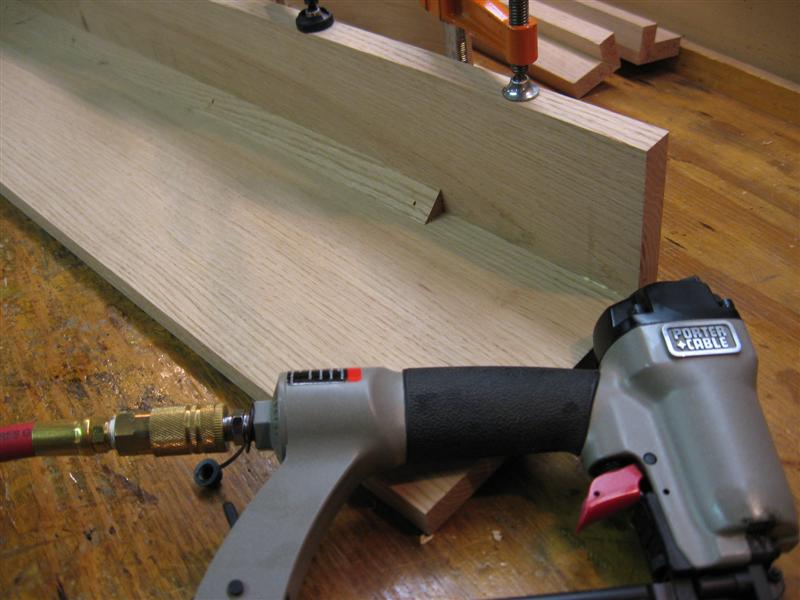
| The legs, side returns and the bridge are the first to be cut. All edges are mitered and joined with #20 biscuits and glue. |
  |
|
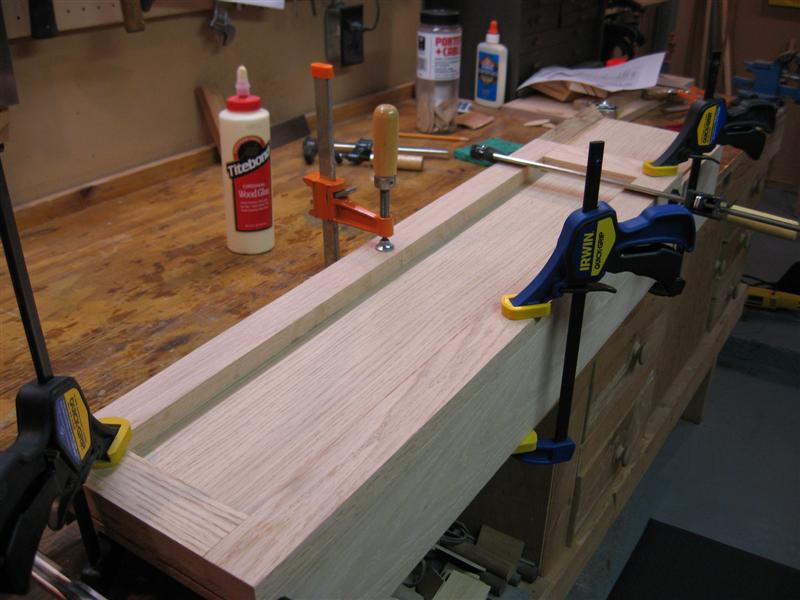
| The legs and sides are the first to be glued up. The left leg and side return are glued, joined with biscuits and set aside with clamps to dry. I also glued a corner piece inside for added strength. |
  |
|
| The front facing (stiles and rails) are added. The outside stile is attached with biscuits while the inside stile is mitered to the inside return and attached with biscuits and glue. The rails are glued. |
 |
|
| The bottom plinth blocks are mitered and joined with biscuits and glue. The plinth is then attached to the bottom of each leg. |
 |
|
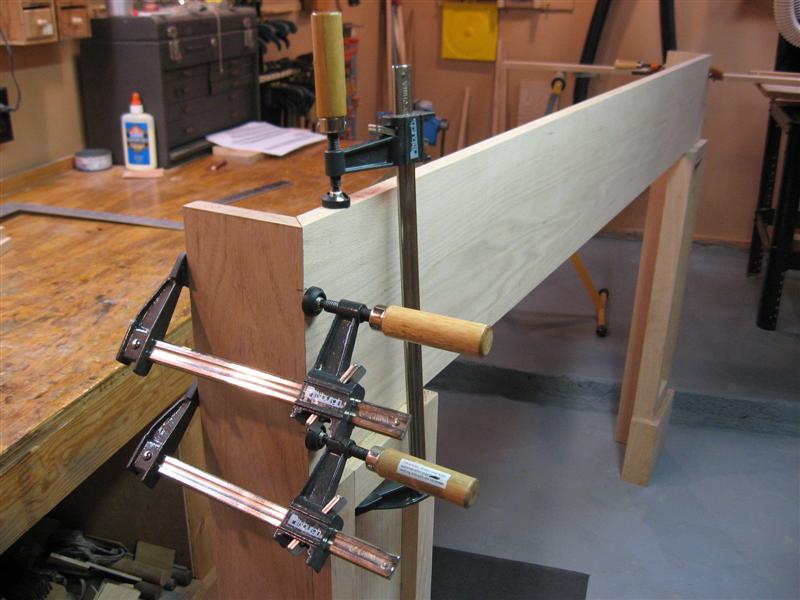
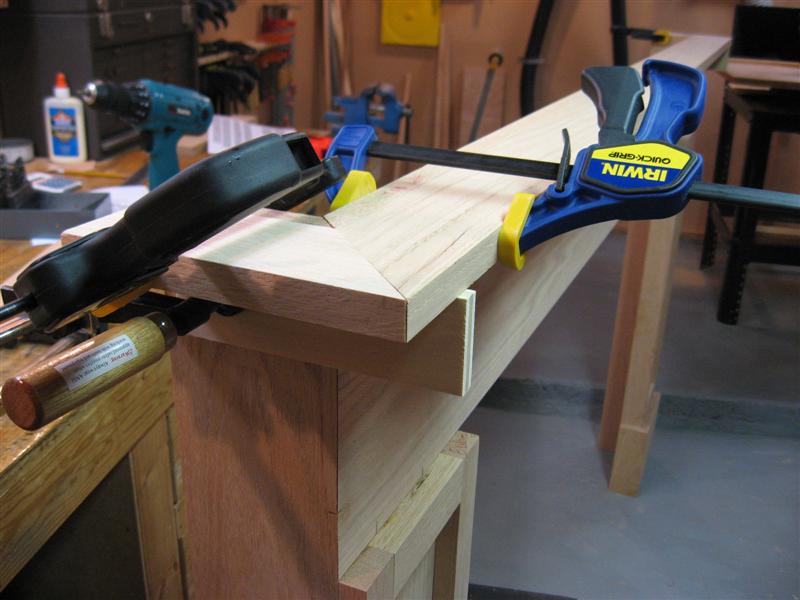
| In this photo the bridge is attached with biscuits and glue. The clamps hold the miter joints together until the glue dries. I also glued a piece of scrap plywood to the back to give the bridge and leg additional support. |
 |
|
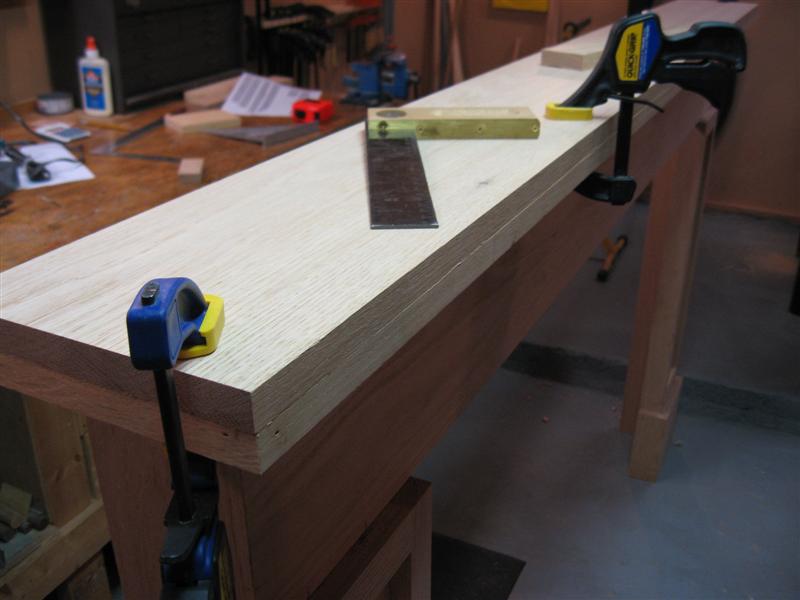
| The lower support for the mantel shelf is attached with screws from the back and the mantel shelf is test fitted. I'll scribe fit the mantel shelf to the wall later when I test fit the entire unit on the fireplace. |
  |
|
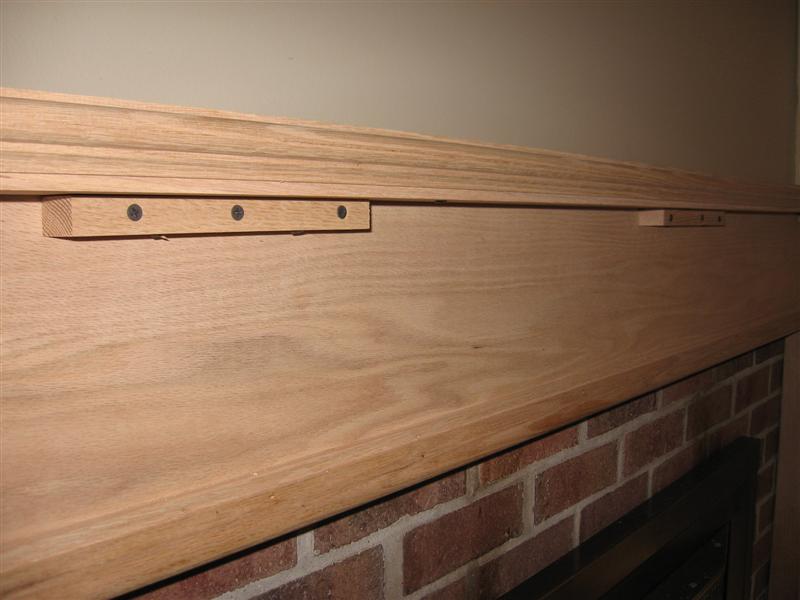
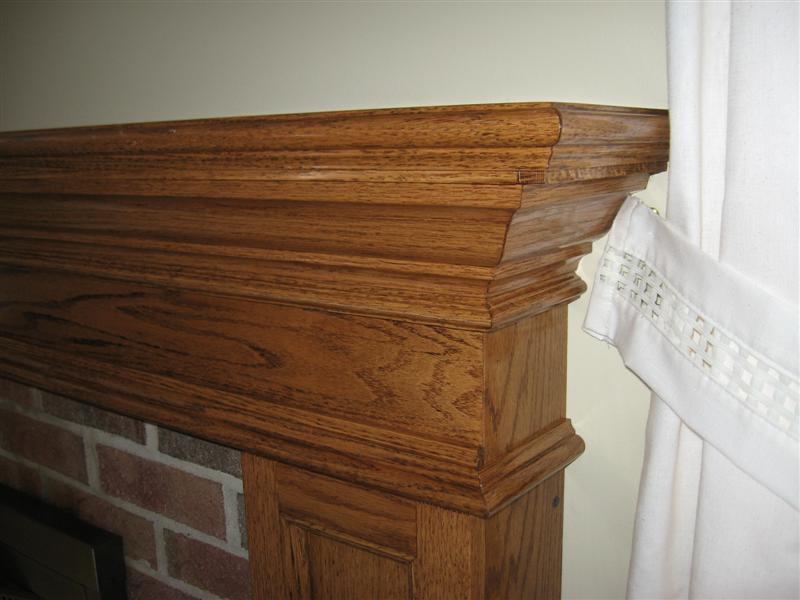
| The mantel shelf has been scribed to the wall and the finish molding has been attached to the edges. This photo shows how I used cleats to attach the top and support the crown molding. |
 |
|
| The crown molding and other decorative molding has now been attached. The mantel is complete and ready for finishing. |
  |
|
| The finished product. A coat of Miwax Early American #230 stain followed by 4 coats of Semi Gloss Polyurethane with light 320 grit sanding between coats. |
  |
|